This article was co-authored by Caitlin Downey. Caitlin Downey is a Registered Yoga Teacher at Yoga Therapy in Burlington, Vermont. She has over 200 hours of experience as a certified Yoga Instructor since 2014, and has over 600 hours of training as a certified Phoenix Rising Yoga Therapist.
This article has been viewed 47,532 times.
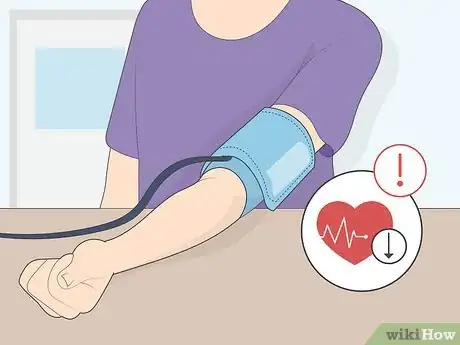
Triangle Pose, or Trikonasana, is a pose aimed at mobilizing the hips and stretching the torso. It can also open your chest to allow you to breathe deeply. Pay close attention to your alignment and go slowly as you position your body into triangle pose. Triangle pose can strengthen the knees, ankles, arms, and chest, and may also reduce stress and anxiety. If you have certain medical conditions, such as low blood pressure, do not attempt triangle pose, especially not without the supervision of a trained yoga instructor.
Steps
Getting in the Starting Position
-
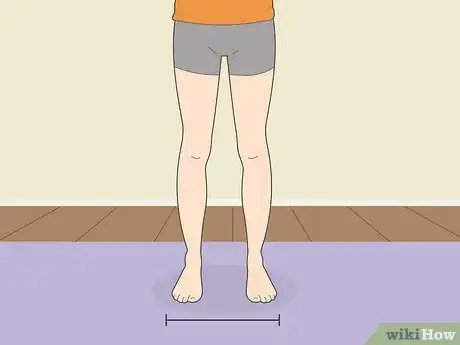
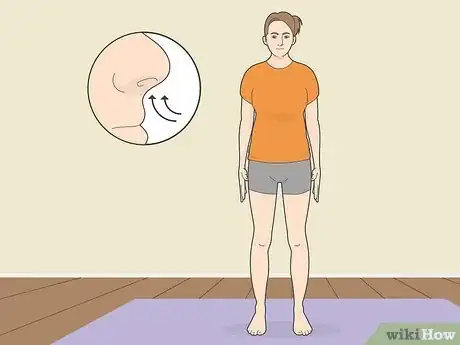
1Stand with your feet hip distance apart on your starting mat. Stand up straight on your mat. Keep your feet hip-width apart and your arms at your side.[1]
-
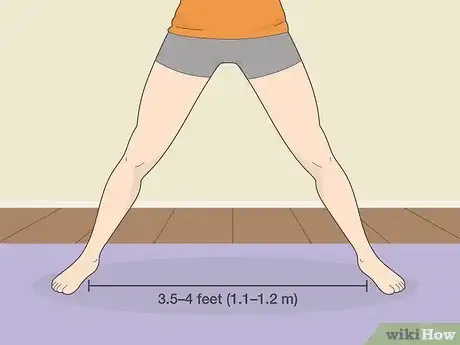
2Spread your feet. From here, step your feet out so there is about 3.5–4 feet (1.1–1.2 m) of distance between them.[2]
-
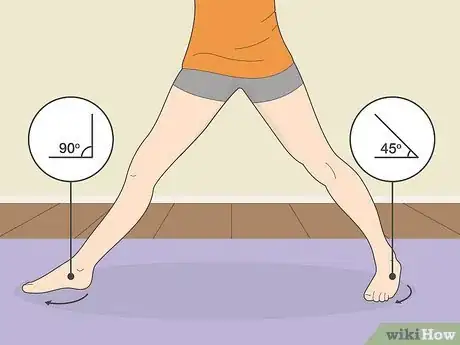
3Turn your feet to different angles. In triangle pose, your feet need to be turned at different angles so you can maneuver your body correctly. Your right foot and left foot should be pointed in slightly different directions.[3]
- Turn your right foot away from your body, so your toes are pointing outward. Keep turning your right foot until it's at a 90-degree angle.
- Now, pivot your left foot back so your toes form a roughly 45-degree angle pointing toward your body.
-
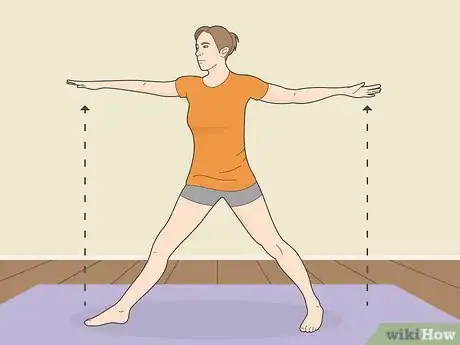
4Hold your arms parallel to the floor. Raise your arms outward on either side. Form a line with your arms, going from the fingertips on one arm to the fingertips on the other arm, that runs roughly parallel to the floor.
- Stretch your fingertips out to each side.
- Make sure your palms are facing the floor and your shoulder blades are pinned back to your spine. To check the alignment, flip your palms over and take note of any shift in your scapula or shoulders, then turn your palms back over.
Doing the Exercise
-
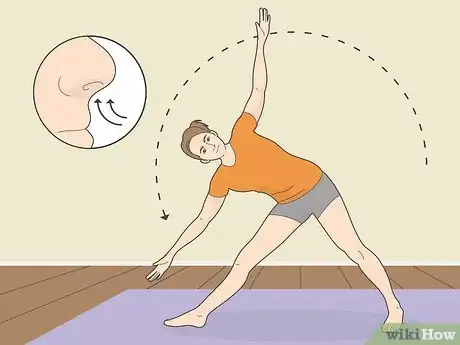
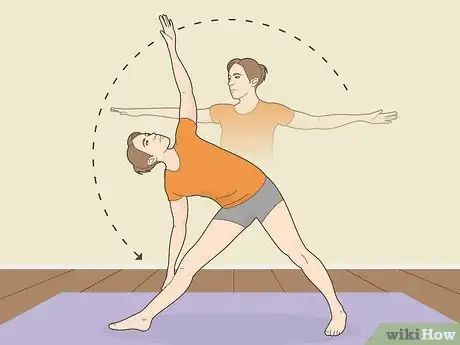
1Inhale and reach your body to the right as you exhale. As you exhale, stretch your right arm as far as it will go to the right. Stop when you’ve reached as far as you can and hold your torso in place. Rotate your arms so that your left arm reaches up and your right arm reaches down. Ideally, the line of your arms forms a roughly 90-degree angle with the floor.[4]
- As you reach, keep your body facing forward. Square your hips and shoulders toward the front of the mat.
- Keep your waist as straight as possible while you bend, and keep your arms in a straight line.
-
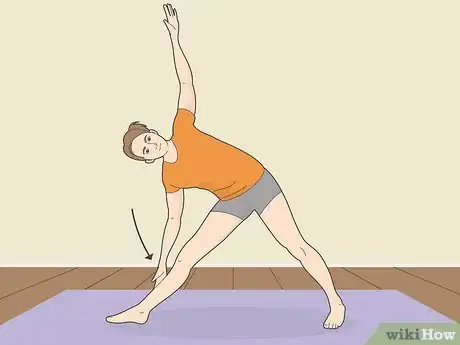
2Place your right hand on your right shin. Reach as far down as you can comfortably. Try to touch your right hand to your right shin, ankle, or the floor. Feel free to use a prop, like a block, here. Touch whatever place is comfortable for you and allows you to keep your balance.[5]
-
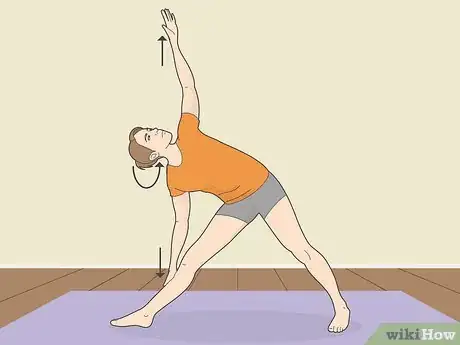
3Stretch as much as you can. While touching your shin, ankle, or the floor, stretch as much as you can. Reach your left arm toward the ceiling and your right arm toward the floor. Slowly turn your head to the left, gazing at your right thumb, as this can help stretch out the body.[6]
- If stretching causes you to feel pain, stop stretching and just hold the pose as is. You do not want to strain yourself, and it may take awhile for you to be flexible enough to stretch during this pose.
-
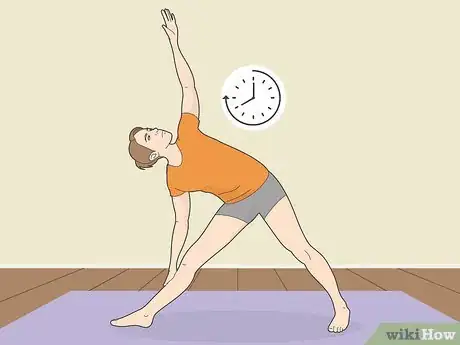
4Hold the position for several seconds while breathing in and out. Now, hold the position while breathing in and out. Take note of how long you can comfortably hold the position. Begin to exit the pose when you are ready.
-
5Return to the original position on an inhale. Once you've finished holding the position, lift up through the left hand raise your body up. Use your obliques to do the work and stabilize your body. Keep your arms in a straight line, but unbend your feet. Make sure you come up on an inhale rather than an exhale.[7]
- Once you've done one side, repeat the same maneuver on the opposite side of your body.
Avoiding Pitfalls
-
1Avoid triangle pose if you have certain medical conditions. For most people, triangle pose is safe. However, certain health conditions can make triangle pose risky.
- You should not attempt triangle pose if you have low blood pressure, diarrhea, or headaches. You should turn your head downward instead of upward if you have high blood pressure.
- If you have a neck injury, you should hold off on triangle pose until it heals.
-
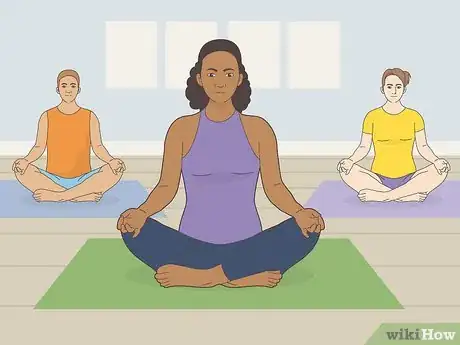
2Take a yoga class before attempting triangle pose on your own. Everyone's body is different. Certain poses may be more or less safe for you depending on your personal abilities. Before attempting triangle pose, you should take a yoga course with the supervision of a professional trainer. A trainer can tell you whether or not triangle pose is safe for you.[8]
-
3Start off slow. It can take awhile to get the body movements behind triangle pose right. Do not stretch or bend too much too soon. You may be unable to do some aspects of triangle pose, such as turning your head or stretching your arm, until you've practiced for awhile. Be patient and give your body the time it needs to adjust.
References
- ↑ http://www.artofliving.org/yoga/yoga-poses/triangle-pose-trikonasana
- ↑ http://www.artofliving.org/yoga/yoga-poses/triangle-pose-trikonasana
- ↑ http://www.artofliving.org/yoga/yoga-poses/triangle-pose-trikonasana
- ↑ http://www.artofliving.org/yoga/yoga-poses/triangle-pose-trikonasana
- ↑ http://www.artofliving.org/yoga/yoga-poses/triangle-pose-trikonasana
- ↑ http://www.artofliving.org/yoga/yoga-poses/triangle-pose-trikonasana
- ↑ http://www.artofliving.org/yoga/yoga-poses/triangle-pose-trikonasana
- ↑ http://www.mayoclinic.org/healthy-lifestyle/stress-management/in-depth/yoga/art-20044733?pg=2
About this article
To do the triangle pose in yoga, start by standing up straight on your mat with your feet hip-width apart. Then, spread your feet so they’re about 3 to 4 feet apart. Next, turn your right foot so the toes point at a 90-degree angle away from your body, and your left foot so the toes point at a 45-degree angle towards your body. After that, stretch your hands out so they’re parallel with the floor, then stretch your right hand down towards your ankle as far as you can. As you stretch, lean over to the right, then inhale and exhale slowly. For tips from our Wellness co-author on how to return to your original position, keep reading!
