X
wikiHow is a “wiki,” similar to Wikipedia, which means that many of our articles are co-written by multiple authors. To create this article, 23 people, some anonymous, worked to edit and improve it over time.
This article has been viewed 13,202 times.
Whether displaying a childhood collection, organizing a toddlers playroom, or creating a cute display for a newborn, there are a number of ways to keep stuffed animals organized. You may build an animal swing if there are a lot of stuffed animals or use a few branches to make swing shelves for just a select few. There are also quick and easy storage alternatives that you can purchase online or at your local furniture store that also make a wonderful display.
Steps
Method 1
Method 1 of 4:
Creating a Stuffed Animal Swing
-
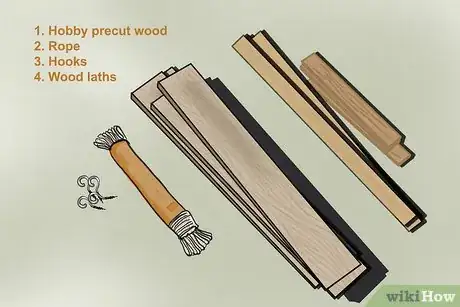
1Gather your materials. Find your materials at your local hobby store, hardware store, or dollar store.You can find the precut wood in the “hobby wood” section of your local hardware store and the wood lath in the section containing pine boards. Build a tri-level swing with the following:[1]
- Six hobby precut wood measuring four inches wide x quarter inch thick x two ft long
- 30 feet of rope
- Two hooks that you'll screw into ceiling studs
- Four wood laths that measure four feet.
- Hobby pre-cuts and wood lath are relatively cheap but make sure to choose lath that have minimal knots and are straight.
- Each shelf fits around eight Build-a-Bear sized toys with room to stuff a few smaller ones in as well.
-
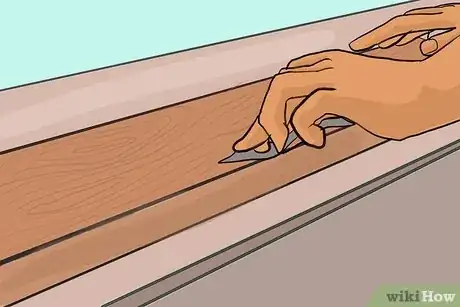
2Prepare your wood. Sand both the hobby pre-cuts and the lath. Once smooth, cut your wood lath so that you will have six pieces that measure two feet in length and six pieces that measure one foot in length. There should be two two foot and two one foot pieces of wood lath for each level of your swing.[2]
-
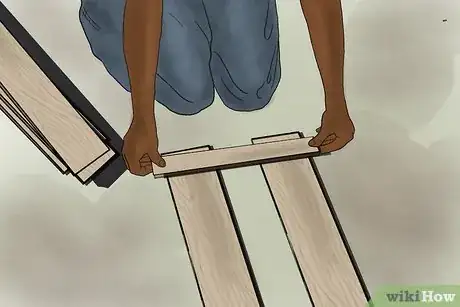
3Create the seats. Glue a length of lath to the end of your hobby precuts. Place two hobby pre-cuts on the ground separating them about two - three inches. At each end of the precuts, place a one-foot length of lath and secure it using wood glue. Finish glueing the swing seats for each of the remaining two levels.[3]
- Allow the glue to dry completely. Lay something heavy on each lath or clamp the lath and precuts as the glue dries.
-
4Add rope to the seats and swing bar. Drill a hole at each end of your pieces of lath. Make sure the hole is big enough for the rope to fit through. Measure the drill bit against the thickness of the rope prior to drilling. Measure the length of rope needed depending on how high your ceiling is and how low you want the swing to hang.[4]
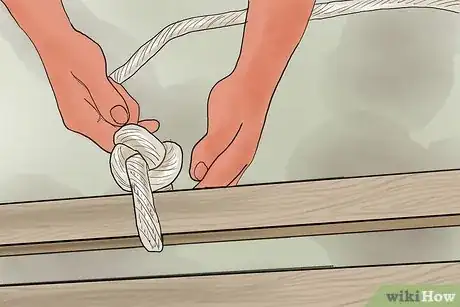
- You will need to cut four lengths of rope measuring at about eight feet depending on the height of your ceiling. Thread one piece of rope through your swing set making sure to knot the end so that it doesn't come through the hole completely and secures the bottom. Create a second knot on the other side of the swing seat so that there is a knot on the top and bottom of the seat.[5]
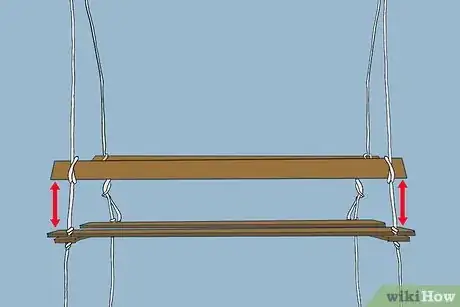
- Take a two-foot piece of lath and place it four inches above the seat of the swing. Create the swing bar by wrapping the rope around the lath and either securing it with staples or by knotting the rope around it.[6]
-
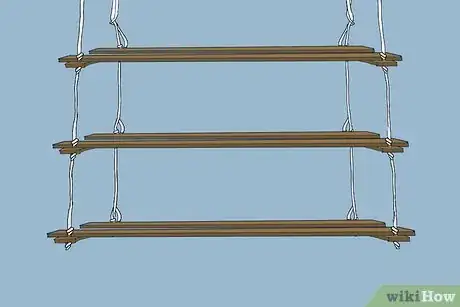
5Space the other two seats. Repeat the process of threading the rope through each additional level and securely knotting each seat and swing bar. Keep the seats about 18 inches apart or space them according to your preference. You could make more space between the first and second seat to keep the larger animals at the bottom.[7]
-
6Hang the swing. Screw hooks into studs in your ceiling. Use a stud finder to make sure you have a secure stud to hang your swing from and measure the distance between the rope on the left side of your seats and the rope on the right side. This will be the distance between your hooks. Knot the ends of the ropes and hang the swing to your hooks from each knot. You should have a knot on each side of the swing so that it hangs balanced.[8]
Method 2
Method 2 of 4:
Building Branch Swing Shelves
-
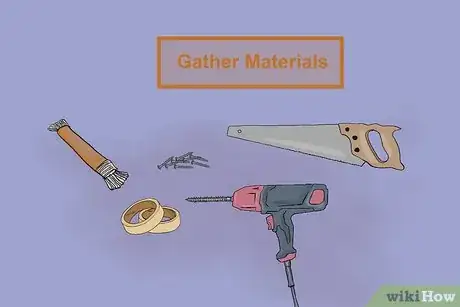
1Gather your materials. You will need a hand saw, electric drill with various bit sizes, a braided rope that's five eighths of an inch, masking tape, screws, and branches that are one and half - two inches. The number of branches and the amount of rope will depend on how many animals you wish to display.[9]
-
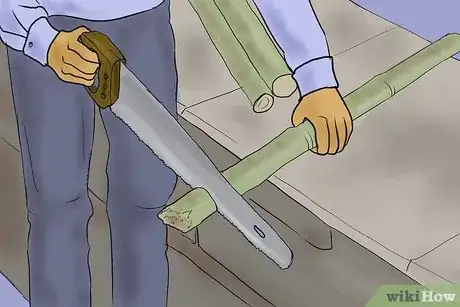
2Prepare your branches. Select branches that are straight and are even in diameter. You may need to cut the ends so that they are an even length or keep them uncut for a more rustic feel. Use a hand saw for clean cuts. Make sure that you dry the branches first if you have collected them from outside or you may purchase branches from a hobby or home and garden store.[10]
-
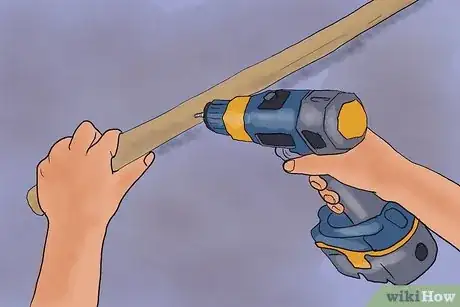
3Drill your holes. First use a small drill bit, about two inches, to create a pilot hole through each end of your branch. Continue to increase the sizes of your drill bit as you drill through the pilot hole until you have created a hole large enough to fit the rope through.[11]
-
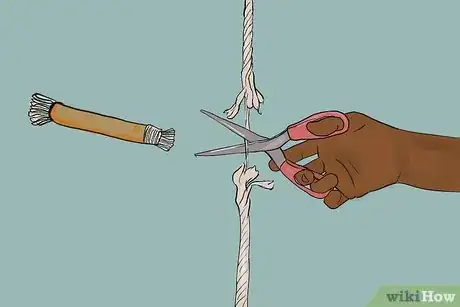
4Cut your rope. Measure your rope to the length that you wish your swing to hang and then add fourteen inches to compensate for knots that you will be tying at the end of the rope. Prevent fraying by wrapping masking tape at the end of your rope. This will also allow you to thread the rope through the branch smoothly.[12]
-
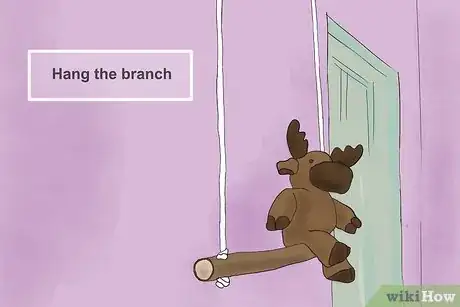
5Hang the branch to the wall. At both ends of the branch thread a length of rope so that you have two pieces of rope attached to each branch. Tie a knot at the end of the rope. Use a drill and screw the top knots of the rope into the wall near mouldings or the ceiling.[13]
- Make sure that the swings are only held by the knot in the rope. They are not meant to bear heavy weight especially if you have young ones who will want to climb it. Allow the swing to easily release from the wall in case a child tugs on it.
-
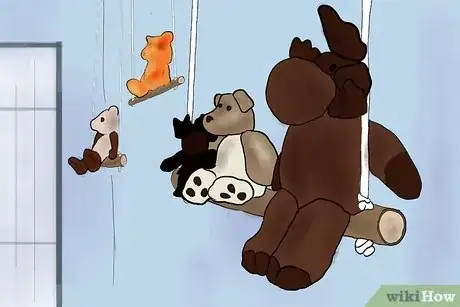
6Adjust the height. Make sure the swing is level and adjust the height to your preference by adjusting the knots at the bottom of the swing. Play with the look of placing several swings side by side at different heights. Once you have your preferred heights, remove the masking tape from the ends of the rope and fray the ends of the rope to your preference.
- Freshen the look of your branches by hanging stuffed toys in different colour combinations or style combinations. For example, you can have all white bears on one branch and all black dogs on another.
Method 3
Method 3 of 4:
Purchasing Quick and Easy Storage
-
1Hang a stuffed animal hammock. Utilize unusable wall space by hanging up a hammock in the top corner of your child's room. Stuffed animal hammocks may be purchased online or your local children's store. Simply screw in three hooks at any corner of your child's room and unfurl the hammock onto the hooks. Make sure that the hooks are spread out enough to match the size of your hammock. Hooks can be purchased at your local hardware store or dollar store.[14]
- Use a stud finder to make sure you have a secure stud to hang your hammock from. Hanging hammocks make cleanup fun because kids enjoy throwing their toys up and into the hammock but make sure the hooks are properly secure on studs.
- There maybe a disadvantage to a hammock because, depending on your child's size and the placement of the hammock, they may not be able to reach the toys when they want to play. Consider safety issues as kids may try to climb to reach their toys or even hang on the hammock once it's reached.
- Depending on how many stuffed animals your child has, it may be a nuisance to retrieve the animals on the bottom. Consider having a regular rotation so that your child gets use of all the stuffed animals and not just the ones that stay at the top of the pile.
-
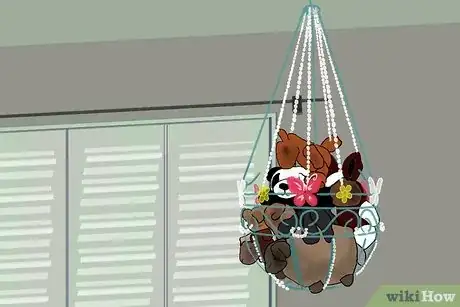
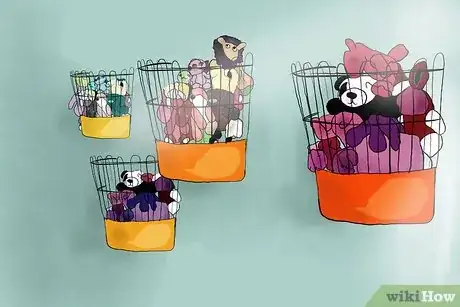
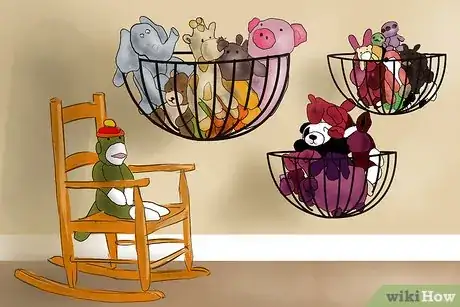
2Use a basket or wire hamper. Purchase a large woven basket or wire clothes hamper online or at your local home and furniture store. Wire baskets are great because they keep all the toys visible and keep the toys easily accessible. Similarly, woven baskets keep the animals well-organized while still providing a cute display. Simply organize the animals upright so that their heads peak out of the basket.[15]
-
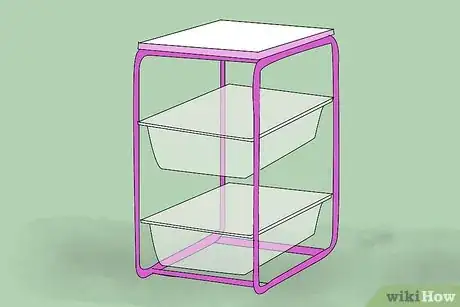
3Utilize an Ikea mesh closet organizer. Similar to an animal hammock, hang a mesh closet organizer in the closet or hang it from the corner of the room. Screw in a hook that can be purchased at your local hardware store or dollar store at any corner of the room and hang the organizer, which can be purchased online or at Ikea.[16]
- The closet organizer may only store stuffed animals of a certain size; however, it will be convenient for your child to store and access her animals whenever she wants.
- Use a stud finder to make sure you have a secure stud to hang your organizer from if you plan to hang it from the ceiling.
-
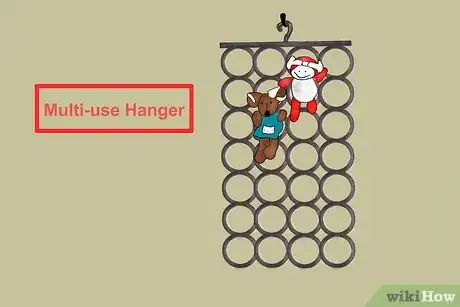
4Display your animals using the Ikea Komplement multi-use hanger. While the organizer is meant for scarves, the loops are perfect for holding and displaying stuffed animals as well. Simply place one half of an animal through a loop and allow it to be suspended by its arms and upper body. Place it in a closet or screw in a hook at the back of a door or on a wall to latch the organizer on to.
Method 4
Method 4 of 4:
Organizing with Simple Techniques
-
1Organize by size. Depending on how many stuffed animals there are, it may be necessary to organize them by size so that you keep the smaller ones in the front so that they are not hidden. Whether you are displaying them on a shelf or keeping them in the closet, keep the smaller ones visible.
- You may experiment with fun patterns when you display your animals. For example, display all your large animals surrounded by five smaller ones and continue this pattern around the room.
-
2Create fun patterns with colour. If there are a lot of stuffed animals, organizing them by colour will bring bursts of energy through your room. For example, you can have all the brown animals on the bottom of a shelf and the white ones on the top. You could also alternate and have a red animal in between flour black ones and continue the pattern around the room.
-
3Utilize every part of the room. If you do not have anywhere to confine your stuffed animals at a single space, you could use them to decorate every part of the room. Use the top of bookshelves, inside bookshelves as book stops, in between shoes in shoe racks, companions at a desk, or displayed on the window sill.
- You may also create silly worlds where all the stuffed birds are placed atop book shelves and coats, stuffed whales swim on the floor, stuffed monkeys swing on the coats, and stuffed bears hide underneath the bed. Use your imagination to help inspire your organization.
Warnings
- Anything that hangs using hooks needs to be secured. You may need a stud finder to find a stud depending on what type of material your walls or ceiling is made out of.⧼thumbs_response⧽
- Do not place a stuffed animal swing in the bedroom of a toddler because they may be tempted to climb it and fall.[17]⧼thumbs_response⧽
Things You'll Need
- Precut hobby wood: 4 inch wide x ¼ inch thick x 2 feet long
- 48 inch wood lath: cut into 1 and 2 ft pieces
- Hooks
- Clothesline or rope
- Wood glue
- Drill
- Staple gun
- 1 ½ - 2 inch branches
- Hand Saw
- Electric drill with various bits of different size
- ⅝ inch braided rope
- Masking tape
- Screws
References
- ↑ http://www.itsalwaysautumn.com/2012/10/31/stuffed-animal-swing-diy-hanging-toy-storage.html
- ↑ http://www.itsalwaysautumn.com/2012/10/31/stuffed-animal-swing-diy-hanging-toy-storage.html
- ↑ http://www.itsalwaysautumn.com/2012/10/31/stuffed-animal-swing-diy-hanging-toy-storage.html
- ↑ http://www.itsalwaysautumn.com/2012/10/31/stuffed-animal-swing-diy-hanging-toy-storage.html
- ↑ http://www.itsalwaysautumn.com/2012/10/31/stuffed-animal-swing-diy-hanging-toy-storage.html
- ↑ http://www.itsalwaysautumn.com/2012/10/31/stuffed-animal-swing-diy-hanging-toy-storage.html
- ↑ http://www.itsalwaysautumn.com/2012/10/31/stuffed-animal-swing-diy-hanging-toy-storage.html
- ↑ http://www.itsalwaysautumn.com/2012/10/31/stuffed-animal-swing-diy-hanging-toy-storage.html
- ↑ http://gardentherapy.ca/branch-swing-shelves/
- ↑ http://gardentherapy.ca/branch-swing-shelves/
- ↑ http://gardentherapy.ca/branch-swing-shelves/
- ↑ http://gardentherapy.ca/branch-swing-shelves/
- ↑ http://gardentherapy.ca/branch-swing-shelves/
- ↑ http://www.home-storage-solutions-101.com/storage-for-stuffed-animals.html
- ↑ http://www.home-storage-solutions-101.com/storage-for-stuffed-animals.html
- ↑ http://www.home-storage-solutions-101.com/storage-for-stuffed-animals.html
- ↑ http://www.itsalwaysautumn.com/2012/10/31/stuffed-animal-swing-diy-hanging-toy-storage.html
