iPhone Basics
Using the Mail app
Mail is probably one of the first apps you'll want to set up on your iPhone. You can use it to view and send emails, reply to messages, and manage your inbox—all the things you're used to doing with your email account.
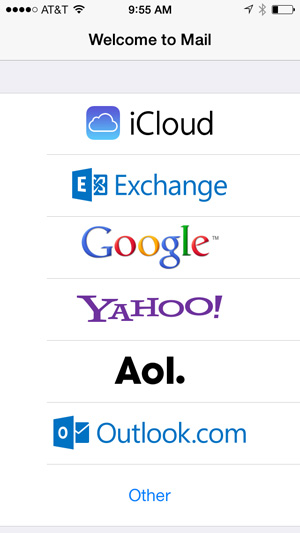
The first time you open the Mail app, you'll need to connect it with an existing email address. Select your email provider, then follow the instructions to connect your account with the Mail app. When you're done, you'll be able to send and receive emails from that account on your iPhone.
 Choosing an email service to connect with the Mail app
Adding another email account
If you use more than one email account—for example, one for personal email and one for work email—you can add multiple accounts to the Mail app, allowing you to manage all of your messages in the same place.
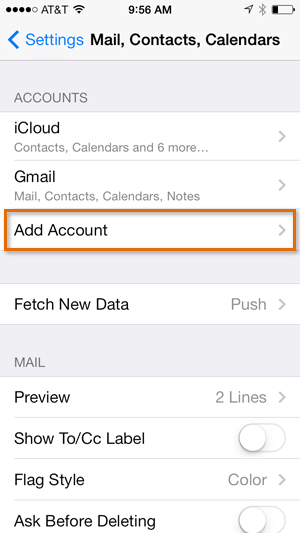
To add another email account, open Settings from the Home screen, tap Mail, Contacts, Calendars in the left pane, then select Add Account. Follow the instructions to connect the new account.
 Adding another email account
Email notifications
When you receive a new email, a badge will appear on the app icon. The number indicates how many unread emails are in your inbox. This allows you to quickly see if you have new messages without opening the Mail app.
 A badge notification
You can customize your alerts by opening Settings, tapping Notification Center, then choosing Mail.
Swipe gestures
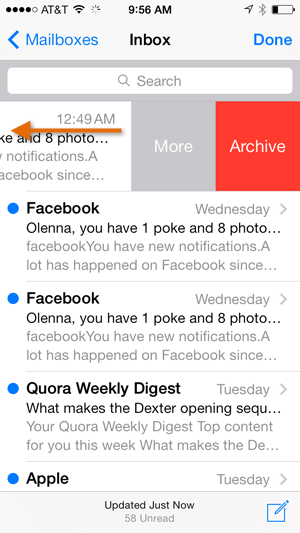
The Mail app includes lots of convenient tools to manage your inbox, including folders, flags, and more. iOS 7 also introduces a new swipe gesture, which allows you to quickly manage the messages in your inbox. Just swipe a message to the left for the option to Archive/Delete, Reply, Forward, and more.
 Swiping a message
Customizing the email signature
By default, every email you send will include the words Sent from my iPhone at the bottom of the message. This is the default email signature for the Mail app. If you'd like to customize or remove the email signature, open Settings from the Home screen, tap Mail, Contacts, Calendars in the left pane, then select Signature.
 Customizing the email signature


