Publisher 2010
Working with Tables
Modifying table layout
To add a row or column:
- Place the insertion point in a cell adjacent to the location where you wish to add a row or column.
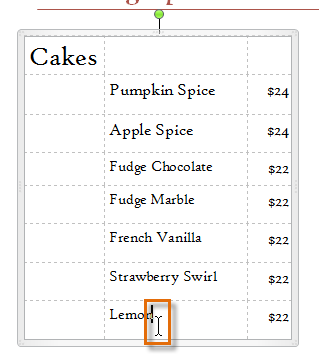 Placing the insertion point
 - Select the Table Tools Layout tab, then locate the Rows & Columns group.
- Insert your new row or column.
- If you would like to insert a new row, select either Insert Above or Insert Below.
- If you would like to insert a new column, select either Insert Left or Insert Right.
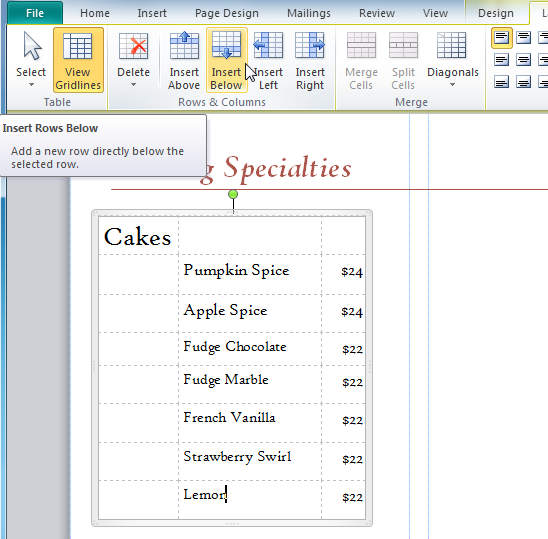 The Insert Row and Column commands
 - The new row or column will appear.
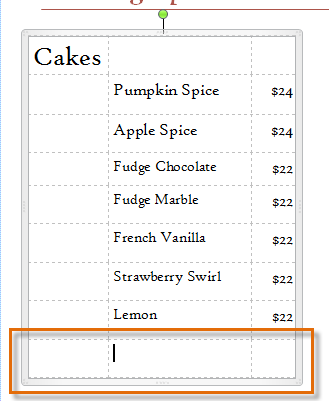 The inserted row
To delete a row or column:
- Select the row or column you wish to delete by placing the insertion point in any cell in that row or column.
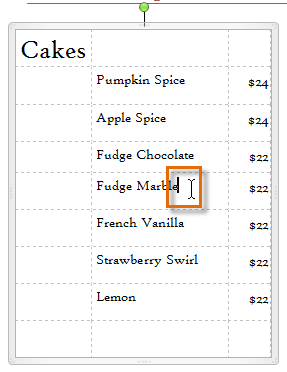 Placing the insertion point
 - Select the Table Tools Layout tab, then locate the Rows & Columns group.
- Click the Delete drop-down command.
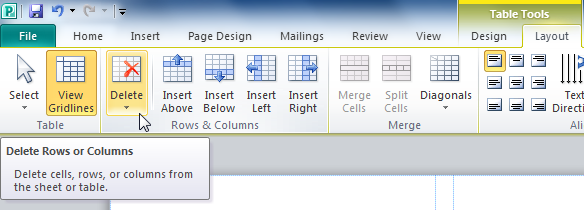 The Delete drop-down command
 - A drop-down menu will appear. Select Delete Rows or Delete Columns.
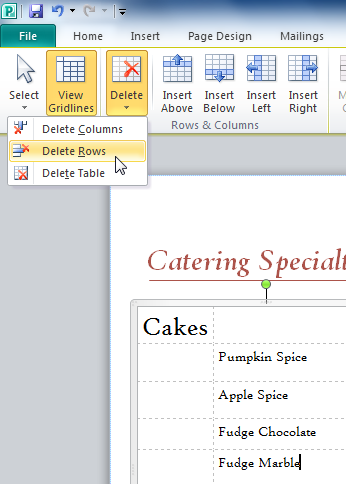 Delete Rows
 - The row or column will be deleted.
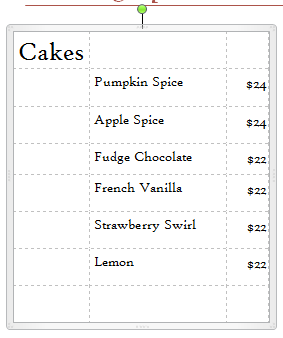 The row has been deleted
Merging and splitting cells
If you want a create a cell that is wider or taller than the other cells in your table, you can use the Merge command to combine two or more cells into one large cell.
To merge cells:
- Select the cells you would like to merge.
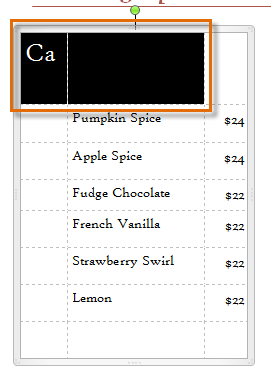 Selecting cells to be merged
 - Click the Table Tools Layout tab, then locate the Merge group.
- Click the Merge Cells command.
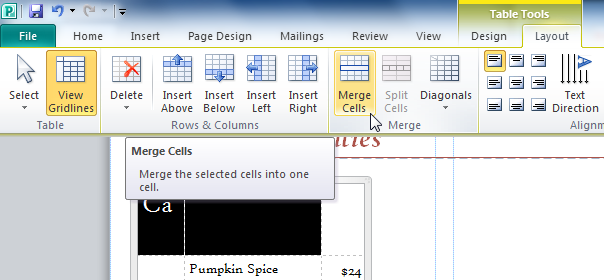 The Merge Cells command
 - The cells will be merged.
 The merged cell
You can separate merged cells by selecting them and clicking the Split Cells command.
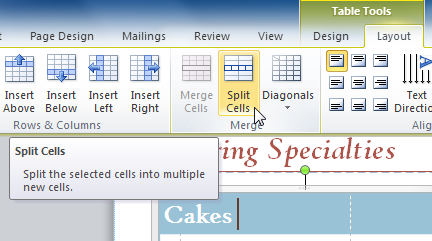 The Split Cells command


