

Word 2013
Pictures and Text Wrapping
Introduction
Video: Pictures and Text Wrapping
 Watch the video (4:44).
Adding pictures to your document can be a great way to illustrate important information or add decorative accents to existing text. Used in moderation, pictures can improve the overall appearance of your document.
Optional: Download our Lesson 18 Practice Document.
To insert a picture from a file:
If you have a specific image in mind, you can insert a picture from a file. In our example, we'll insert a picture saved locally on our computer.
- Place the insertion point where you want the image to appear.
 Placing the insertion point
 - Select the Insert tab on the Ribbon, then click the Pictures command.
 Clicking the Pictures command
 - The Insert Picture dialog box will appear. Select the desired image file, then click Insert.
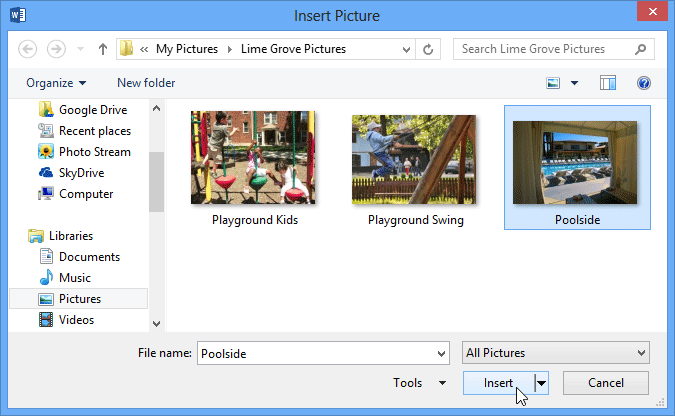 Selecting a picture to insert
 - The image will appear in the document.
 The inserted image
To resize an image, click and drag one of the corner sizing handles  . The image will change size while keeping the same proportions. If you want to stretch it horizontally or vertically, you can use the side sizing handles
  .
.
 Resizing an image


