

/en/canva/creating-a-youtube-banner/content/
Do you want to promote an upcoming event? Whether it’s for a business or personal event, creating and printing a flyer can help catch people's attention—especially if you're targeting a small local audience.
There are many online options for designing and printing flyers. One option is Canva, a free online graphic design tool that allows you to choose from a variety of flyer templates. Canva does most of the design work for you, so you can focus on crafting and sharing your message.
After finishing your flyer design, you have options to print your flyer with Canva, or download it to print with another company or at home.

In this lesson, we'll show you how to customize a Canva flyer template, and look at options for printing them.
Watch the video below to learn how to create a flyer in Canva.
Let's begin by going to canva.com and creating a free account. For more details about getting started with Canva, check out our Creating a Facebook Post lesson.
Canva has flyers with a variety of styles to suit any event. In this case, we’d like to create a flyer for an open house for a veterinarian’s office. Click the Flyer to begin.
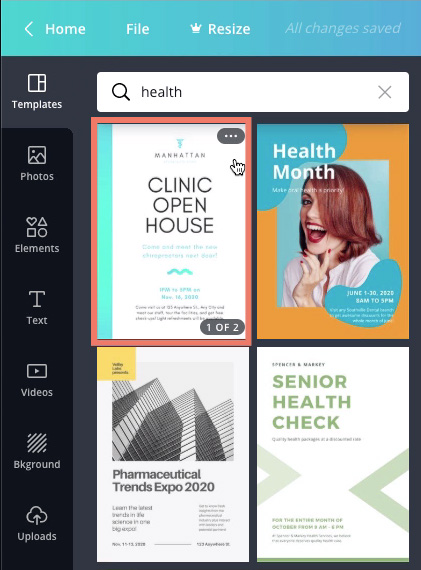
You can try searching by various keywords. In this case, health gave us some good template options. Then, just click the template to get started.
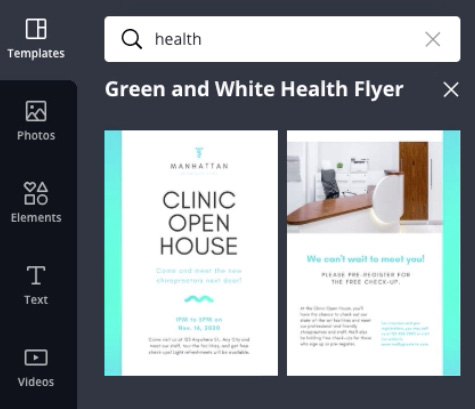
Some templates include designs for both sides of the page, but we’ll keep it simple and just use the front side.
Now it’s time to tailor the flyer template to suit your audience. Let’s start by changing the title. We’ll go ahead and change Clinic to Veterinary, and we’ll keep the Open House part.
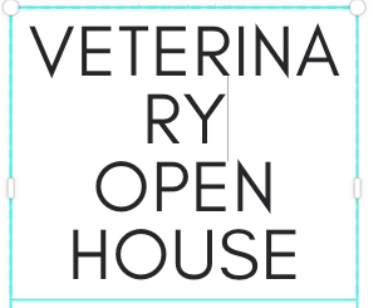
If the text doesn’t fit, we can decrease the font size or change the font to something narrower. In our case, we’ll choose a new font by highlighting the title text, and then opening the font menu.

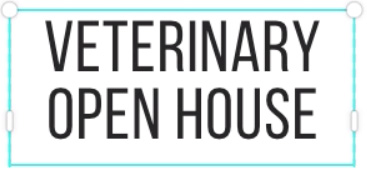
Browse or use the search bar to narrow your choices. You may need to try out a few fonts before finding the one that works best with the rest of the text. In this example, we'll choose Bebas Neue.

Now the title fits much better in the text box.
Next, let’s personalize the text and graphic at the top. The blue text, chiropractic clinic, is hard to read, so we'll increase the font size to 14.

Then, we'll change the text to the the name of our business.

Next, continue working through the template to edit the text for your specific event.

You have the option to upload your own image or logo, or you can use one of Canva's images.
First, select the old image and click the trash icon in the menu bar. If you just want to delete the graphic and keep the text, you can click Delete Element.

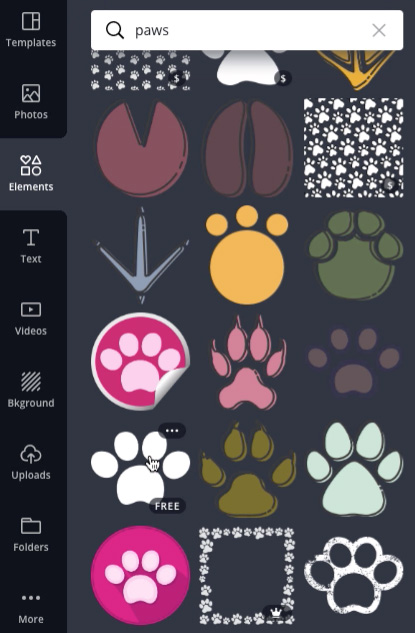
Then you can go to Elements to search for a new one. We’ll try looking for a paw print. We'll focus on finding a style that matches the flyer. The color is less important because Canva actually gives you the option to change the color for many of these graphics. Click the graphic to add it to the design.
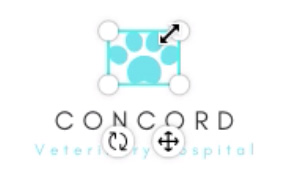
If you see a color box in the menu bar, you can click it to change the color of the graphic.

We’ll choose one of the Document Colors so that it matches the template.

Now you can resize it and position it in the same spot as the previous image, and you can keep adjusting it until it looks right.
When you've completed your flyer design, you have three options for printing:
Printing it on a home printer will use a lot of ink and the colors will likely not look as good. If you want to go with this option, you may want to convert your design to a simple black and white flyer and delete any large color blocks.

Although professional printing can be a little expensive, you’re going to get better results. You can click Print Flyers to look at a few of the options Canva gives you for finalizing your design for printing.

Then, click Print Flyers again in the drop-down menu.

Keep in mind that you’ll see a similar process with other printing services. Canva will have you choose the type of paper, the finish, and the number of copies. Be aware that the colors on the screen will be a bit different when printed out, so we suggest ordering a single copy to make sure you like the colors before printing a large order.

Next, Canva will have you check the layout to make sure everything will look good when printed. This includes checking the edges of the design to make sure nothing will be left out or cut off.
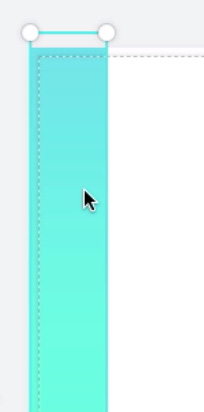
You'll see a dotted line around the edge of the flyer. The space between this line and the edge of the page is where the flyers will be cut down to size.

For graphics that go up to the dotted line, like the gradient below, we want to move it beyond the dotted line to ensure that there’s no white space between the graphic and the edge of the paper when the flyer is cut.
Next, Canva will also have you check what they call the Danger Zone. Anything that appears in the red area has the risk of being cut off, so you may need to adjust your text and graphics.

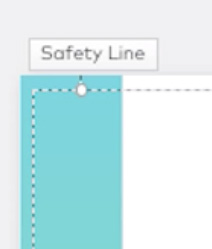
If you go with a different printing service, you’ll have similar options, but they may have different names. For example, Vistaprint uses the term Safety Line instead of Danger Zone, but it’s basically the same thing.
Once you're done checking your flyer, you can pay for flyers. Although Canva makes it convenient to print your flyers, you many want to shop around to different printing services to find one that fits your budget.
Now that you know how to create flyers in Canva and have options for printing them, we hope you’ll start on your own design and get people excited about your next event.