
/en/excel2000/using-the-page-setup-dialog-box/content/
Print Preview allows you to see how your file looks before you print, preventing a waste of paper and ink.
In the preview window, the text in your document appears small. Don't strain your eyes trying to read text in this window. Excel assumes you already proofread your spreadsheet, so data is not editable from this screen. Here, you're simply checking the overall formatting and layout.

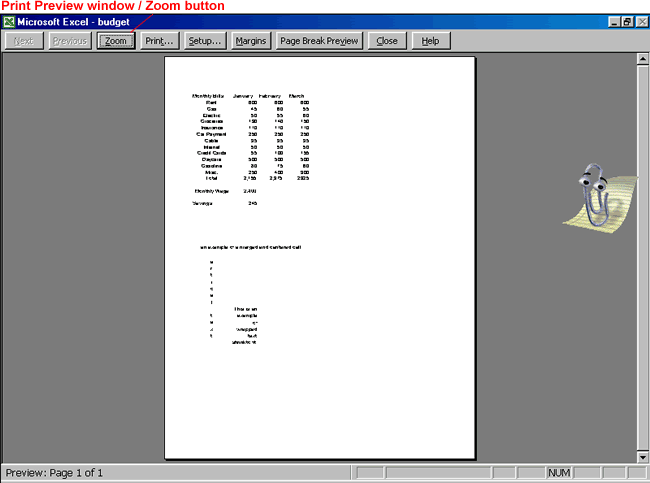
On the previous page, you learned about the zoom function in Print Preview mode. Let's zoom in and take a look at the Print Preview toolbar:

These features are available when you're using a workbook with multiple sheets.
You can view details in your spreadsheet.
Use this to print your document.
This opens the Page Setup dialog box with the Sheet tab displayed.
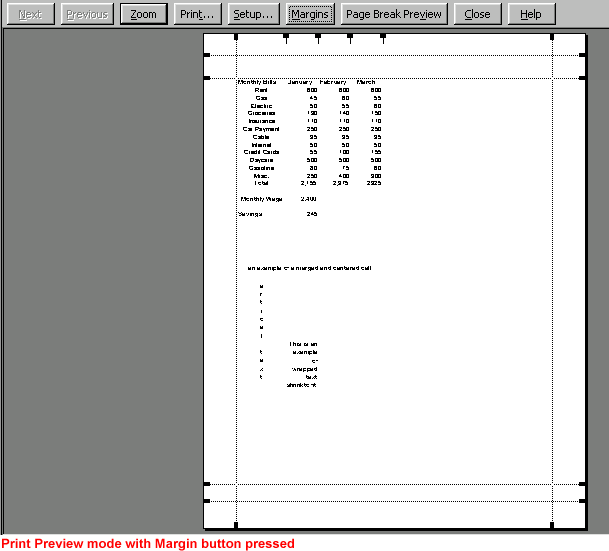
Margins appear as dotted lines. Point to any of the margin lines, and the pointer changes to an double-arrowed adjustment tool. Drag the margin you want to change to its new location.
This shows you what and in what order pages will be printed.
Use this to exit or close Print Preview.

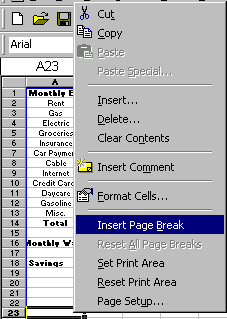
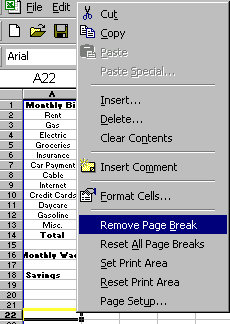
The gray space between two pages is called a page break. You typically won't have to worry about page breaks because Excel automatically inserts soft page breaks when necessary. However, hard page breaks allow you to fine tune the appearance of your document. They are particularly useful when you want to begin a new section of your document.
When you turn on Page Break Preview (available on the Print Preview toolbar), the Office Assistant appears, telling you that you can adjust page breaks by clicking and dragging the edge of the page break with your mouse. Page Break Preview shows you what and in what order pages are printed.

 Areas that are printed are white; areas that won't be printed are gray.
 Page Break Preview from the menu bar.
OR


 To return to Normal view, choose View
 Normal from the menu bar.
 Page Break Preview is only useful if you are dealing with multi-page worksheets.
/en/excel2000/print/content/