Lesson 12: Adding Transitions and Animations

/en/googleslides/adding-pictures-and-shapes/content/

Adding transitions and animations

Presentations don't have to be a series of static slides. You can add animations to objects on slides or transitions to entire slides. A transition can be as simple as fading to the next slide, or it can be a more flashy effect. Any object can be animated, making it move or fade in or out of the slide. Google Slides makes it easy to apply these effects to some or all of your slides, adding emphasis or polish to your presentation.

Watch the video below to learn how to add transitions.


Google Slides has one pane to manage all of your transitions and animations. The Motion pane will allow you to configure the transition and all animations for the current slide.
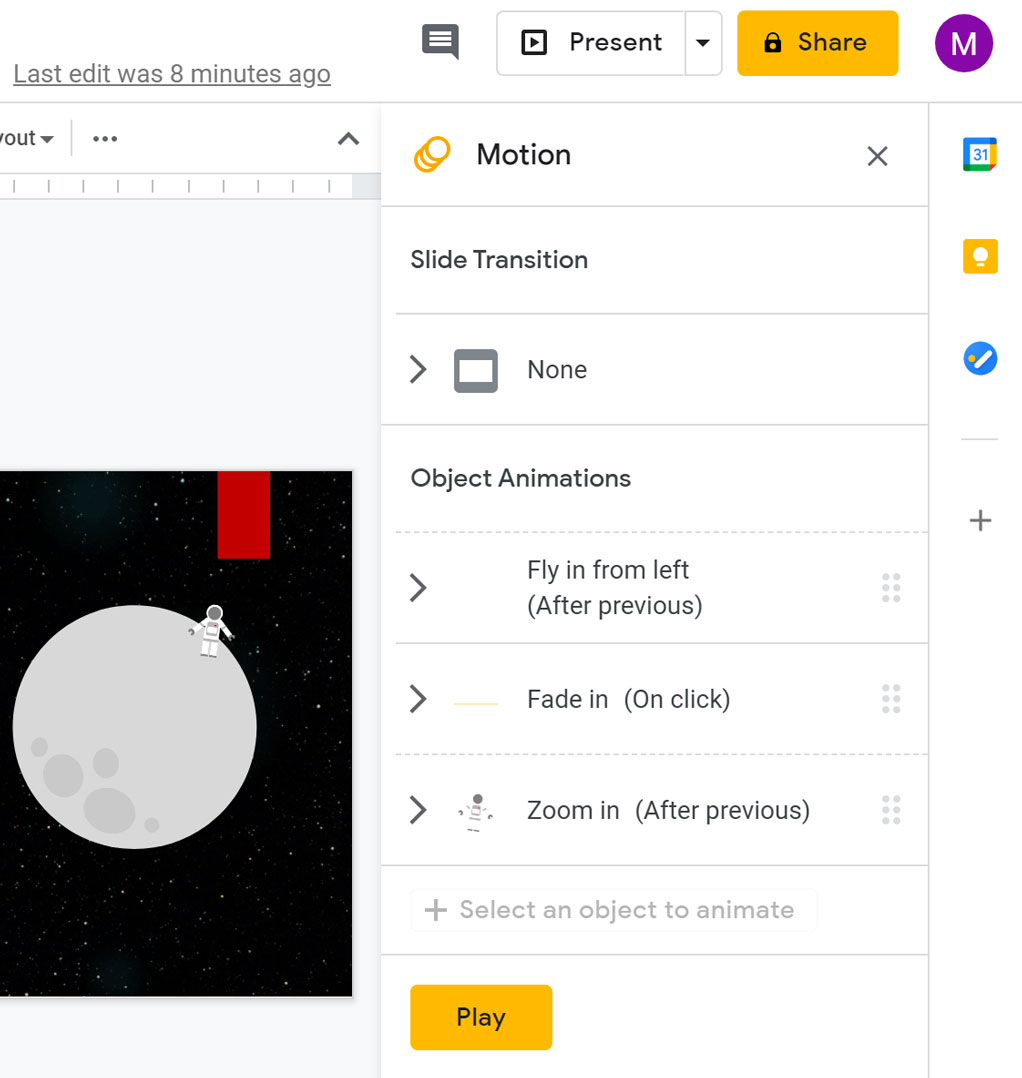
showing the motion pane

Transitions and animations are best used in moderation. Adding too many of these effects can make your presentation look a little silly and can even be distracting to your audience. Consider using mostly subtle transitions and animations—or not using them at all.

To add a transition:

  1. Select the desired slide, then click the Transition command on the toolbar.
    clicking the transition command
  2. The Motion pane will appear. Underneath Slide Transition, open the drop-down menu; then, select a transition.
    selecting the slide transition
  3. The transition will be applied to the current slide. You also can adjust the speed of the transition or apply the same transition to all slides.
    clicking apply to all slides

To add an animation:

  1. Right-click the desired object, then select Animate.
    selecting animate from the right-click menu
  2. The Motion pane will appear. Underneath Object Animations, a default animation will be added to the selected object and displayed in the pane.
    showing the default settings for a new animation
  3. Open the drop-down menu and select the desired animation.
    selecting an animation
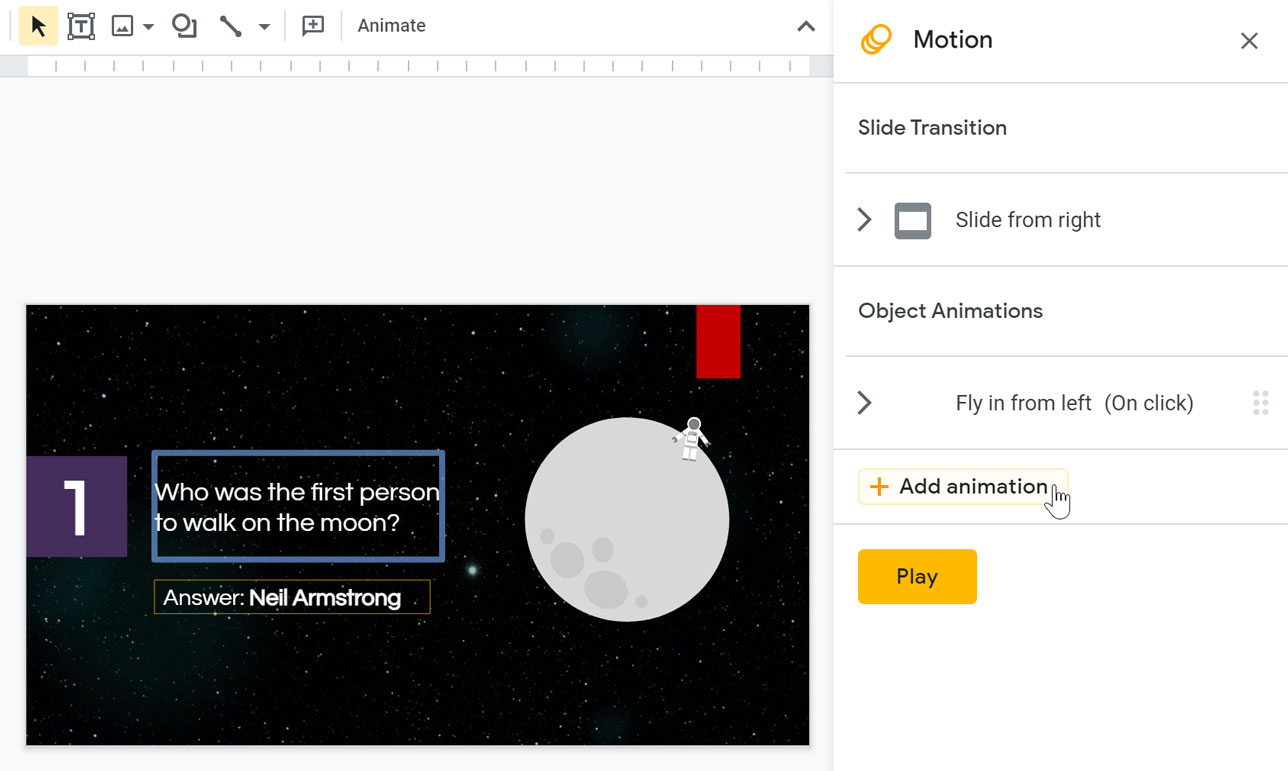
adding an animation

Watch the video below to learn more about using animations.


Animation options

By default, an effect starts playing when you click the mouse during a slide show. If you have multiple effects, you will need to click multiple times to start each effect individually. However, by changing the start option for each effect, you can have effects that automatically play after the previous effect or with the previous effect.
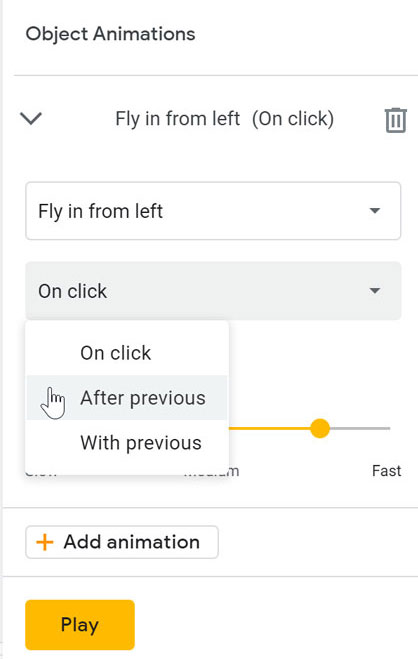
selecting when you want the animation to happen

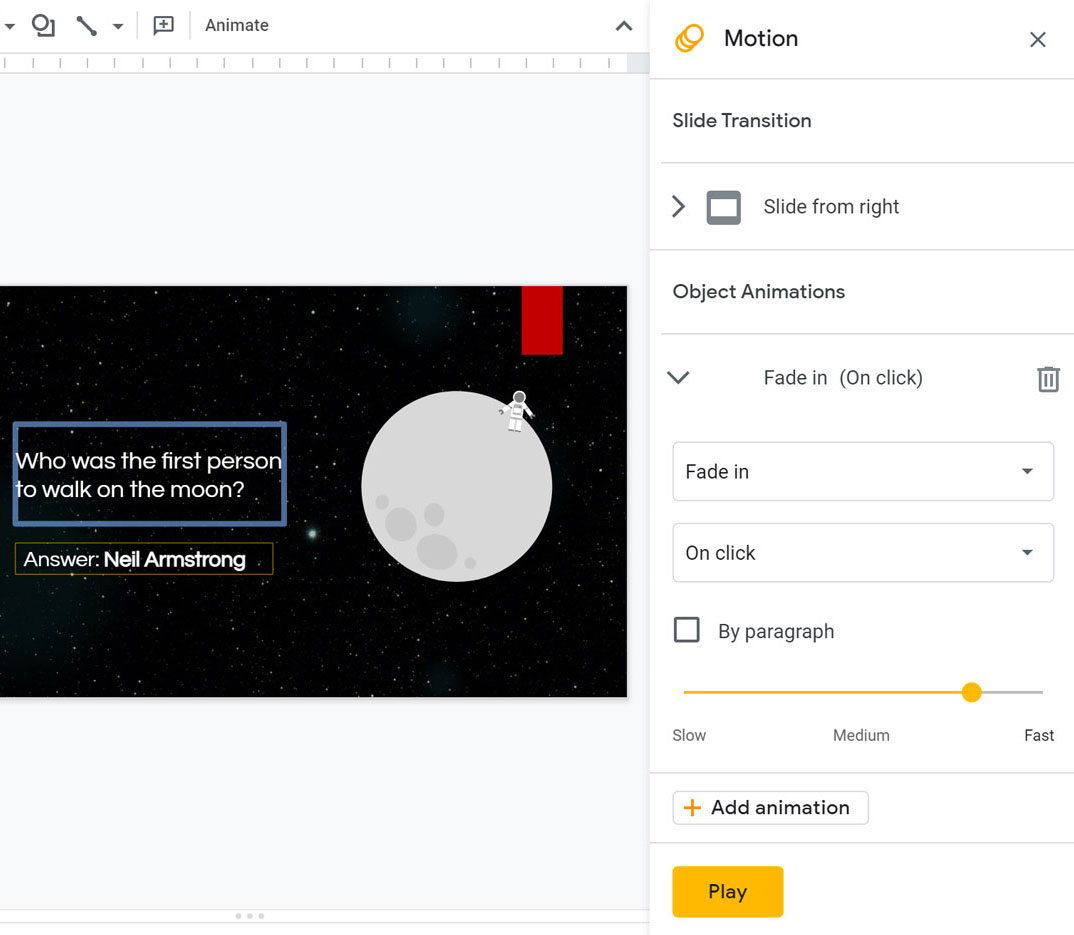
If the object is a placeholder or text box, the By paragraph check box will be displayed. It determines if the animation is applied to the entire box or if it animates each paragraph of text in the box one at a time.
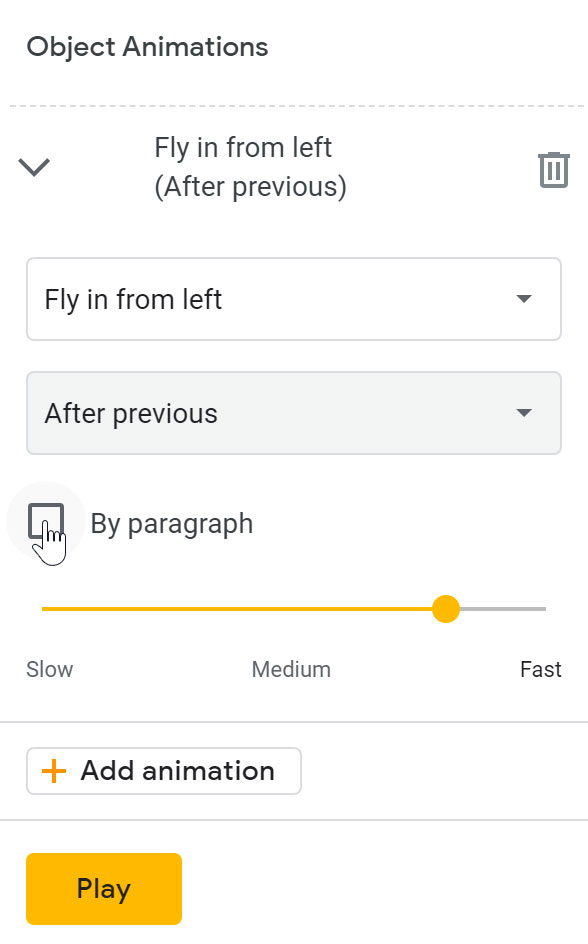
showing the by paragraph checkbox

You can also adjust the speed of the animation by dragging the animation speed slider.
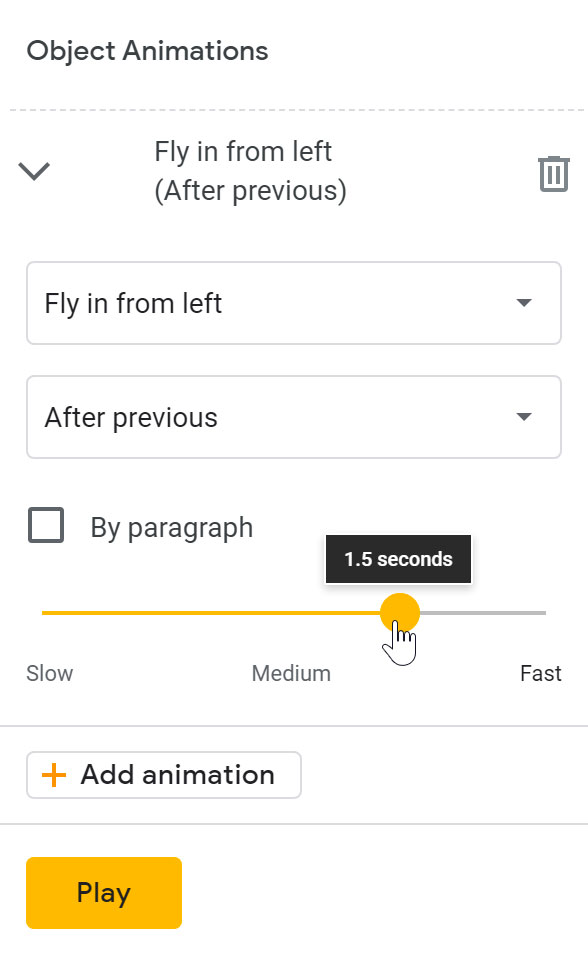
adjusting the speed using the slider

Challenge!

  1. Open our example file. Make sure you're signed in to Google, then click File > Make a copy.
  2. With the first slide selected, add a flip transition, set the speed to medium, and select Apply to all slides.
  3. Select slide 6.
  4. Delete the animation that says Fade in (on click).
  5. Select the Nice Work text box and add a spin animation.
  6. Set the animation to happen after previous at medium speed.
  7. Select the Next week, Space: The Final Exam text box.
  8. Add the animation Fly in from left and set it to happen after previous.
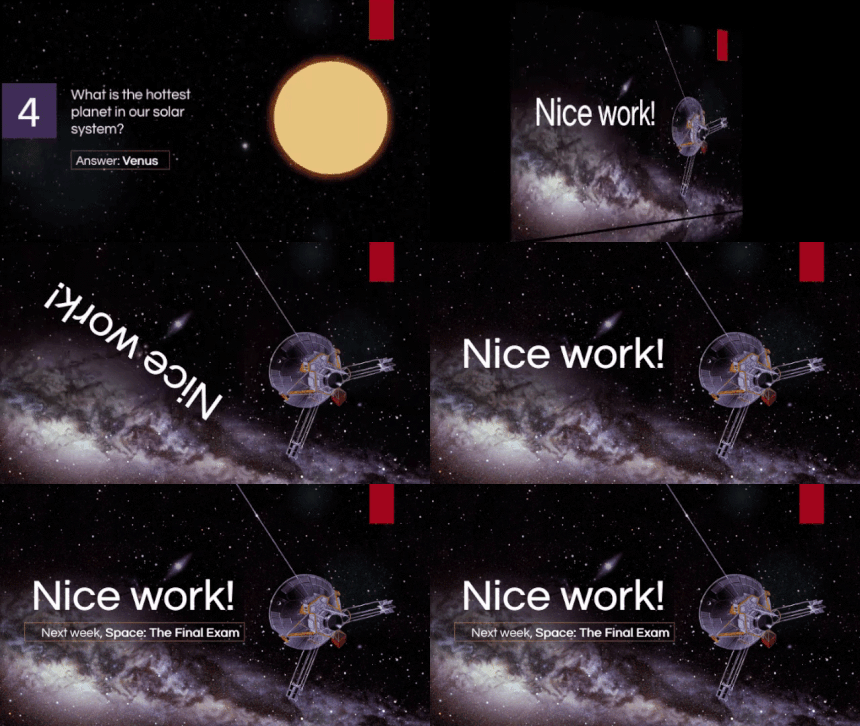
  9. Press the play button in the animation panel. When you're finished, your slide should look something like this:
    Transitions Challenge GIF

/en/googleslides/presenting-your-slide-show/content/