

/en/photoshopbasics/doing-more-with-layers/content/
The Brush tool allows you to paint on any layer, much like a real paintbrush. You'll also have different settings to choose from, which can help you customize it for different situations. Once you know how to use the Brush tool, you'll notice that many other tools, including the Eraser and the Spot Healing Brush, use a similar group of settings.
It's easy to use the Brush tool to paint in your document. Simply locate and select the Brush tool from the Tools panel, then click and drag in the document window to paint. You can also press the B key on your keyboard to select the Brush tool at any time.

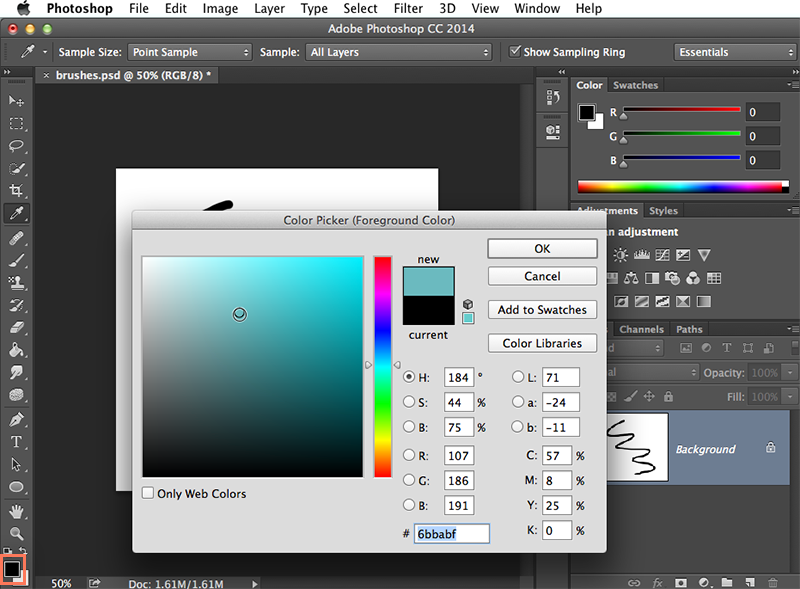
To choose a different brush color, click the top-most color in the Color Picker Tool (this is known as the Foreground Color), then select the desired color from the dialog box.
You'll also be able to customize different settings for the Brush tool from the Control panel near the top of the screen.
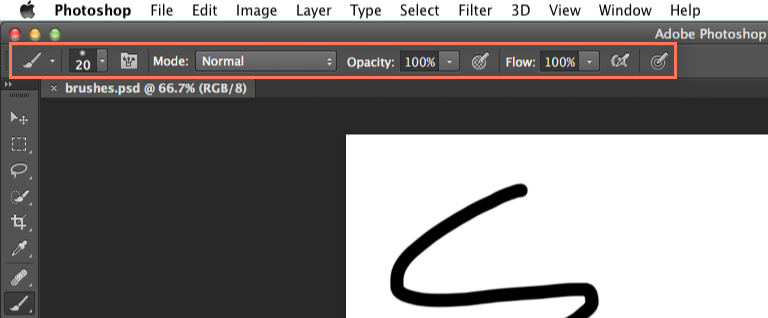
Some of the settings you can adjust here include:
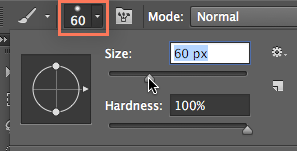
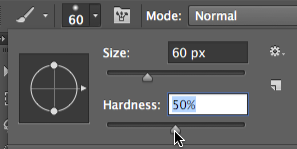


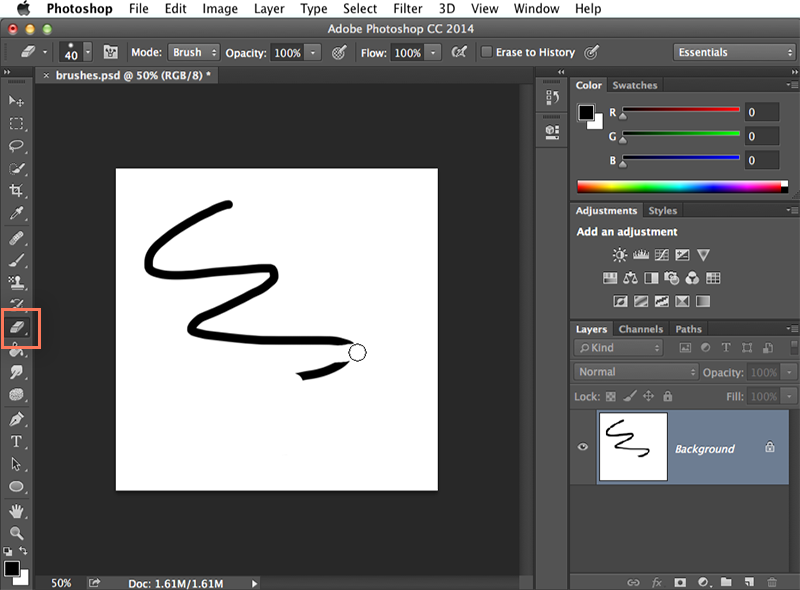
As we mentioned above, many other tools work in a similar way. For example, if you select the Eraser tool, you can click and drag in the document window to erase parts of the selected layer. You can adjust the Eraser tool by changing the size, hardness, opacity, and more from the Control panel.
There are many ways to use brushes in Photoshop, and mastering them will take both time and practice. If you're ready to learn more about brushes, review these tutorials.
/en/photoshopbasics/working-with-text/content/