

/en/word2013/page-layout/content/
Once you've created your document, you may want to print it to view and share your work offline. It's easy to preview and print a document in Word using the Print pane.
 Selecting the File tab
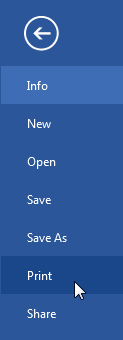 Clicking Print
Click the buttons in the interactive below to learn more about using the Print pane.
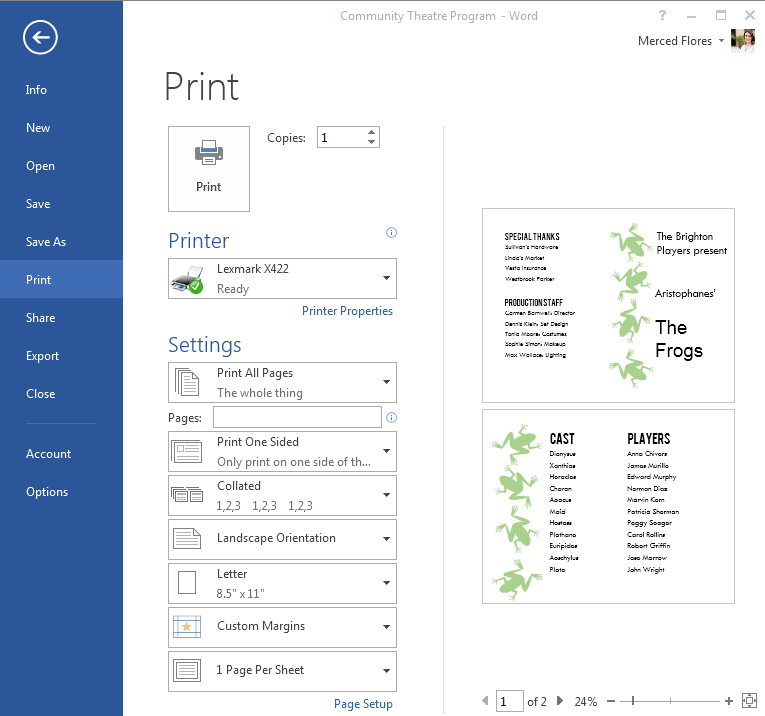
Choose whether to print on one side or both sides of the paper.

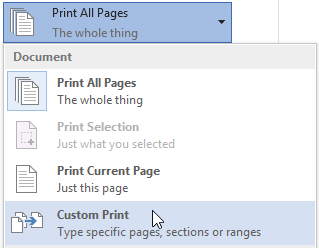
Here, you can choose to print the entire document, just the current page, or custom print to print specific pages.
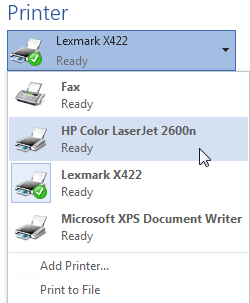
You may need to select the printer you want to use if your computer is connected to multiple printers.
When you are ready to print your document, click the Print button.
Word allows you to print more than one page on a single sheet.
While condensing pages onto one sheet can sometimes be helpful, note that the text will become more difficult to read as more pages are selected.

Here, you can choose how many copies of the document you want to print.
If you're planning to print multiple copies, it's a good idea to print a test copy first.
You can click the arrows to view a different page in Print Preview.
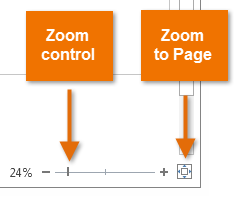
You can click the Zoom to Page button on the right to zoom in and out of the Preview pane.
Click, hold, and drag the slider to use the Zoom control. The number to the left of the slider bar reflects the zoom percentage.
Here, you can see a preview of how your document will look when printed.
Here, you can adjust the page margins, which can help your information fit more comfortably on the page.

If your printer uses different paper sizes, you can choose the paper size you want to use.

Here, you can choose Portrait or Landscape orientation.

If you are printing multiple copies, you can choose whether you want the copies collated or uncollated.

You can also access the Print pane by pressing Ctrl+P on your keyboard.
 Printing a document
Sometimes you may find it unnecessary to print your entire document, in which case custom printing may be more suited for your needs. Whether you're printing several individual pages or a range of pages, Word allows you to specify exactly which pages you'd like to print.
If you'd like to print individual pages or page ranges, you'll need to separate each entry with a comma (1, 3, 5-7, or 10-14 for example).
 Entering pages to print
 Clicking print
/en/word2013/indents-and-tabs/content/