This article was co-authored by Alana Silverman. Alana Silverman is a Certified EAGALA (Equine Assisted Growth and Learning Association) Equine Specialist and the Assistant Manager of Paddock Riding Club, a 200-horse premier equestrian facility based in Los Angeles, California. Alana has over 25 years of experience caring for and riding horses and specializes in English riding and riding instruction. She has a BA in Psychology from the University of Arizona.
There are 15 references cited in this article, which can be found at the bottom of the page.
This article has been viewed 20,951 times.
Horseback riding is a fun and unique sport that allows you to form a partnership with an animal while you ride. You can begin riding at any age. No matter how old you are, you’ll love bonding with the horse during your first ride and while you’re hanging out at the barn grooming, tacking up, and un-tacking your horse.
Steps
Finding Your Barn and Gear
-
1Use the internet to find a good barn. Most barns with lesson programs know that the internet is the best way for them to get the word out about what they can offer. Check out local barns’ websites to see pictures of their facilities and animals. Get ready to be excited about all the cute ponies! Be sure to also read user reviews to find out about other riders’ experiences at the barn.[1]
- Choose a barn with a longstanding lesson program for your first ride. This will help you avoid any injuries or bad experiences as you get started with this new sport.
-
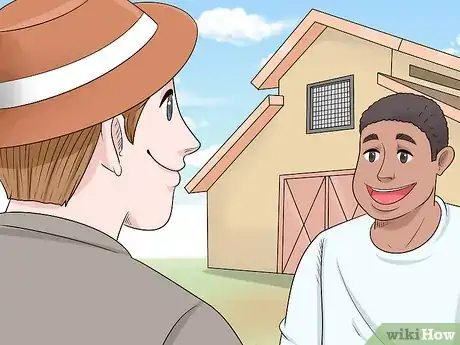
2Visit the barn before your lesson to talk to your instructor. Once you’ve picked your spot, drive over and take a peek. This will help you get comfortable with the barn and the riding arenas. Call ahead to schedule a meeting with your instructor so you can chat about both of your expectations for the lesson.
- Your instructor may also tell you which horse they’re planning to have you ride. Ask if the instructor would be willing to introduce you to the horse so you can start getting to know each other.
-
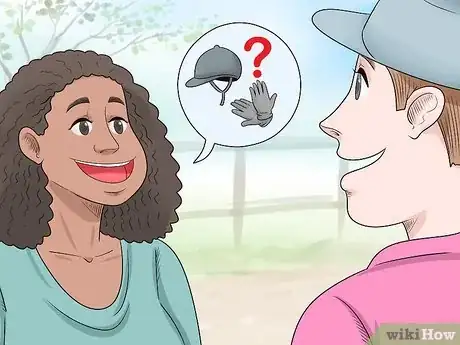
3Ask the instructor if you can borrow necessary gear. During your in-person meeting or the phone call you use to schedule your lesson, ask about equipment. Riding gear is extremely expensive, and you don’t want to buy it unless you’ve fully committed to the sport. Most barns will have helmets available for lesson-ers, and they may also keep pairs of boots and half-chaps.[2]
- If your barn doesn’t have helmets available, ask if they can put you in touch with a rider who’d be willing to let you borrow theirs. The helmet is the only necessary piece of equipment you’ll need for your first lesson, so if you can find one, you’re set. Avoid buying gear until you’ve ridden for at least two months.
-
4Sign release forms and make a payment. Most barns will require you (or, if you’re under 18, your parent or guardian) to sign release forms legally protecting them in case you’re injured. Don’t be alarmed by this form, as its standard procedure and doesn’t mean the barn thinks you’re in danger! Make a payment for the lesson when you sign these forms to help you and the barn keep your records straight.[3]
-
5
-
6
-
7Drink plenty of water and wear sunscreen. Just like any other sport, horseback riding will make you sweaty and thirsty. You’ll probably be riding outside if the weather is warm and dry. Make sure you’re hydrated and protected from the sun before you ride.[8]
- Bring a water bottle along and ask your instructor if they’d be willing to keep it safe for you while you ride. If you get thirsty during the lesson, politely ask your instructor if they can grab your water bottle for you to take a quick water break.
-
8Arrive at least 30 minutes before your lesson begins. Before you ride, your instructor or a groom will need to groom and tack up your horse. It’s important for you to be there for this so you can get to know your horse and learn how to care for them yourself. This prep work generally takes about 15-20 minutes for experienced riders, so a half hour will give you some wiggle room.
Enjoying Your First Lesson
-
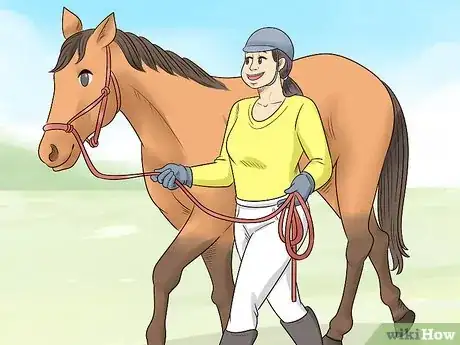
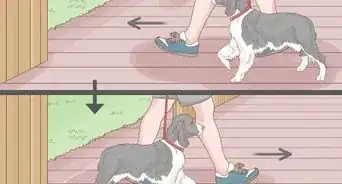
1Lead your horse to the riding ring. Be sure the horse’s reins are not lifted over their head. Stand on the left side of the horse and take both reins securely in your hands to form a lead line. Your right hand should be close to the horse’s chin, and your left hand should hold the rest of the reins to keep you and the horse from tripping over them. Walk forward and gently pull on the reins to get the horse to walk forward.[9]
- Never look back at your horse if they’re not moving. Instead, cluck your tongue and say “walk on!” You can tug on the reins if they’re still resisting.
- Never loop the reins around your hands. If the horse spooks and pulls, you could get hurt.
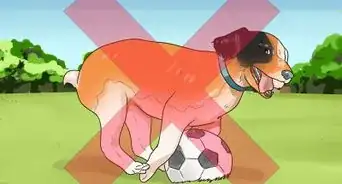
- Don't run or make loud noises around your horse. Always stay calm and remain within your horse's line of vision.[10]
-
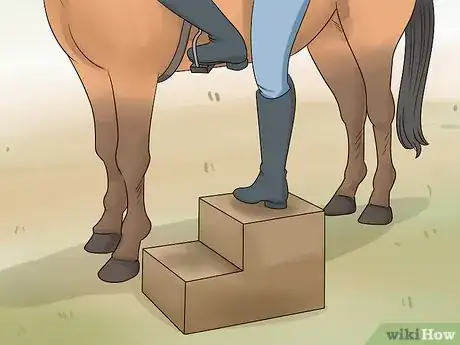
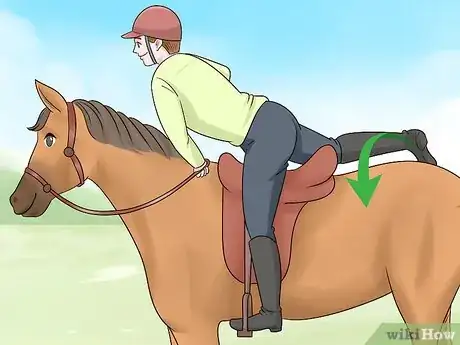
2Mount up using a mounting block. Mounting blocks are large step stools that can be used to make mounting easier. Lead your horse up to the mounting block so the steps are located on its left side. Put the reins over the horse’s head and keep them in your left hand. Walk up the steps, and put your left foot in the left stirrup. Put your weight on this foot as you gently swing your right leg over the saddle.
- Avoid slamming your body weight down in the saddle. While experienced lesson horses may be used to this, it still isn’t comfortable for them. Keep your weight in your legs until you’re ready to slowly ease your bottom down into the saddle.
-
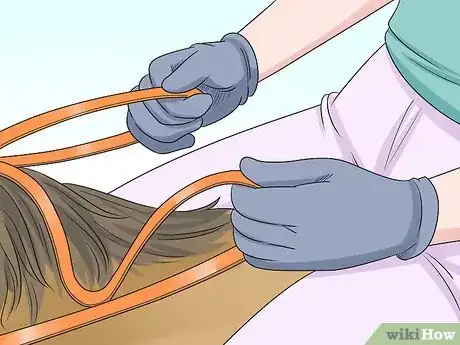
3Close your fingers around the reins. Your fingers should be tight enough around the reins that they won’t slip through your fingers if the horse moves or pulls its head. Be careful not to jerk on the reins or lift your hands up sharply, as this may hurt your horse’s mouth.[11]
- Don’t use the reins to keep your balance. This will also hurt your horse’s mouth, and you’ll lose your balance quickly if your horse moves or drops their head.
You will be instructed to hold your reigns with your thumbs on top. Imagine holding an ice cream cone. This wll give you control and prevent the reigns from slipping.
-
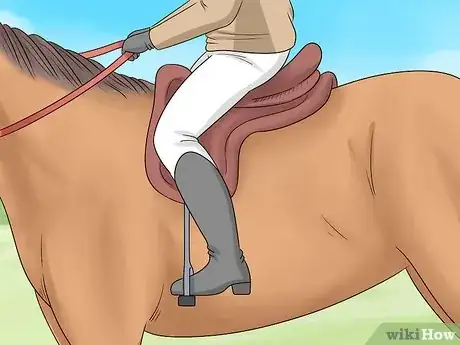
1Keep your balance by using your heels and seat. Your stirrups should sit right under the balls of your feet, which are located at the front of your feet’s arches. This will help you automatically push your heels down, which will make you put your weight into your bottom and legs. This position will keep you balanced and secure in the saddle. Avoid positioning your heels upwards and toes down in the stirrups as this will be a cue for your horse to go faster when you might not want him to.[12]
- Your stirrups should be long enough to create a natural bend in your knee. You shouldn’t be reaching for the stirrups with your feet, but they also shouldn’t be so short that they make your legs feel folded-up or cramped.
-
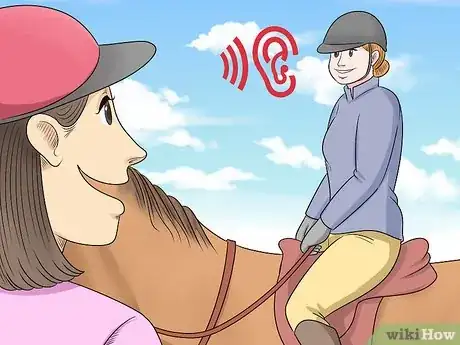
2Listen closely to your instructor to keep you and the horse safe. During this first lesson, pay careful attention to your instructor. They’re going to teach you several basic body and voice commands that can be used to get the horse to move forward, stop, turn, walk, and maybe trot. Your instructor will also help you position your body to feel comfortable and safe in the saddle. Be patient with this basic lesson, as it’s a building-block for anything that comes next.[13]
- If you’re ever feeling nervous or scared, tell your instructor right away. Don’t try to tough it out. Horses are sensitive animals, and they’ll respond to your emotions.
-
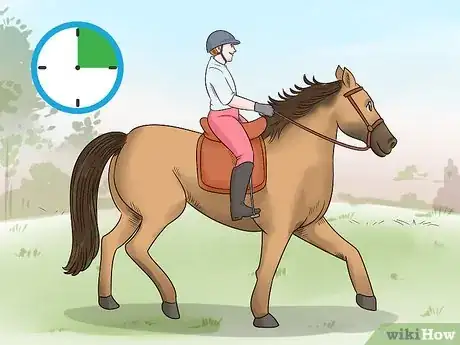
3Cool down your horse for 10-15 minutes. While your horse probably didn’t get very winded or sweaty during your lesson, it’s a good idea to get in the habit of cooling down by walking them slowly around the riding ring. This will allow the horse’s warm muscles to cool slowly, preventing stiffness and injury. It will also give you time to take a breath and relax with your horse.[14]
- You’ll know when your horse is cooled down by resting your hand on their neck. If it doesn’t feel much warmer than the air temperature, you’re ready to go.
-
4Dismount on the left side of your horse. Once you’re completely finished with your lesson, stop in the middle of the ring. Put your left hand on the reins, and swing your right leg over the saddle to dismount. Pull the horse’s reins over their head to lead them safely back to the barn.
-
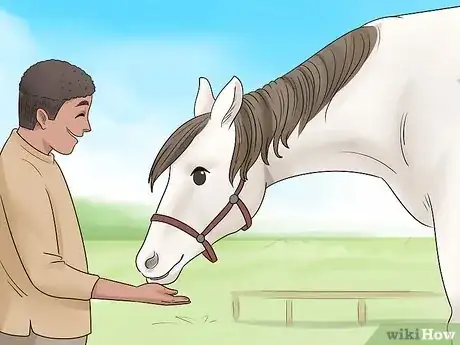
5Give your horse a treat. It’s important to thank your horse for their hard work. You can give your horse a carrot, a piece of apple, a sugar cube, or a horse treat that the barn provides. In order to feed them the treat, put it in the middle of your hand and bring your hand up to their mouth. Keep your palm flat and your fingers together. You don’t want the horse to mistake your pinky for a second carrot! [15]
Grooming, Tacking, and Un-Tacking Your Horse
-
1Shadow your instructor to learn how to care for the horse. Since this is your first ride, you won’t know exactly what to do, even if you read up about grooming and tacking online. Don’t be embarrassed! Your instructor or the barn groom will be happy to let you observe and participate safely to learn what you’re supposed to do for the next time.
-
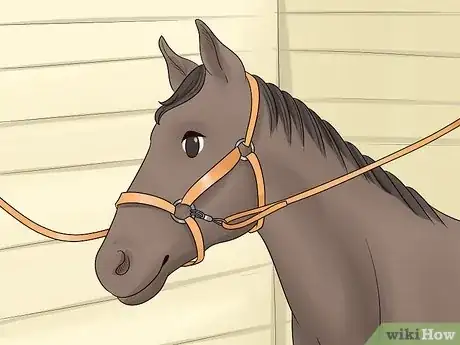
2Secure the horse in cross-ties. Your instructor will halter your horse by standing on the horse’s left side, putting the horse’s nose through the halter, and gently pulling the top of the halter over their ears. Halters have small metal squares located on each side of the horse’s face. Most barns have wide aisles with long lead lines, or cross-ties, hanging down on either side that can be attached to the halter’s metal squares to let you safely groom and tack up.[16]
- When your horse is in cross-ties, always walk around the front, rather than the back of the horse. This will keep you from being kicked. If you need to brush out your horse's tail, always speak softly and slowly move your hand along their body to their hindquarters to let them know you are there and to prevent them from being startled. You also shouldn’t stand directly in front of the horse, as they can’t see you there. Stand slightly to the side of their face to get in their line of vision.[17]
-
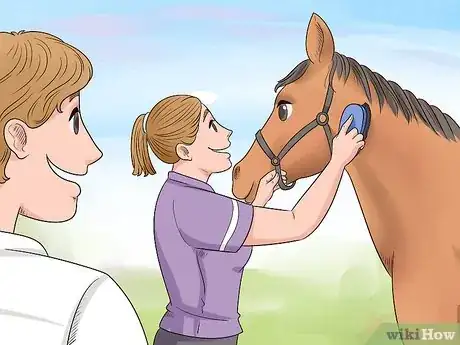
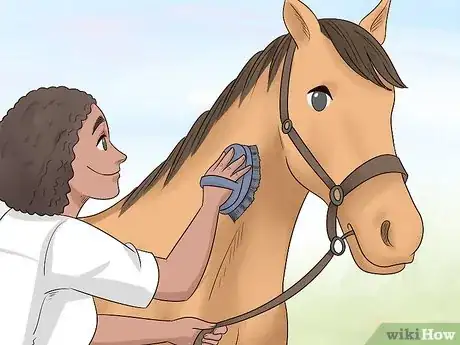
3Groom your horse before and after you ride. Horses love rolling around in their stalls and paddocks to itch themselves. Your itchy horse may be covered in dirt and hay. Cleaning this off before you ride will help your horse be more comfortable while you ride. It’s also important to clean off sweat marks and dirt once you’re done with your lesson.[18]
- Grooming can be scary for first-time riders. Tell your instructor any time you’re nervous. Picking feet can be especially difficult for beginners, so ask your instructor to show you how to do this before you do it yourself.
- If your horse is especially dirty or sweaty, you may need to hose off, sponge, or bathe your horse. This probably won’t be necessary unless it’s a very hot summer day, and you usually only need to bathe after you ride.
-
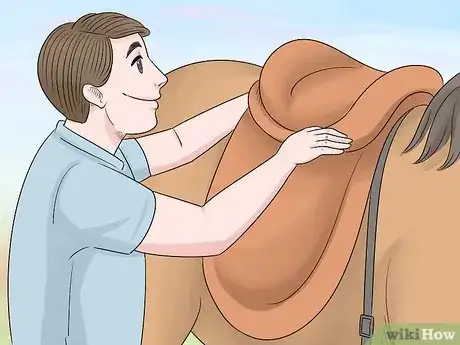
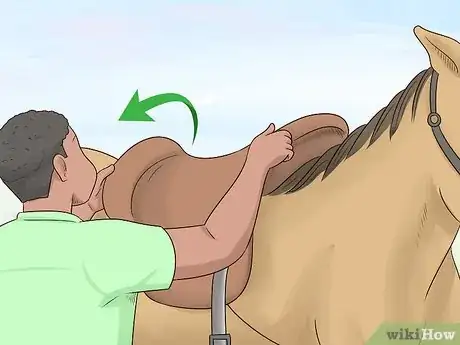
4Tack up your horse using English or Western gear. Because this is your first time and properly secured gear is really important for safety, your instructor or the groom will tack up your horse for this lesson. No matter which style you’re riding, there are several basic pieces of gear required for tacking up. Watch closely so you’re ready to do it yourself next time.[19]
-
5Remove the tack after your lesson. Once you’re finished riding, your tack can be removed in the same order it was put on the horse. Put your tack to the side once you’ve taken it off. Lots of barns have hooks and stands for this. You can also gently lean it against the barn wall.
-
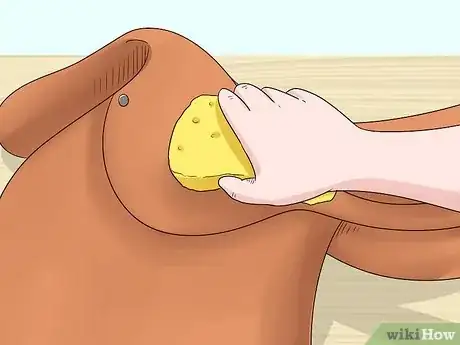
6Clean your tack to make it last longer. When you clean dirt, grass, and other grime off tack, you’ll not only make it nice for the next rider, you’ll also prevent the leather tack from cracking or breaking. Use a dampened sponge and some saddle soap to wipe down any leather. Run a different wet cloth or toothbrush over the bit to remove any gunk or debris. Use a soft, dry cloth to completely dry the leather once it’s clean.[20]
Expert Q&A
-
QuestionWhat are some important safety tips for kids riding a horse for the first time?
 Alana SilvermanAlana Silverman is a Certified EAGALA (Equine Assisted Growth and Learning Association) Equine Specialist and the Assistant Manager of Paddock Riding Club, a 200-horse premier equestrian facility based in Los Angeles, California. Alana has over 25 years of experience caring for and riding horses and specializes in English riding and riding instruction. She has a BA in Psychology from the University of Arizona.
Certified EAGALA Equine Specialist Never run around or under the horses. Always keep your voice to a conversational level—no screaming or yelling. Also, make sure the horse can always see you. Horses' eyes are situated on the sides of their head, not in the front of their face like people, so they don't see directly in front of them. Coming to the side of the horse and petting its neck or the side of its face is more enjoyable for it than you going and touching the front of it between its eyes. Also, always wear closed-toed shoes, preferably a boot.
 -
QuestionHow can you read a horse's body language?
 Alana SilvermanAlana Silverman is a Certified EAGALA (Equine Assisted Growth and Learning Association) Equine Specialist and the Assistant Manager of Paddock Riding Club, a 200-horse premier equestrian facility based in Los Angeles, California. Alana has over 25 years of experience caring for and riding horses and specializes in English riding and riding instruction. She has a BA in Psychology from the University of Arizona.
Certified EAGALA Equine Specialist One of the most expressive points on a horse is its ears. When its ears are forward, it's attentive, but when they're pinned back towards its butt, it means that it's pretty agitated or possibly listening to something behind it. More often than not, a pinned back ear is an agitated, angry, upset expression. If a horse moves towards you, it's curious. If it's moving away from you, it doesn't want to be close to you.
 -
QuestionHow do you get a horse to trust you?
 Alana SilvermanAlana Silverman is a Certified EAGALA (Equine Assisted Growth and Learning Association) Equine Specialist and the Assistant Manager of Paddock Riding Club, a 200-horse premier equestrian facility based in Los Angeles, California. Alana has over 25 years of experience caring for and riding horses and specializes in English riding and riding instruction. She has a BA in Psychology from the University of Arizona.
Certified EAGALA Equine Specialist It really comes down to time. The more time you spend, the more trust that is able to develop. So much of that happens on the ground. Even before getting on the horse, establishing that trust is really valuable. There are different activities and fun games you can do with your horse on the ground and in an arena or a small pen. In order for the horse to trust you, it needs to have a sense that you're its leader.
References
- ↑ https://greatist.com/fitness/horseback-riding-beginner-guide
- ↑ http://www.westcoasthorsemen.com/editorials/a-beginners-guide-to-horse-riding-gear/
- ↑ https://stablemanagement.com/articles/a-look-at-barn-rules
- ↑ Alana Silverman. Certified Equine Specialist. Expert Interview. 17 March 2020.
- ↑ https://greatist.com/fitness/horseback-riding-beginner-guide
- ↑ Alana Silverman. Certified Equine Specialist. Expert Interview. 17 March 2020.
- ↑ https://greatist.com/fitness/horseback-riding-beginner-guide
- ↑ http://life.nobleoutfitters.com/beginner-basics-what-do-you-need-for-your-first-riding-lesson/
- ↑ http://www.equusite.com/articles/safety/safetyLeading.shtml
- ↑ Alana Silverman. Certified Equine Specialist. Expert Interview. 17 March 2020.
- ↑ http://www.lovehorsebackriding.com/horse-riding-for-beginners.html
- ↑ http://www.lovehorsebackriding.com/horse-riding-for-beginners.html
- ↑ https://www.hoofride.co.uk/riding/learn-to-ride/kids-teenagers/what-to-expect/
- ↑ https://www.equisearch.com/articles/cooling-out-hot-horse-17252
- ↑ http://www.horsechannel.com/horse-health/toxic-horse-treats.aspx
- ↑ https://www.equisearch.com/discoverhorses/how-to-halter-a-horse
- ↑ http://horseandrider.com/advice/safety_rules_kids_052908-20083
- ↑ http://www.lovehorsebackriding.com/how-to-groom-a-horse.html
- ↑ http://animals.mom.me/tack-up-horse-7745.html
- ↑ http://www.horsechannel.com/horse-keeping/tack-cleaning-tips.aspx
About this article
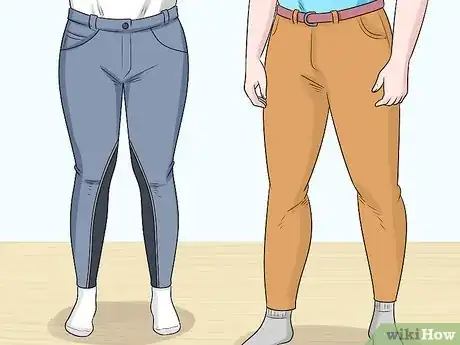
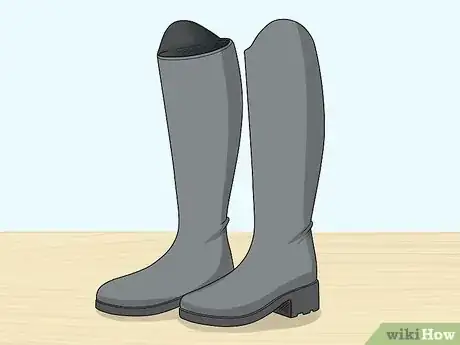
To ride a horse for the first time, you’ll need to wear long pants, like old jeans, to protect your legs from friction and heeled boots to grip the stirrups. If you don’t have your own helmet or riding gloves, you should be able to borrow them from your instructor. When you arrive for your first lesson, you’ll first walk your horse to get comfortable with each other. Then, mount your horse by stepping on a mounting block, putting your left foot in the stirrup, and swinging your right leg over the saddle. Once you’re comfortable in the saddle, listen to your instructor, who will guide you through the motions and make sure you’re safe. For more tips, like how to groom and tack your horse before riding, read on!

