Excel 2013
Tables
Introduction
Once you've entered information into a worksheet, you may want to format your data as a table. Just like regular formatting, tables can improve the look and feel of your workbook, but they'll also help to organize your content and make your data easier to use. Excel includes several tools and predefined table styles, allowing you to create tables quickly and easily.
Optional: Download our Lesson 21 Practice Workbook.
To format data as a table:
- Select the cells you want to format as a table. In our example, we'll select the cell range A4:D10.
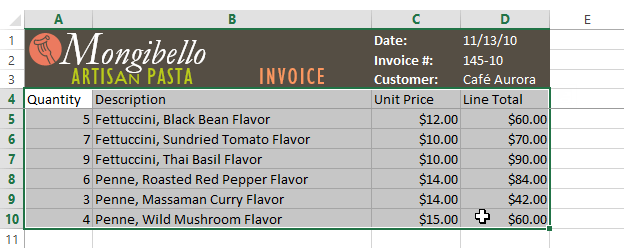 Selecting a cell range to format as a table
 - From the Home tab, click the Format as Table command in the Styles group
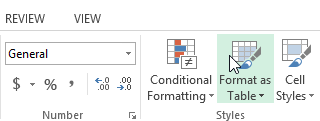 Clicking the Format as Table command
 - Select a table style from the drop-down menu.
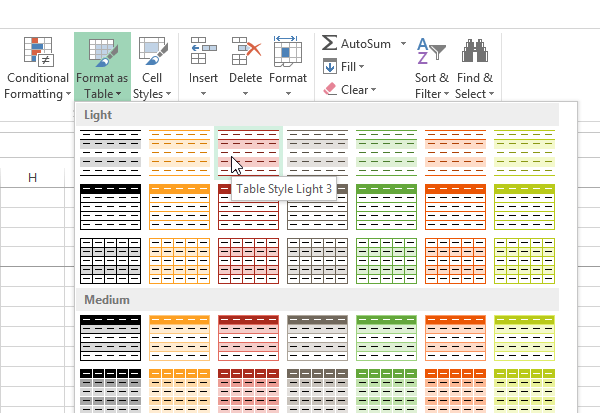 Choosing a table style
 - A dialog box will appear, confirming the selected cell range for the table.
- If your table has headers, check the box next to My table has headers, then click OK.
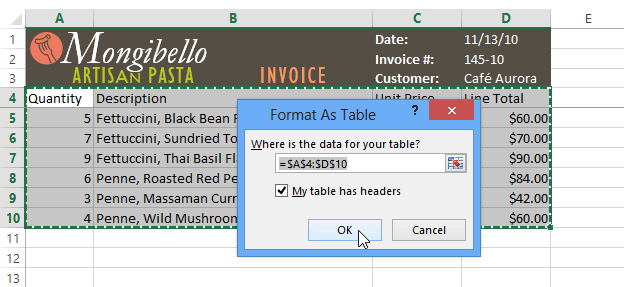 Clicking OK
 - The cell range will be formatted in the selected table style.
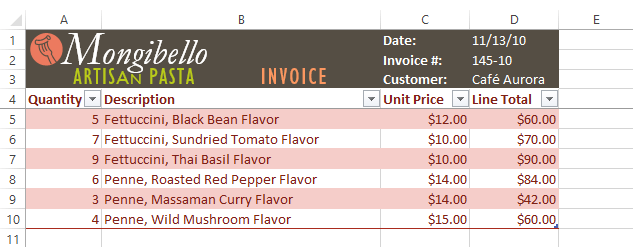 The cell range formatted as a table
Tables include filtering by default. You can filter your data at any time using the drop-down arrows in the header cells. To learn more, review our lesson on Filtering Data.


