

/en/google-forms/getting-started-with-google-forms/content/
Google Forms allows you to create and edit a variety of forms, either from scratch or by using a template. We'll go over how to create your own forms, the various types of questions you can use, and how to store and access any responses you receive.
In this lesson, we'll start with creating a blank form. On the Google Forms homepage, simply click the Blank form button.

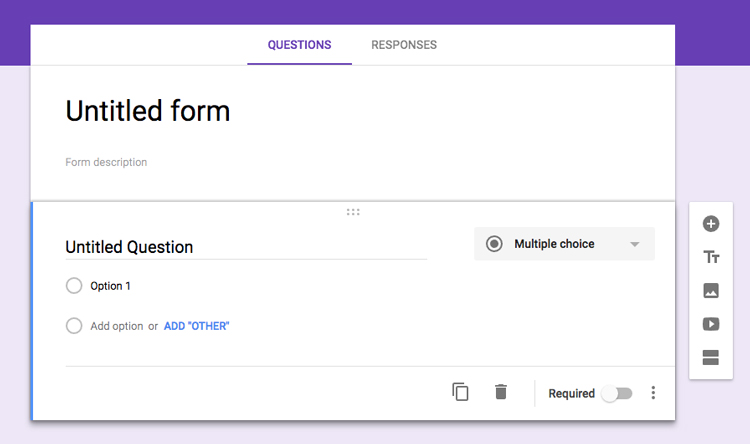
From here, you'll be able to create and edit your form. When you click the untitled question, you'll notice that a few options appear. Let's take a closer look at this interface.
Click the buttons in the interactive below to become more familiar with the Google Forms editor.
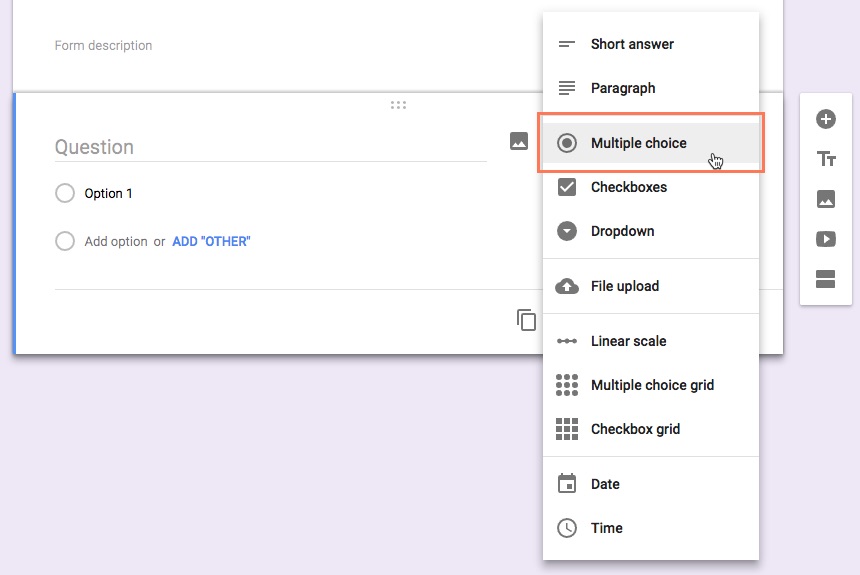
Google Forms offers a variety of questions for you to choose from. The type of question you use will depend on what kind of answers you're looking to get with your form. Below are a few types and how you can use them:

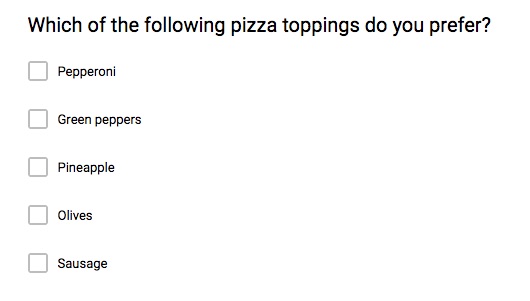


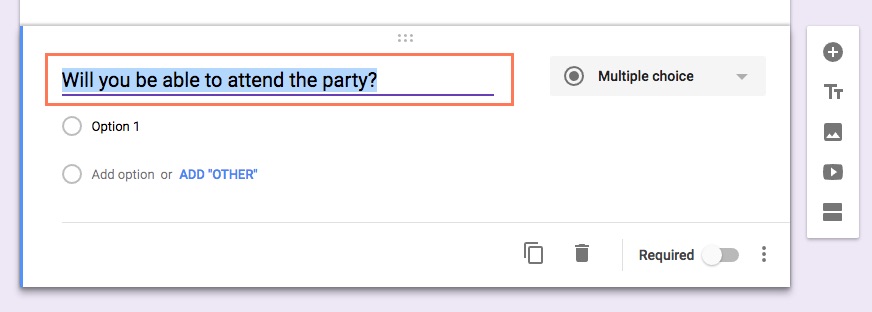
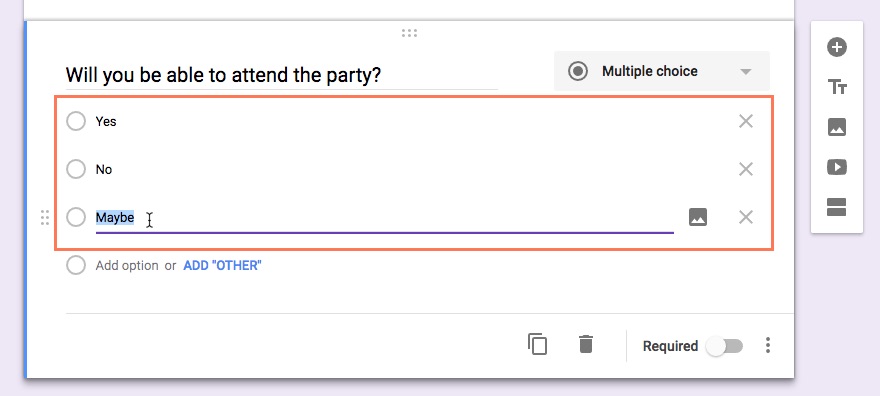
As seen above, there are many types of questions you can create with Google Forms. In this example, we'll be creating a multiple-choice question. The process for creating other types of questions is fairly similar, and the general process will apply to most of them as well.
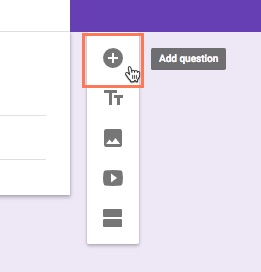

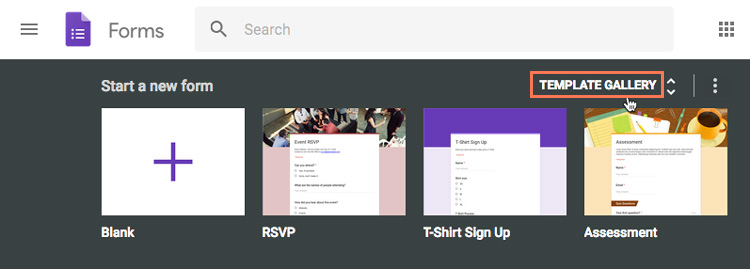
Instead of creating a form from scratch, Google Forms offers plenty of templates for you to use as a starting point. On the Forms homepage, click Template Gallery.
From here, you can select any of the available templates. They're organized into three sections: Personal, Work, and Education.
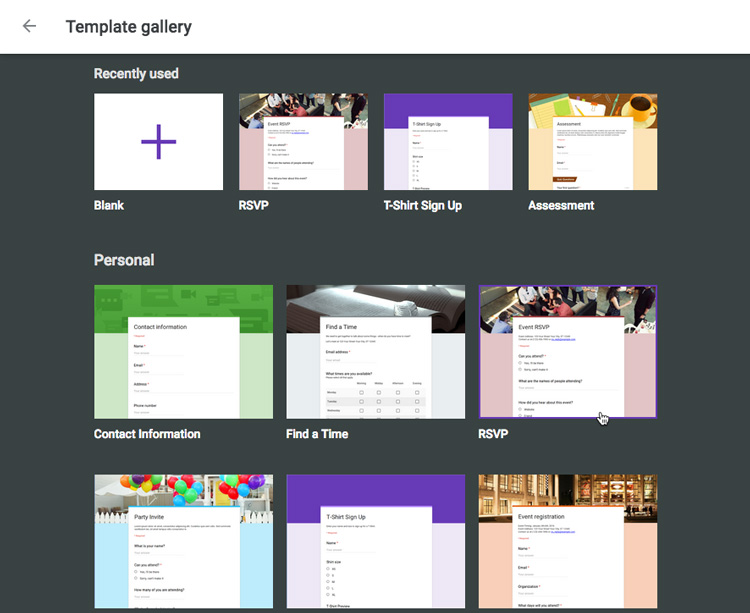
From here, it's as simple as filling in the blanks. You can also add or delete questions as you see fit.
Once you're happy with the form you've created, you'll need to choose how to store the responses you'll receive. Google Forms offers two methods for storing responses:
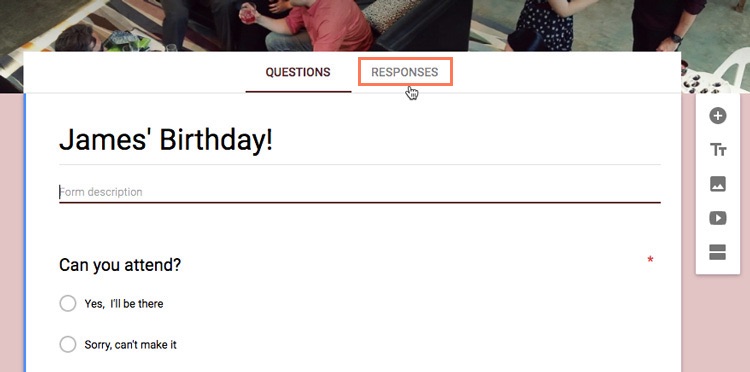
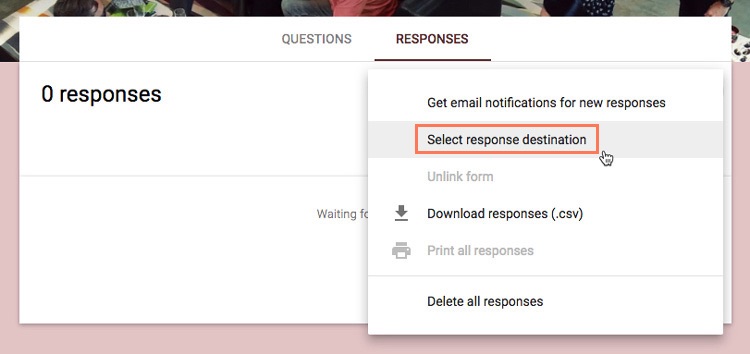
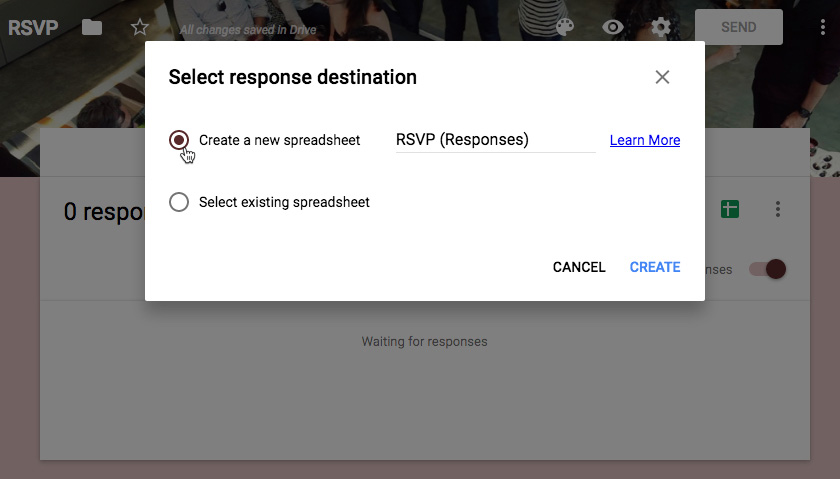
By default, your responses will be stored inside the form. However, if you'd like to save them to a spreadsheet, here's how:

The method you choose will depend on both the type of information you're collecting and how many recipients you plan on sending the form to. We'll cover this in greater detail in our lesson on organizing and analyzing your responses.
Once you've finished adding your questions, your form will be ready to go! In the next lessons, we'll talk about adjusting settings and sending the form out to all of your recipients.
/en/google-forms/adjusting-your-settings/content/