

/en/googleslides/voice-type-speaker-notes/content/
You have added objects to your slides presentation, but now it looks disorganized and jumbled. How can you arrange the objects to make it look more polished? Google Slides has tools to help you put together your slides with everything in its place.
Watch the video below to learn how to arrange objects on your slides.
We'll show how to use these tools within our example file. You can open it to work along with the lesson. Once you're signed in to Google, go to File > Make a copy to begin.
When objects overlap or are too far apart, the Distribute and Align tools can help you organize your slides.

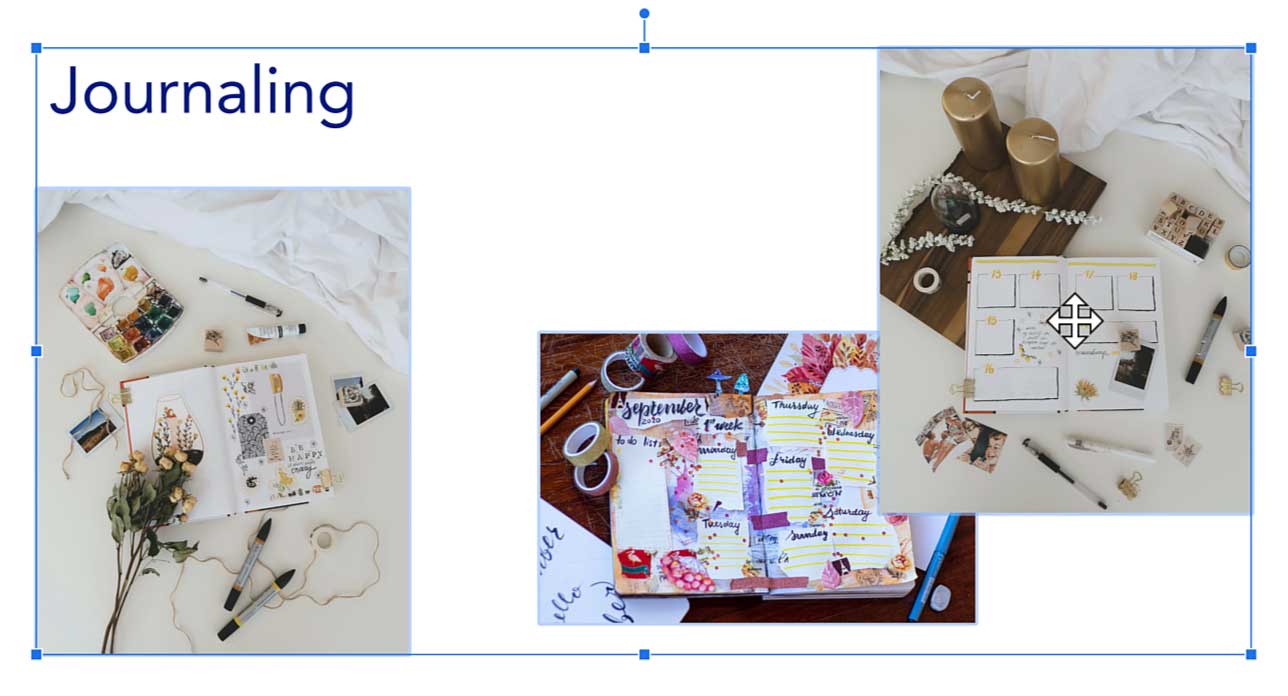

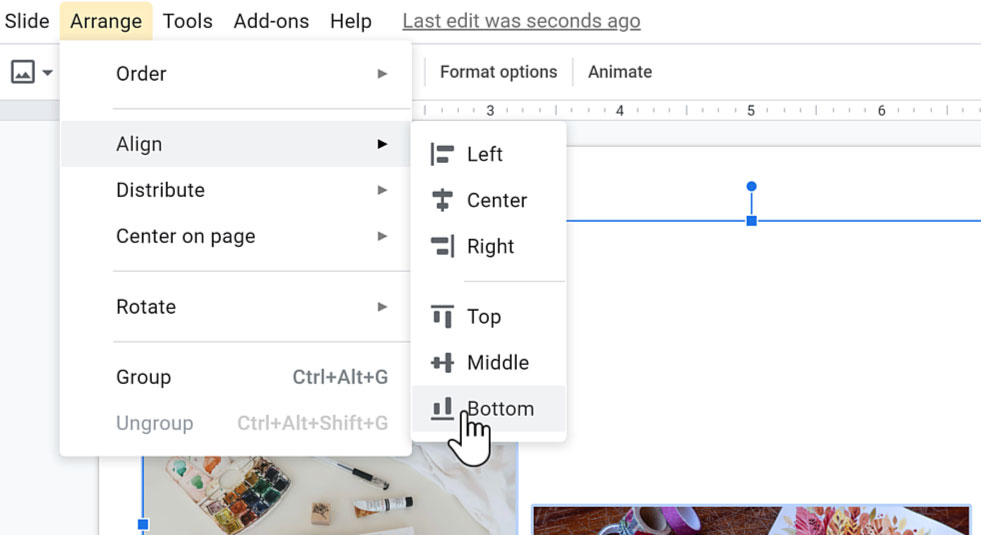
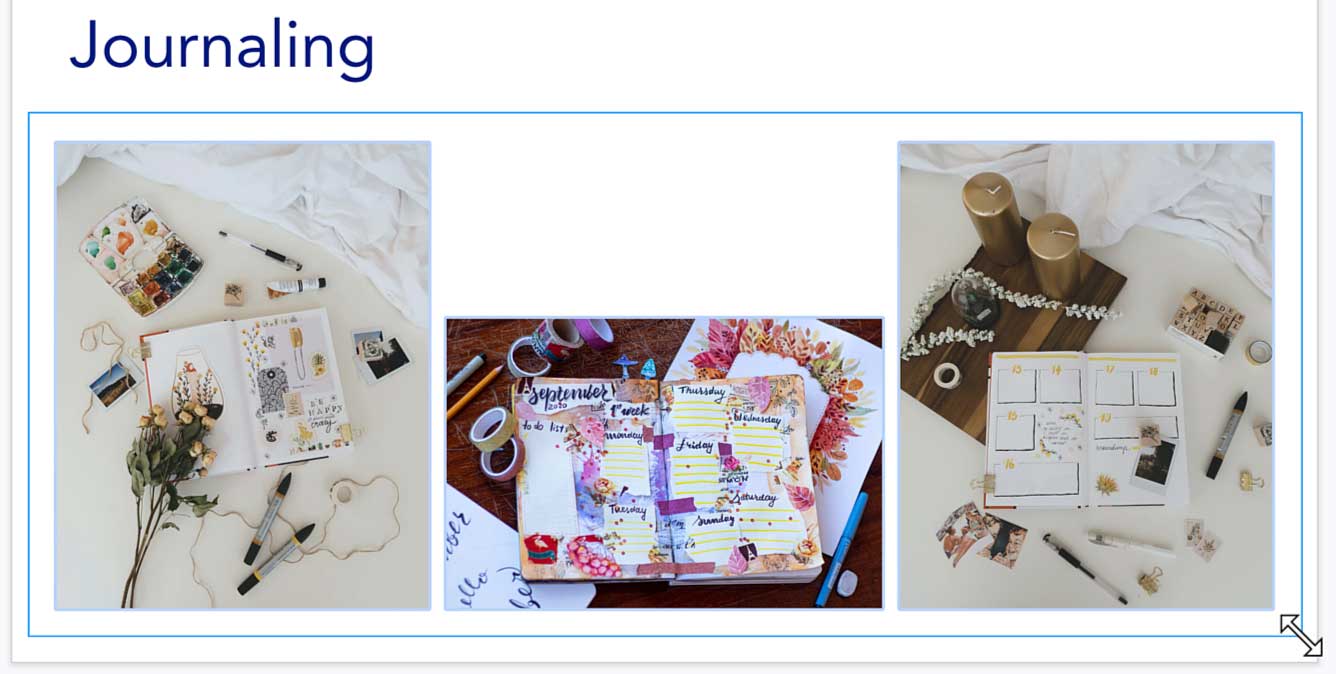
By using the Distribute and Align tools, the objects will no longer overlap, have equal distance between them, and line up with one another as seen below.

Adding shapes can add another layer to the slide. For our example, we'll add a rectangle behind the photos to make a background.


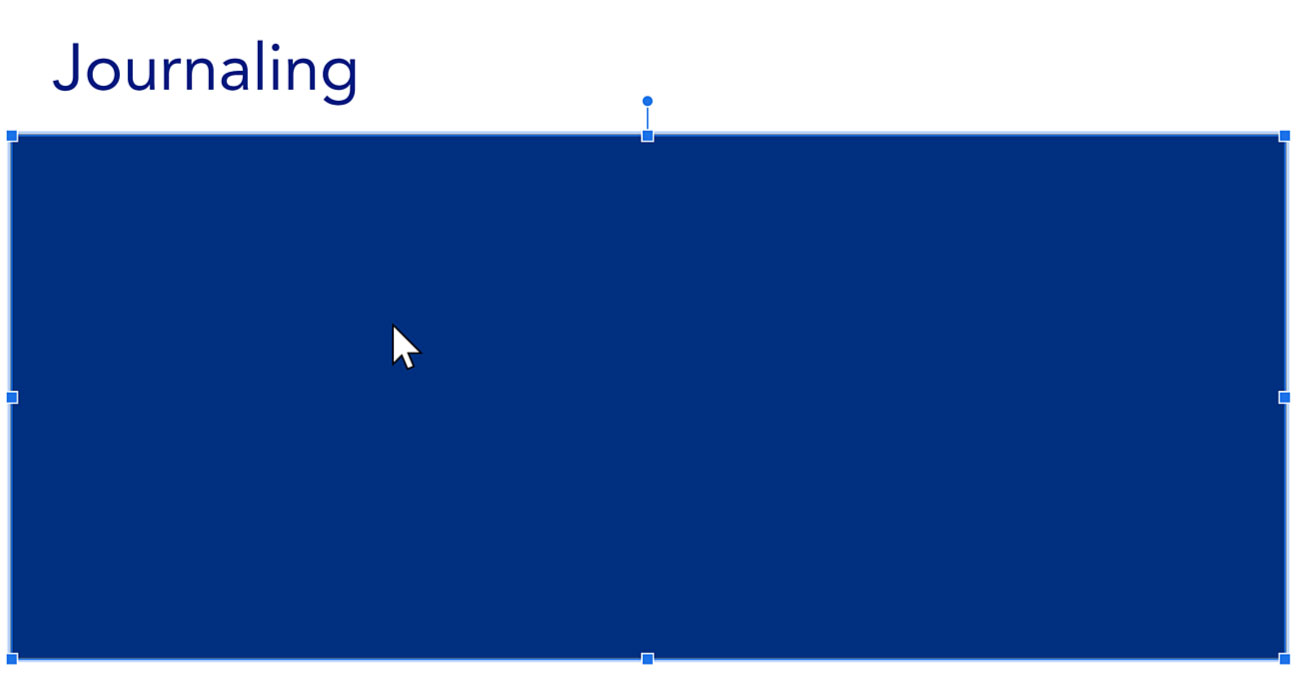
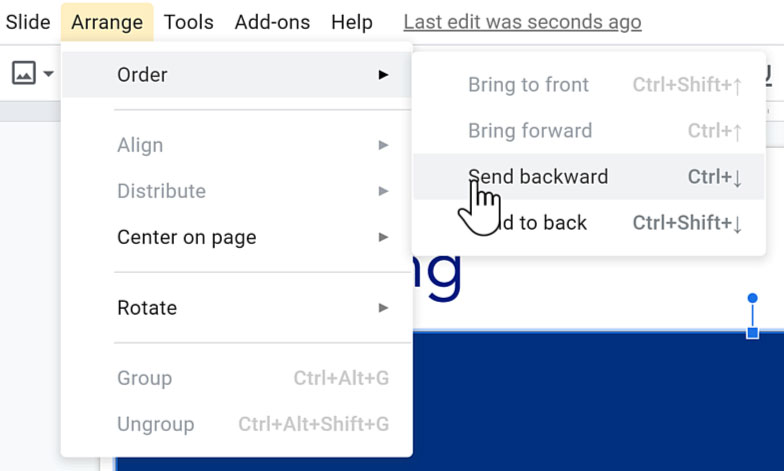
Putting objects in order means arranging the layers on the slide. Particular to our example, we need to move the rectangle back to see the photos.


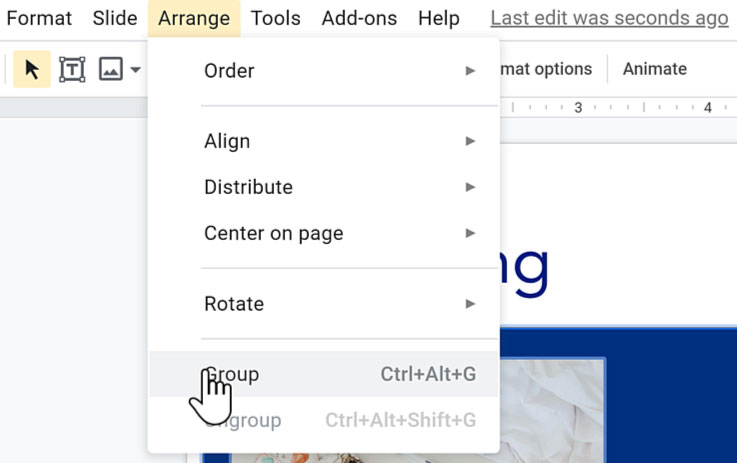
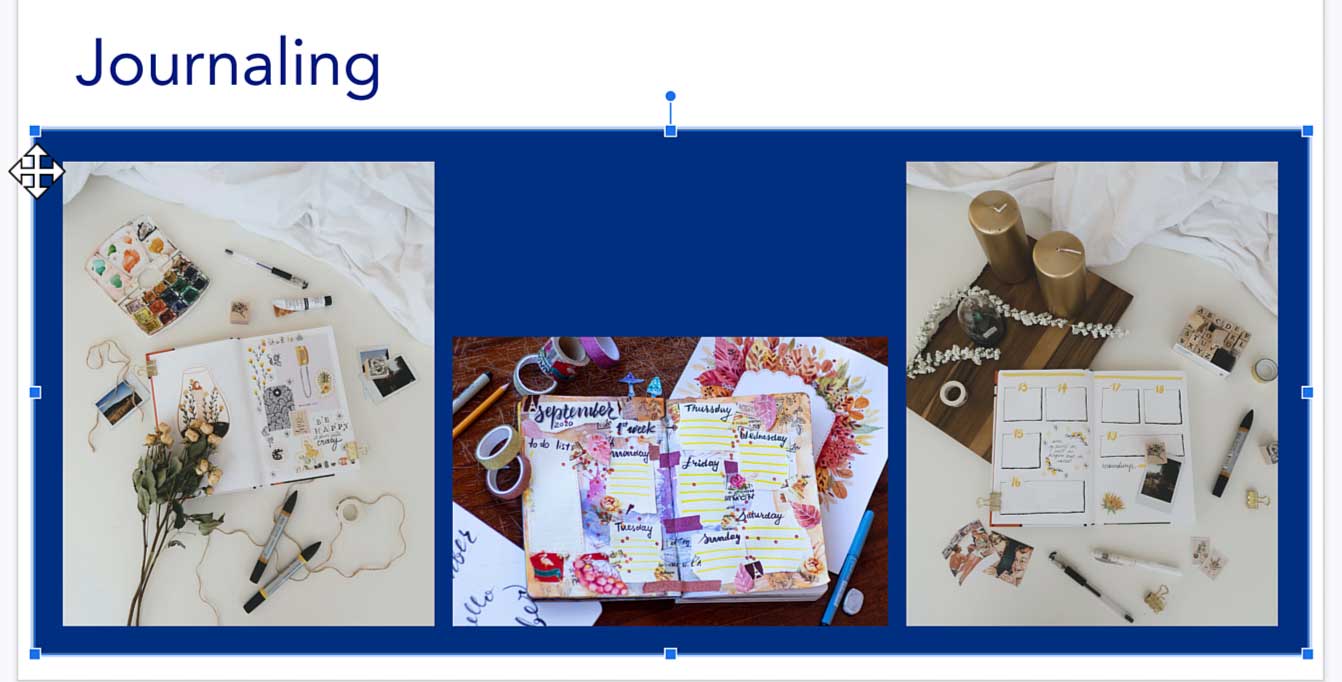
In order to move the objects without having to make adjustments every time, you'll need to group them.

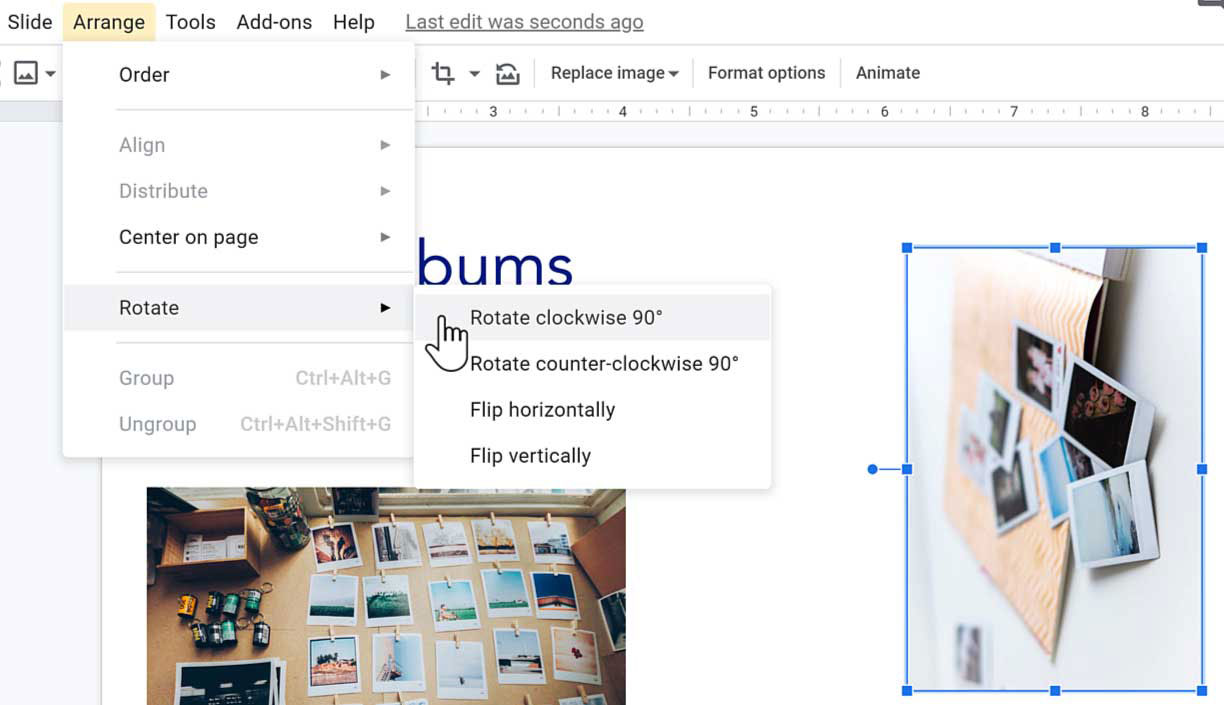
When there are too many objects on a slide, you may want to delete an object to have more blank space. Also, sometimes when you insert a photo, it may need to be rotated. We'll show you how to accomplish this using our example.

Now using the arrangement methods shown before, you can clean up the slide using the tools found in the Arrange drop-down menu as well as use the sizing handles. To check your presentation, our final version can be used as a reference.
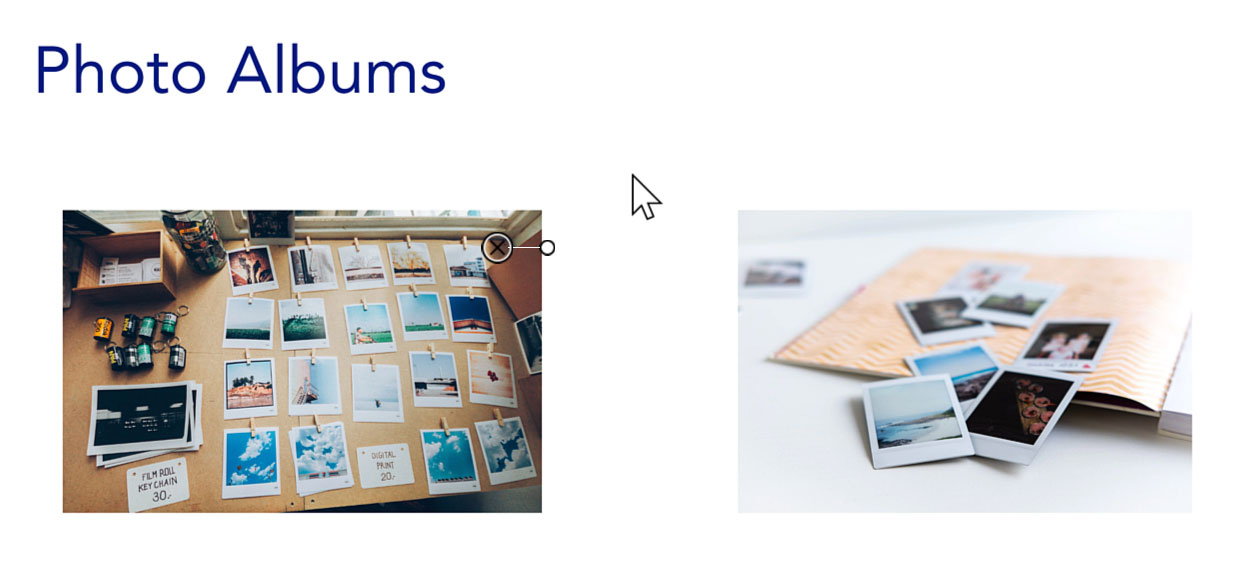
As you arrange objects on your slides, you’ll notice that your presentation is looking more organized. Having a polished Google Slides presentation with everything in its place helps the audience focus on the information presented instead of slides that distract from your message.
/en/googleslides/inserting-charts-from-google-sheets/content/