Lesson 18: Inserting a Table and Text
/en/publisher2003/formatting-bulleted-and-numbered-lists/content/
Introduction
By the end of this module, you should be able to:
- Insert a table from the main menu
- Insert a table using the Objects toolbar
- Set table options including the number or rows and columns, and table format
- Insert text into table
- Modify text formatting
Adding a table to a publication
Watch the video! (7:16 min)
Tables can help you present information in an organized manner. Publisher provides extensive tools for working with tables.
To insert a table:
- Click the Insert Table icon on the Object toolbar, or select Table
 Insert Table on the main menu. The insert table cursor will appear.
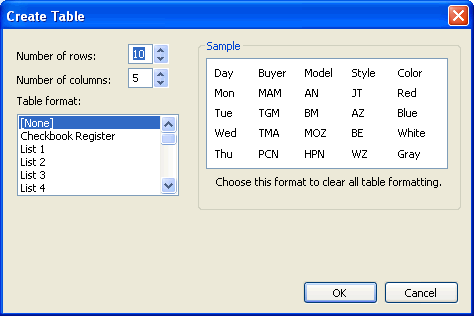
 - Click and drag the cursor to position the table in the document, then release the mouse. The Create Table dialog box will appear.
- You can set the number of rows and columns and select a Table format.
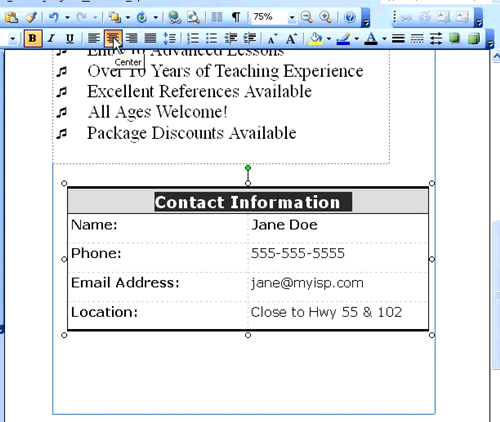
- Click any box—or cell—in the table to add or change text. If you selected a table format, the text may have formatting already applied.

Formatting text in a table
You can format text in a table by selecting it and using the icons on the Formatting toolbar. You can change the font, font size, style, color, and alignment of the text.
Challenge!
Use the publication you created in the last challenge, or create a new blank publication to complete this challenge.
- Open the publication.
- Insert a table into the document.
- Enter text into the table.
- Explore different options for formatting the text.
- Save and close the publication to use in the next challenge.
/en/publisher2003/formatting-a-table/content/


