This article was co-authored by Grant Wallace. Grant Wallace is a Landscaper and Owner of Grantlanta Lawn in Atlanta, Georgia. With over seven years of experience, he specializes in lawn maintenance and landscape installation. In 2012, he earned his BA from the University of West Georgia. Grant has been profiled in Shoutout Atlanta, Canvas Rebel, and Voyage ATL.
There are 10 references cited in this article, which can be found at the bottom of the page.
This article has been viewed 60,085 times.
You should test and adjust sprinkler heads at the beginning of spring to ensure they’re functioning at their highest level. If your sprinkler is not up to par, it can waste water and cause dry spots in your lawn. Fortunately, you can adjust a broken sprinkler quickly and have it back to normal in minutes!
Steps
Adjusting a Sprinkler Spray Head
-
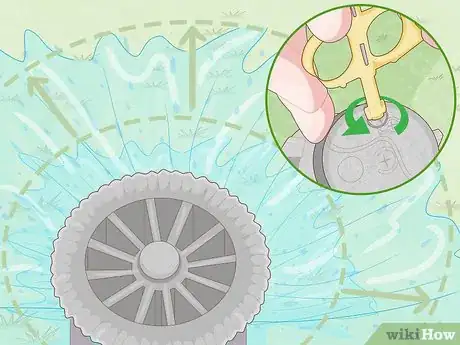
1Turn the sprinkler on to see what adjustments you need to make. Check the sprinkler for water distribution and see if it’s missing parts of your lawn. Make sure to have the water source at the level you’d set it to if you were actually watering your lawn. Observe how much coverage your sprinkler is providing before making your adjustments.[1]
- Give the sprinkler a few minutes until you’re sure you’ve seen how it covers the grass.
Tip: Keep the sprinkler on during the adjustment period to figure out the issue efficiently.
-
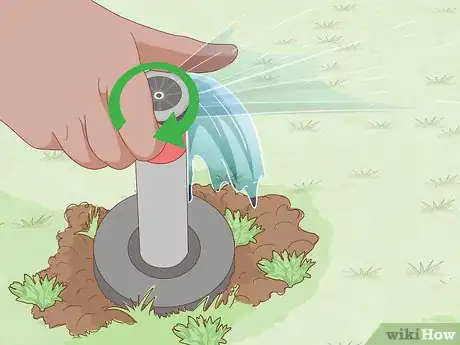
2Adjust the arc clockwise to reduce the amount of water coverage. Grab the edge of the nozzle with your thumb and forefinger and turn it to the right to reduce the arc of water. Make this adjustment to water one specific section of your lawn.[2]
- By turning the arc clockwise, you’re reducing the sprinkler arc and allowing the sprinkler to focus on a smaller section of your lawn.
Advertisement -
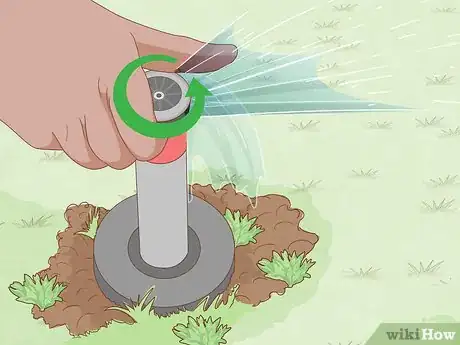
3Twist the arc counter-clockwise to up the amount of water coverage. If you want your sprinkler to cover both sides of your lawn, turn the nozzle head to the left. Place your thumb and forefinger on the nozzle head and twist it until you get a full fan-like arc.[3]
- The arc measures how wide the spray goes.
-
4Turn the screw in the nozzle head clockwise to reduce the radius. The radius measures how far the water sprays from the sprinkler itself. To adjust it, use a flathead screwdriver and insert into the screw in the middle of the nozzle. Turn the screw to the right to shorten the spray distance.[4]
- By shortening the spray distance, you can water the grass right in front of your sprinkler more completely.
-
5Turn the screw counter-clockwise to increase the radius. If you want to water a patch of grass that’s far away from your sprinkler, place the flathead screwdriver in the screw and twist it to the left. The more times you twist the screwdriver, the farther the spray will travel.[5]
- Once you’re unable to twist the screwdriver, you’ve reached the sprinkler’s radius limit.
Fixing Rotor Heads
-
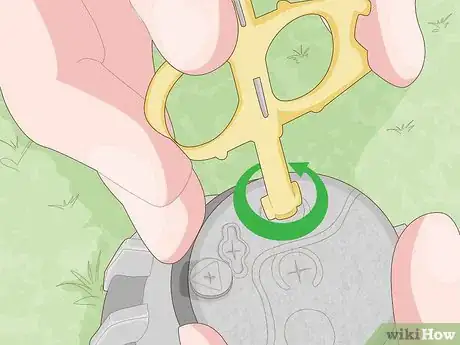
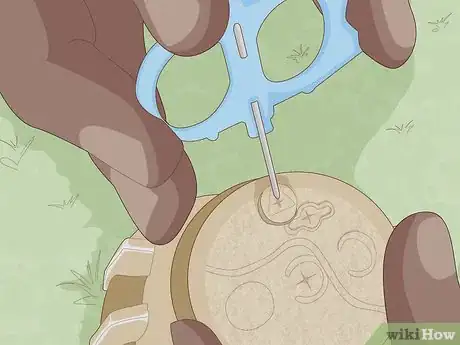
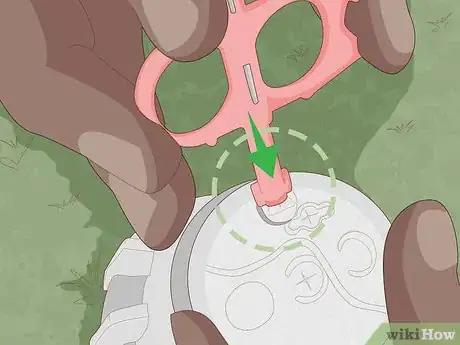
1Install the wrench into the raised arrow to adjust the spray. Your rotor head sprinkler should come with a two-sided adjustment wrench. The Allen wrench side is used to adjust the spray radius. Find the raised arrow on top of the spray nozzle and place the Allen wrench inside of it. Spin the wrench clockwise to decrease the spray radius.[6]
- There’s a hole next to the raised arrow. This is where the Allen wrench goes.
-
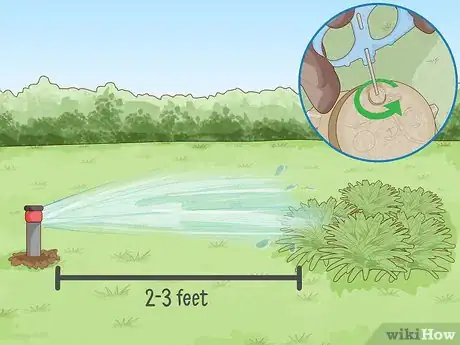
2Turn the wrench counter-clockwise to increase spray. To increase your sprinkler coverage, put the Allen wrench inside the hole by the raised arrow and twist it to the left to get a longer spray. Make this adjustment when you need to water plants that are a few feet away from your sprinkler head.[7]
-
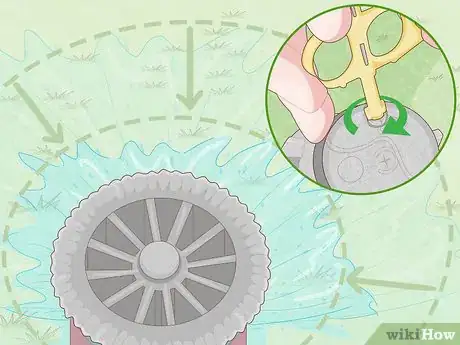
3Insert the other side of the wrench into the nozzle head to adjust the arc. The other side of the wrench is called the “Plastic T”. It goes into the other hole on top of the nozzle head. This hole has a plus and minus sign next to it. When you insert the Plastic T, spin it slightly so it sits flush in the hole. Spin the wrench to the plus-side to increase the sprinkler’s coverage.[8]
- To decrease the sprinkler’s coverage, spin the wrench to the minus-side.
Testing Impact Sprinklers
-
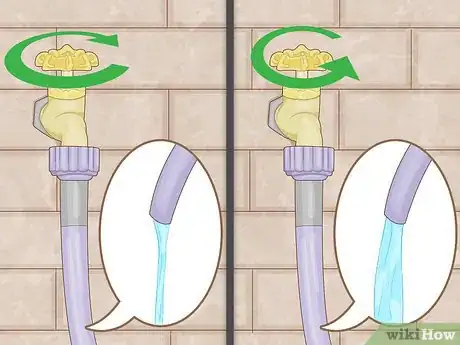
1Turn the water flow up or down to affect the spray distance. This is the easiest way to adjust how far your sprinkler sprays. Twist the knob of your water source to the right to increase the water flow. Turn it to the left to decrease water flow.[9]
- The knob for the water source should be located on your back porch.
-
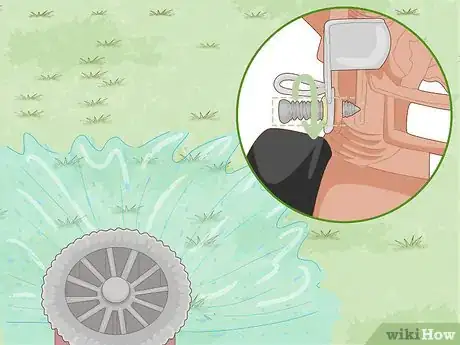
2Adjust the diffuser screw-in to shorten the spray distance. The diffuser screw-in is a nail located on the side of your impact sprinkler. To twist it, hold the sprinkler head with your offhand and turn the diffuser screw-in to the right to lower the spray distance.[10]
- To increase the spray distance, twist the screw-in to the left.
-
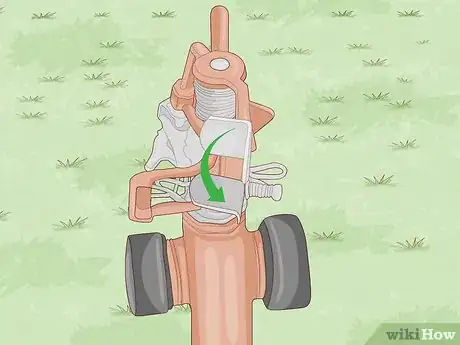
3Use the deflector shield to adjust the arc of the water. The deflector shield is a flat piece of metal that sits just above the diffuser screw-in. To lengthen the water distance, keep the deflector shield up as high as it can sit. To shorten the distance, push the deflector shield down a few notches.[11]
- The further you pull the deflector shield down, the more the water distance lowers.
-
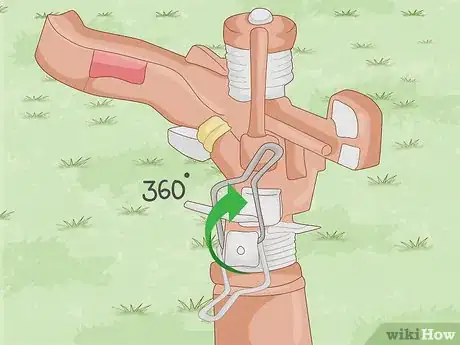
4Flip the trip pin up to get a full 360-degree spray pattern. The trip pin is a piece of metal that sits on the side of the impact sprinkler. It has a thin top and is bent in the middle. To create a 360-spray pattern, flip it up and snap it into place.[12]
- A 360-spray pattern allows you to relax while your sprinkler waters your yard for you.
Community Q&A
-
QuestionThe sprinkler keeps moving away from pointed spray area, does not stay still, no matter how many times it is corrected.
 Addison SmithCommunity AnswerThe sprinkler knob might need tightened. If it is loose, the water pressure can change its position.
References
- ↑ https://help.dripdepot.com/support/solutions/articles/11000044369-how-to-adjust-sprinkler-heads
- ↑ https://www.youtube.com/watch?v=hediV4JOfxM#t=1m38s
- ↑ https://www.youtube.com/watch?v=hediV4JOfxM#t=1m41s
- ↑ https://help.dripdepot.com/support/solutions/articles/11000044369-how-to-adjust-sprinkler-heads
- ↑ https://www.youtube.com/watch?v=hediV4JOfxM#t=2m7s
- ↑ https://help.dripdepot.com/support/solutions/articles/11000044369-how-to-adjust-sprinkler-heads
- ↑ https://www.youtube.com/watch?v=jJCN3HtpCRE#t=1m12s
- ↑ https://www.youtube.com/watch?v=jJCN3HtpCRE#t=2m5s
- ↑ https://help.dripdepot.com/support/solutions/articles/11000044369-how-to-adjust-sprinkler-heads
