X
This article was co-authored by wikiHow staff writer, Jack Lloyd. Jack Lloyd is a Technology Writer and Editor for wikiHow. He has over two years of experience writing and editing technology-related articles. He is technology enthusiast and an English teacher.
This article has been viewed 41,061 times.
Learn more...
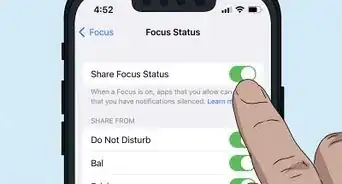
This wikiHow teaches you how to enable and set up a Virtual Private Network--which allows you to use the internet anonymously--from within your iPhone's Settings.
Steps


Warnings
- Without the proper support from your system administrator, you won't be able to configure your VPN.⧼thumbs_response⧽
Advertisement


About This Article
Jack Lloyd
wikiHow Technology Writer
This article was co-authored by wikiHow staff writer, Jack Lloyd. Jack Lloyd is a Technology Writer and Editor for wikiHow. He has over two years of experience writing and editing technology-related articles. He is technology enthusiast and an English teacher. This article has been viewed 41,061 times.
How helpful is this?
Co-authors: 14
Updated: July 18, 2022
Views: 41,061
Categories: IPhone
Article SummaryX
1. Open Settings.
2. Tap General.
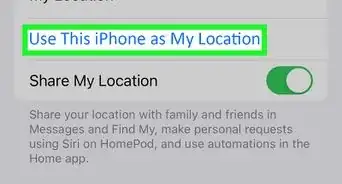
3. Tap VPN.
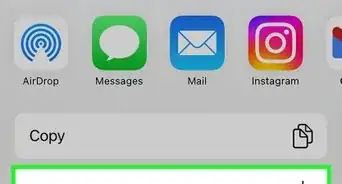
4. Select Add VPN Configuration.
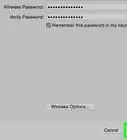
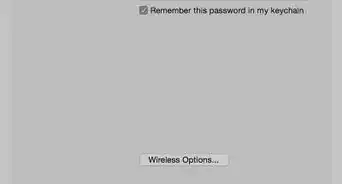
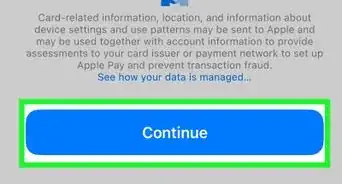
5. Enter your VPN's information.
6. Tap Done.
Did this summary help you?
Advertisement