This article was co-authored by Kelly Medford. Kelly Medford is an American painter based in Rome, Italy. She studied classical painting, drawing and printmaking both in the U.S. and in Italy. She works primarily en plein air on the streets of Rome, and also travels for private international collectors on commission. She founded Sketching Rome Tours in 2012 where she teaches sketchbook journaling to visitors of Rome. Kelly is a graduate of the Florence Academy of Art.
There are 7 references cited in this article, which can be found at the bottom of the page.
wikiHow marks an article as reader-approved once it receives enough positive feedback. In this case, 86% of readers who voted found the article helpful, earning it our reader-approved status.
This article has been viewed 736,833 times.
Drawing is an enjoyable artistic skill to learn and makes for a great hobby. When you are first starting, the quality of your drawings can feel like a major hurdle. You may think that you need professional lessons to make something good, but this isn’t true. By simply drawing for fun, you can save money and improve your skills. To draw without classes, sketch in short lines, shade in shadows, draw figures out of shapes, and practice as much as possible.
Steps
Beginning to Sketch
-
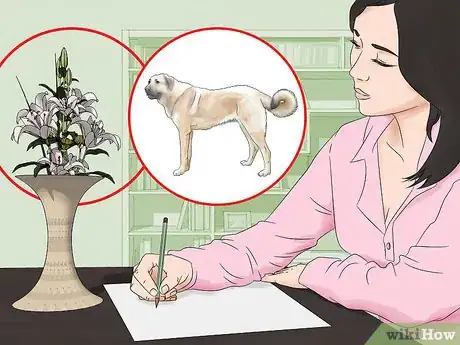
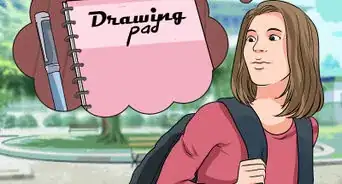
1Pick a subject you see. Pick something meaningful to you if possible such as your favorite flower or your dog. It is likely going to be easier for you at first to draw from a reference than from imagination, so drawing something you like will help you focus.
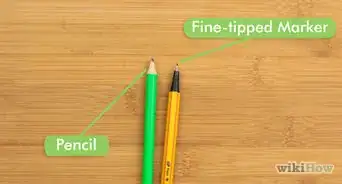
- When starting out, you don’t need specialty art supplies. Any pen, pencil, or paper on hand will do.
-
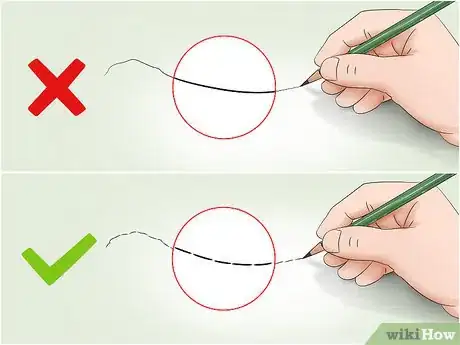
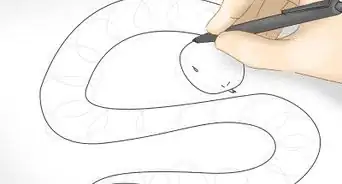
2Draw short lines. Press your pencil lightly against the paper. Focus in on the line you will draw, forgetting what the subject is. Don’t think about your dog. Instead, start with an outline. The edge of your dog is a line between the dog and the environment. Make your line with short strokes.[1]
- The shorter you make your line strokes, the steadier your drawing will appear.
- Don’t critique your work. Move fast and hone your stroke.
Advertisement -
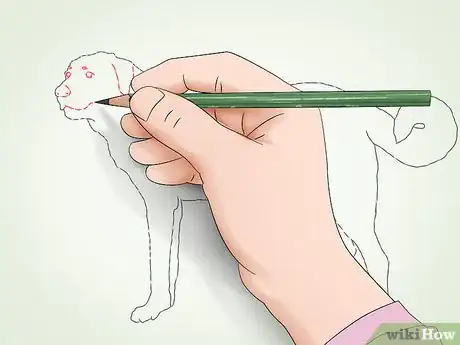
3Fill in details. Once you have a basic outline of your subject, start drawing the interior. Search for landmarks on the subject, distinguishing marks such as a dent in a cup or a tuft of hair on a dog that will give you an idea of where to place nearby lines.[2]
-
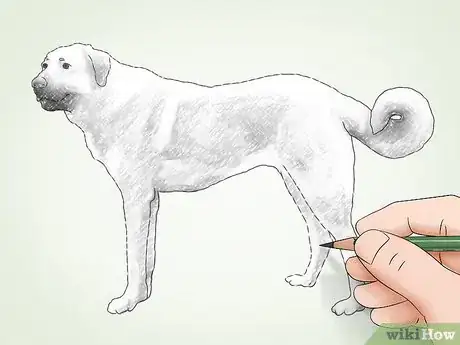
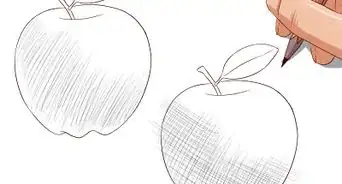
4Shade in shadows. Shading is a little more difficult, but it gives your drawings a sense of light and depth. Observe which way the sun shines on your subject. Start with a clean, sharp pencil and make even marks on partially dark areas. As the lead tip wears away, move towards the shadowed areas. Press harder to leave darker marks.[3]
- This can be practiced by doing a shading bar. Start at one end of the paper. Move your pencil back and forth as you move across the paper. Apply more pressure to transition to darker marks.
- Value bars are also good practice. Divide a rectangle into five sections. Leave one end white. Darken the other end as much as you can. Layer your lines in the squares in between to make different shades of gray.
Drawing Subjects from Shapes
-
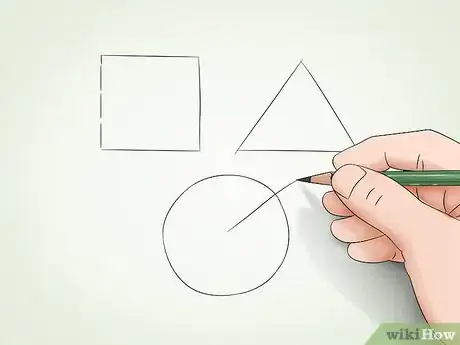
1Practice drawing shapes. Copying lines can only get you so far. If you can master shapes, you can begin to draw from imagination and improve the sense of perspective in all your drawings. Start by trying to draw 3D shapes. Adding a rough line across a circle, for example, gives you spheres seen from different perspectives depending on where you place the line.[4]
-
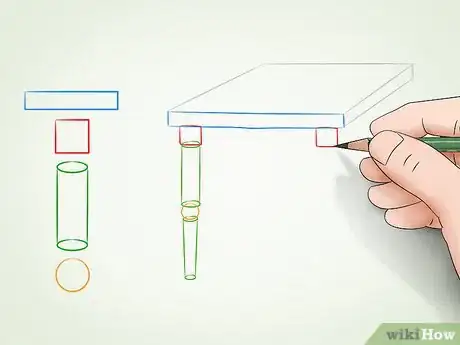
2Combine the blocks into figures. Link up the blocks to form the outlines of objects. At first start with simple or imaginary objects. You might make a table out of a series of rectangles and cylinders or a snake out of a series of circles. Once you can imagine the blocks that make up an object, you will have the creativity to draw them without having a model.
- Spend time observing subjects, figuring out how you can fit them into your forms.
-
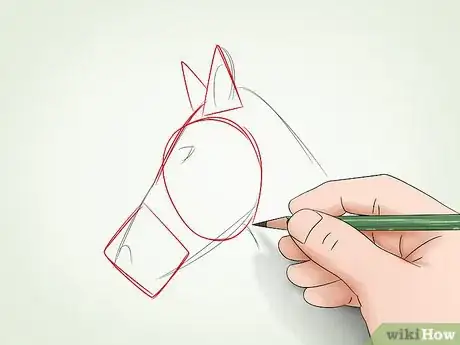
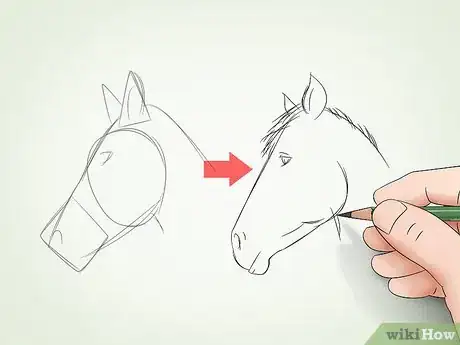
3Make a reference sheet. Arrange your forms to make the shape of the subject. As you go, erase and refine the lines so the subject takes shape. After you’re done, try drawing the subject from different angles. For example, a square nose with a circle cheek and triangle ears can form a side view of a horse, but there are many other perspectives.[5]
- Refer back to these sketches to improve your other drawings.
-
4Redraw the subject. During a different session after correcting any mistakes on your reference, redraw your subject. At first, you can use your reference sheet. Use shapes to create a basic outline of the subject, then refine the details and clear up mistakes. With more practice, you’ll be able to draw poses from memory.
- Simplifications are okay and can lead to your own style. For example, it would be too time-consuming to memorize every muscle in a body.
Studying Drawing
-
1Research drawing techniques. Your local library may have books on different drawing styles from realism to Japanese manga. You can also buy these at retail stores. Search on YouTube or on art websites such as How to Draw It or Drawspace for free ideas and demonstrations.
- Anatomy books are also an option for learning realistic drawings. Sketch skeletons and muscular diagrams.
-
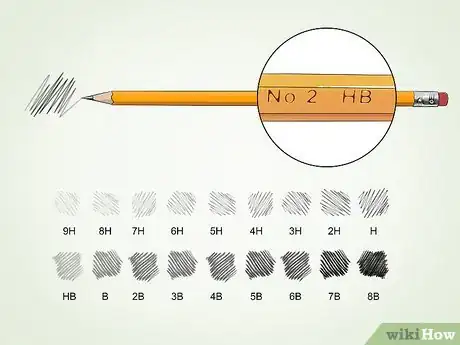
2Practice with more equipment. Usually it’s better to stick to one medium, such as pencil on paper, until you get comfortable. Once you start, though, you may find alternatives you like better and lead to your own style, such as colored pencils or charcoal. In addition, pencils come in many varieties that can help you expand your range when shading.[6]
- For pencils, HB (#2) is standard. Pencils in the H range are harder and make softer lines. Pencils in the B range are softer and make darker lines.
- Pencils go from HB-9. In H pencils, 9 is maximum hardness. In B pencils, 9 is maximum softness.
- Vinyl and gum erasers are gentler on paper than rubber erasers but they don’t streak color. Kneaded erasers are shapeable for removing individual details.
-
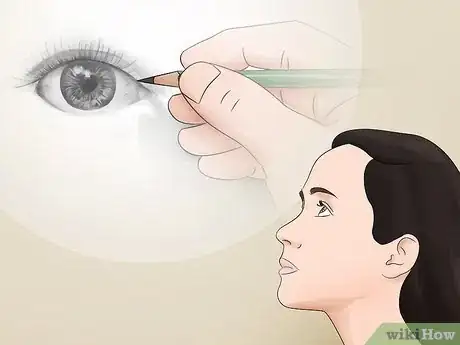
3Imagine how you’d draw objects. When you’re not busy drawing, observe what’s around you. Picture how you’d turn this scene into a pencil drawing. Imagine shading around someone’s eye and sketching in the iris and pupil, for example. This imagination is how you gain insight into how to make your lines and compose your style.[7]
- The goal is to see the details instead of the labels. Instead of thinking of the eye, think of the lines and colors you’ll fill in to form the eye.[8]
-
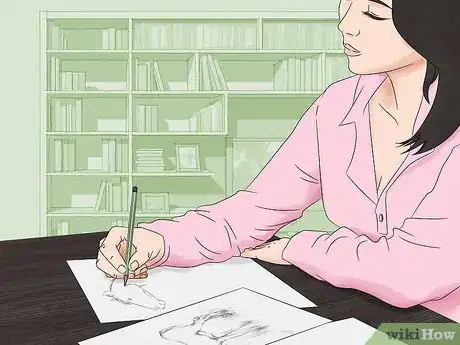
4Practice. Drawing is very much a skill like playing an instrument or riding a bike. Whenever you have spare time, sit down and sketch. Practice shading and other techniques. Work on making reference sheets. Space out your time between sessions with subjects so you can learn more without burning yourself out. Try to set aside time every day to make a quick drawing.[9]
Expert Q&A
-
QuestionWhat is the first thing to learn in drawing?
 Kelly MedfordKelly Medford is an American painter based in Rome, Italy. She studied classical painting, drawing and printmaking both in the U.S. and in Italy. She works primarily en plein air on the streets of Rome, and also travels for private international collectors on commission. She founded Sketching Rome Tours in 2012 where she teaches sketchbook journaling to visitors of Rome. Kelly is a graduate of the Florence Academy of Art.
Professional Artist Rather than drawing what you think something looks like, take time to observe your subject and train yourself to draw the shapes you see.
 -
QuestionHow can I teach myself how to draw?
 Kelly MedfordKelly Medford is an American painter based in Rome, Italy. She studied classical painting, drawing and printmaking both in the U.S. and in Italy. She works primarily en plein air on the streets of Rome, and also travels for private international collectors on commission. She founded Sketching Rome Tours in 2012 where she teaches sketchbook journaling to visitors of Rome. Kelly is a graduate of the Florence Academy of Art.
Professional Artist Start drawing every day so you can get in practice and improve on your technique.
 -
QuestionHow do I draw well, when I practiced a bunch and it still looks awful?
 Community AnswerIt may take months of practice to see noticeable progress, and years to draw really well. Keep practicing and you will get there. Keep your drawings from now and compare them to your drawings a few months from now - you will surely notice some progress. If you don't like your drawing, think about what exactly you would like to improve and work on improving that particular aspect for a while. You can also get someone else to give you feedback on your drawings and your progress. Sometimes we are too critical of our own work.
Warnings
- You or others may try to discourage you. Don’t listen to anyone who says you’re not talented. Drawing is a learning process and if you enjoy doing it, then continue making progress.⧼thumbs_response⧽
References
- ↑ https://design.tutsplus.com/articles/i-want-to-draw-simple-exercises-for-complete-beginners--vector-20583
- ↑ https://dannygregorysblog.com/2016/12/06/how-to-draw-your-dog-without-talent/
- ↑ http://www.learn-to-draw.com/shading/02-basic-shading.shtml
- ↑ https://design.tutsplus.com/articles/i-want-to-draw-simple-exercises-for-complete-beginners--vector-20583
- ↑ https://design.tutsplus.com/articles/why-is-it-so-hard-to-draw-from-imagination-heres-how-to-do-it--cms-22967
- ↑ https://pencils.com/hb-graphite-grading-scale/
- ↑ http://willkempartschool.com/the-3-reasons-why-you-cant-draw-and-what-to-do-about-it/
- ↑ Kelly Medford. Professional Artist. Expert Interview. 10 March 2021
- ↑ Kelly Medford. Professional Artist. Expert Interview. 10 March 2021
About This Article
To learn to draw without taking classes, start by checking out books from your local library on different drawing styles, like realism or Japanese manga. Additionally, go online to sites such as Drawspace or How to Draw It to watch free demonstration videos. Then, try sketching something you like and can see right in front of you, like your dog. Use quick, short strokes to make an outline first, since shorter strokes make your drawing look steadier. Once you have an outline, fill in details, like a tuft of hair on your dog, for a more complete picture. To learn how to make drawings using common shapes, scroll down!
