wikiHow is a “wiki,” similar to Wikipedia, which means that many of our articles are co-written by multiple authors. To create this article, volunteer authors worked to edit and improve it over time.
wikiHow marks an article as reader-approved once it receives enough positive feedback. In this case, 88% of readers who voted found the article helpful, earning it our reader-approved status.
This article has been viewed 118,688 times.
Learn more...
Freshly-picked walnuts must be dried at two stages. The first is after you remove the green hulls, when the walnuts are still in their shells. Then, once you shell the nuts, the meat inside should be dried for a few more days before you process or store it. Taking care to dry walnuts the right way will make the shells easier to crack and help prevent the meat from spoiling.
Steps
Husking and Washing Walnuts
-
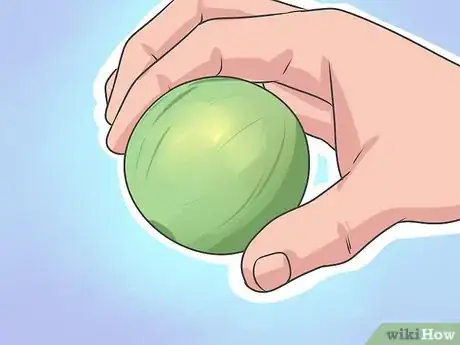
1Harvest nuts when the outer husk is still green. It should be soft enough for you to indent it with your fingers, but still green, rather than brown or mottled. This indicates that the nut has fully formed and is ready to be used.
- Black walnuts usually become ripe in September or October.
- You can harvest them from the ground or shake them off the tree with a pole.
- Wear gloves when handling black walnuts, since they stain clothes and skin.
-
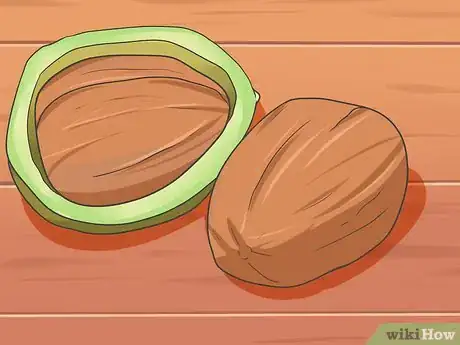
2Husk the nuts. Even when walnuts are mature, it's a little difficult to remove the husks; they can't just be peeled off. The goal is to get them off without breaking the nuts inside. There are a few popular methods for husking the nuts, so choose the one that works best for your needs:
- Roll the nuts under a heavy boot to dislodge the husks.
- Roll the nuts under a wooden board or another heavy object.
- Place the walnuts on a driveway and drive back and forth over them. The husks will come off, but the nuts won't break.
Advertisement -
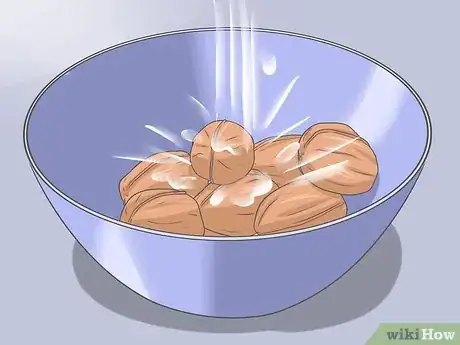
3Wash the unshelled nuts. Fill a bucket with cold water and use it to wash off the nuts, which will be covered with juice and dirt. Discard the ones that float, since this means they don't have meat inside (in other words, they are "unfilled").
-
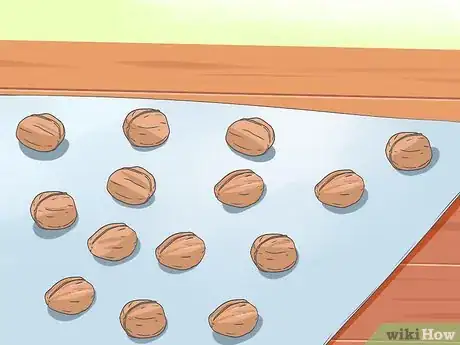
4Dry the nuts in a well-ventilated area. Spread them in a thin layer on a tarp or another clean surface in your garage, basement, or another area that gets plenty of good circulation but is out of direct sunlight. Leave them there for two weeks, until the shells are completely dried out.
- If there's no threat of rain, you may dry your walnuts outdoors.
- Stir them occasionally to promote circulation.[1]
-
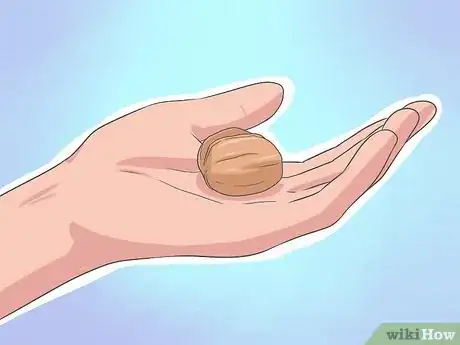
5Check the walnuts to see if they're dry. Open up a nut or two and check the meat inside. A walnut is ready when the meat inside is brittle, and is surrounded by a brittle tissue. If it's still rubbery and moist, continue drying the nuts. Storing them before they're properly dried will result in mold issues and rotting.
-
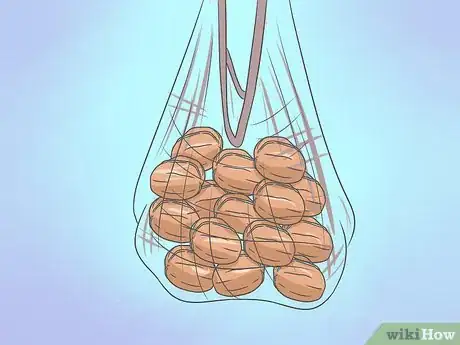
6Store the nuts until you're ready to use them. Once they're completely dry, place them in mesh bags or baskets. Store them in a cool, dark place, such as a cellar, or freeze them in your freezer. They'll keep for one to two years, depending on the quality of the nuts.
Cracking the Nuts
-
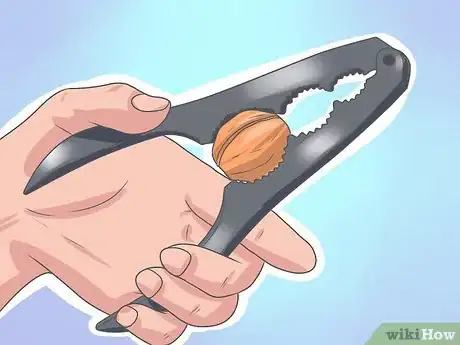
1Crack the nutshells. Since walnut shells are so difficult to crack, nutcrackers don't typically work (in fact, you're more likely to break your nutcracker than the shell). People have developed a few different techniques for getting to the meat:
- Pre-condition the shells to make them easier to crack by soaking the nuts in water for two hours, then placing them in a covered container overnight. Crack when the shells are soft.
- Place the walnuts in a bag and use a hammer to smash the shells. You'll have to hand-separate the meat from the broken shells.
- Crack them one at a time by wrapping them in a dish towel and banging them with a hammer.
-
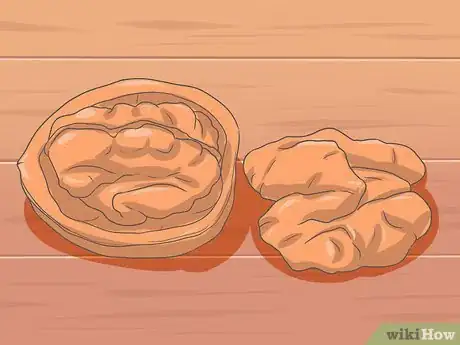
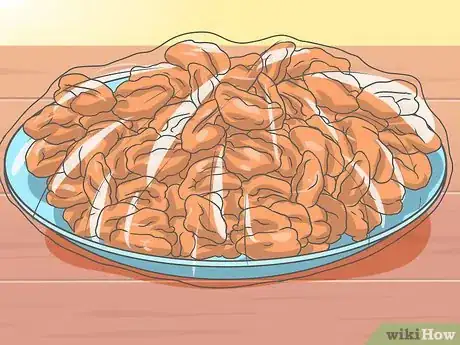
2Let the nutmeat sit out for two days. During this time it will dry out a little further. This step is essential if you plant to store the unshelled nuts, since they'll spoil if they're still holding a lot of moisture. Place the kernels on a baking sheet or tray and let them sit in a well-ventilated spot until they're dry.
-
3Store or use the nuts. If you plan to store them, place them in an air-tight container and store them in the pantry or the refrigerator. If you prefer, roast the nuts until they're golden brown before storing.
Community Q&A
-
QuestionWould a Dri-Z-Air work for drying walnuts, or would they become over dry?
 Community AnswerThis would be fine. I turn on my oven to 170, turn it off and put the nuts in for 5-minute shifts. This helps to speed the drying.
 -
QuestionSome of the nuts I am drying are getting mold on them. Will it hurt the nuts, or does that just mean they are still wet and need to dry more?
 Community AnswerThey may have some husk residue or moisture on them. You can put them in the oven at 170 degrees for 5 minutes to cook off the residue and excess moisture. If you limit the time to 5 minutes, you wont cook the nut meat.
 -
QuestionHow long can I keep walnuts in the shell?
 Community AnswerThe standard answer is 1 - 2 years in a cool, dark place. However, I have a batch of walnuts in a wire basket on my kitchen counter that are at least 8 years old, and they still look and taste wonderful when I crack them.
Warnings
- Wear gloves when handling freshly-picked walnuts, since they stain clothing and skin.⧼thumbs_response⧽
References
About This Article
To dry walnuts, start by husking the nuts by rolling them under a wooden board or another heavy object and washing them in cold water. Next, spread the nuts on a clean surface in an area that gets good circulation but is out of direct sunlight, and leave the nuts to dry for 2 weeks. In order to check the walnuts, open up a few and see if the meat inside is brittle and surrounded by a dried tissue. If the meat is still rubbery or moist, keep drying the nuts. To learn how to store your walnuts, keep reading!
