This article was co-authored by Catherine Palomino, MS. Catherine Palomino is a former Childcare Center Director in New York. She received her MS in Elementary Education from CUNY Brooklyn College in 2010.
This article has been viewed 167,369 times.
If you have young children, you’re probably fairly familiar with diaper duty. Diaper disposal technology has come a long way, and now you don’t have to worry about emptying the diaper pail every day. If you’re lucky enough to own a Diaper Genie, you can forget about taking out the trash and instead concentrate on spending time with your kid.
Steps
Emptying Your Diaper Genie
-
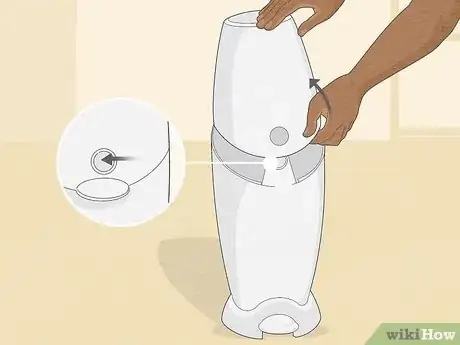
1Open the Genie. Make sure your Diaper Genie rests squarely on the floor. Push the button on the front of your Genie to separate the top portion of the Genie from the bottom portion (you can let the top portion rest on the ground. You won’t need it for a while.)[1]
- If there are any diapers remaining in the top portion of the Genie, push them down into the bottom portion of the Genie.
- Take care to go slowly when opening your Genie. You don’t want to make a mess!
-
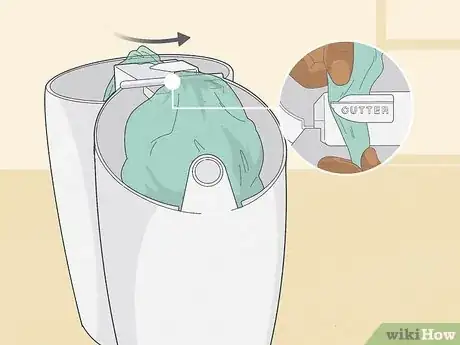
2Cut your bag. The diapers should at this point be consolidated in the bottom half of the Diaper Genie and contained in a bag. Grip the bag a few inches above where the diapers are stored and give the bag a little shake; this will further consolidate the diapers. In the middle of your Diaper Genie you’ll find the cutter. Use this to cut the bag into two halves.[2]
- Try to cut the bag approximately six inches above where the diapers are stashed.
- The cutter is located in the center of the top portion of the Genie. You should be able to easily spot it, as long as your Diaper Genie is open.
Advertisement -
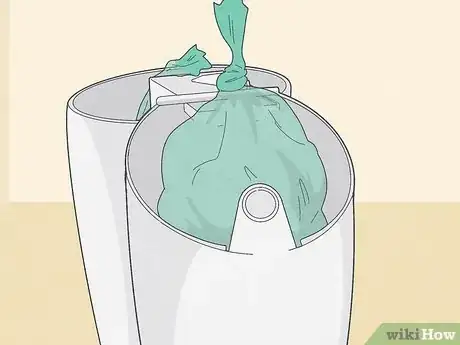
3Dispose of your bag. Lift the full bag out of the Genie and give it one more shake to consolidate the diapers. Close the bag by tying a double knot. The dirty diapers are now ready to be disposed of in any available garbage.[3]
- Make sure to tie your knot extra tight. Otherwise, you run the risk of leaks and bad smells.
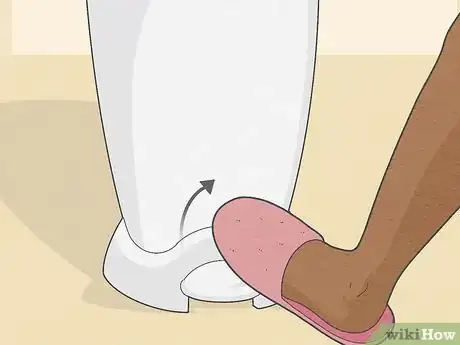
- Keep your foot on the pedal to prevent your Diaper Genie from tipping over.[4]
-
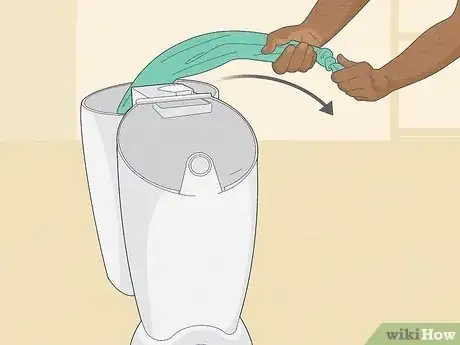
4Refill your Diaper Genie. Take the bag that is still attached to your Diaper Genie. Tie a knot at the bottom. Pull on the bag to create some slack in the top portion of your Diaper Genie and tuck the bag into the bottom portion of your Diaper Genie. Shut the lid of your Diaper Genie.[5]
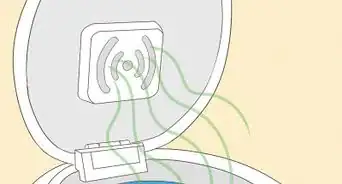
- Consider putting in a small deodorizer at the bottom of the pail if you want to prevent odors.
- You’ll know the Genie has closed successfully when you hear the top snap shut.
- You should pull out about 18 inches (46 cm) of bag to prepare for the next use.
Replacing or Refilling Your Diaper Genie
-
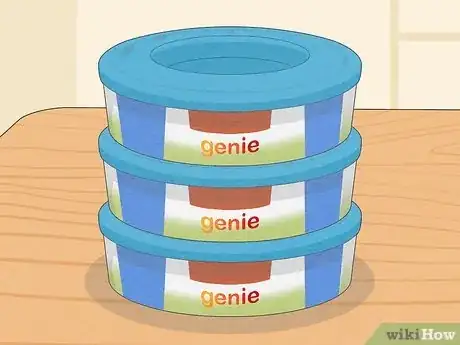
1Check the indicator. You’ll know your Diaper Genie is ready for a bag refill because the refill film will say “almost empty” and “needs replacing.” Diaper Genie refill cartridges are available for purchase online and in stores.
- A three-pack of Diaper Genie cartridges goes for around $15 USD on Amazon.
- Each pack consists of 270 bags per cartridge.
- Check eBay or sales in your area to see if you can purchase refills close to home.
-
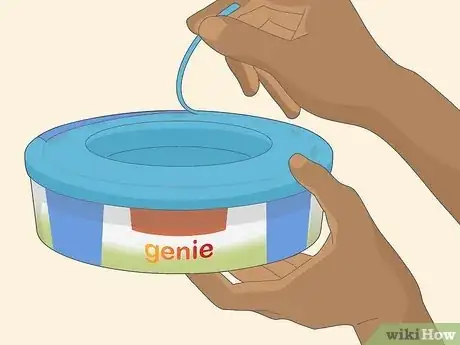
2Remove the plastic seal. Hold the Diaper Genie cartridge in one hand and use the other to rip off the plastic seal at the top. Pull the bag out of the top of the cartridge and then pull it through the center of the cartridge. Tie a tight knot at the bottom of the bag.
- You'll need to pull about 18 inches (46 cm) of bag to prepare for the next use.
- If you don't remember to pull out enough bag for next use, don't worry. Just be cognizant that you'll be able to fit fewer diapers in your bag than you're used to.
-
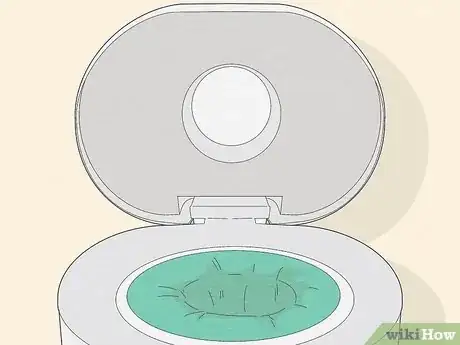
3Complete the refill. Open the lid of your Diaper Genie and remove the old cartridge. Replace it with the new cartridge and thread the bag through the clamp so the knot hangs at the bottom of the Diaper Genie. Put the lid back on your Diaper Genie; you’ll know the lid has been properly secured when you hear a snap.
- The clamp is located in the middle of the top portion of the Diaper Genie and is used to secure the bag in place.
- After securing the clamp, double check that you've tied off the bag. There's nothing worse than realizing you forgot to close the bag, after the diapers are already in the pail.
Using Your Diaper Genie
-
1Open your Diaper Genie. Depending on whether you have the Diaper Genie or the Diaper Genie Elite, you’ll do this in one of two ways. To open the Diaper Genie, lift the lid from the top. To open the Elite, use your foot to press the pedal at the bottom of the Genie. [6]
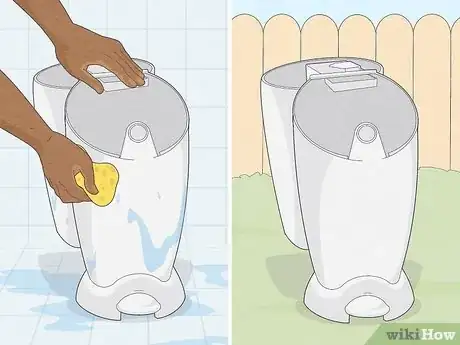
- If you smell an odor coming from your Diaper Genie, without the Genie being opened, it's time for a clean out. Try to clean your Diaper Genie whenever you change the bag.
- Wash your Diaper Genie out with soapy water. Wipe it down with a bleach-based cleaner, then allow it to dry in the sun.[7]
-
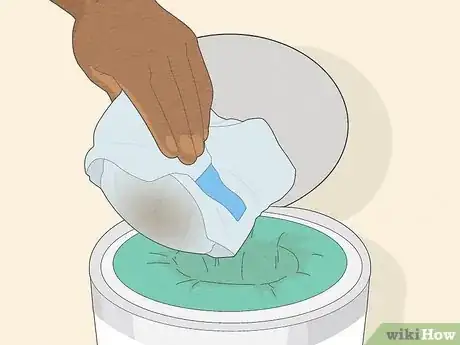
2Dispose of the diaper. Push the diaper through the Diaper Genie’s clamp until it disappears from sight. You’ll want to make sure that the clamp shuts completely; otherwise you run the risk of odors and leaks.
- To fit the maximum number of diapers inside your Genie, roll the diapers tightly.
- To prevent the contents of the diaper from spilling out during transit, secure the diaper using the diaper’s adhesive tabs.
-
3Close your Diaper Genie. If you have the Diaper Genie Elite, remove your foot from the pedal to shut the can. If you have the original Genie, shut the lid manually. If you are unable to close the Diaper Genie, this means it is too full and it’s time to refill the cartridge.
- If your Diaper Genie is not full and it's still not closing, there may be a diaper obstruction you can't see. Check to make sure pieces of diaper are not stuck in your Diaper Genie lid.[8]
- If you are still unable to close your Diaper Genie lid, the spring-loaded mechanism may have failed. Call Playtex Customer Service to report your issue.
Community Q&A
-
QuestionThe cutter on my Elite broke. Can I buy a replacement?
 Community AnswerYes. Contact Playtex Customer Service, they have replacement parts.
Things You'll Need
- Diaper Genie
- Diaper Genie replacement cartridge
Warnings
- Triple check to make sure your knots are tight. The last thing you want is for your bags to become unknotted.⧼thumbs_response⧽
- Wash and disinfect your Diaper Genie regularly.⧼thumbs_response⧽
References
- ↑ https://www.youtube.com/watch?v=b9jKtHAxMoI
- ↑ https://www.youtube.com/watch?v=b9jKtHAxMoI
- ↑ https://www.youtube.com/watch?v=b9jKtHAxMoI
- ↑ http://www.babygearlab.com/Diaper-Pail-Reviews/Diaper-Genie-Elite
- ↑ https://www.youtube.com/watch?v=b9jKtHAxMoI
- ↑ https://www.youtube.com/watch?v=dwmVpu3XfbQ
- ↑ http://www.ebay.com/gds/Troubleshooting-Tips-for-a-Diaper-Genie-/10000000178722359/g.html
- ↑ http://www.ebay.com/gds/Troubleshooting-Tips-for-a-Diaper-Genie-/10000000178722359/g.html
About This Article
To empty a Diaper Genie, push the button on the front of the Genie to separate the top portion from the bottom portion. Next, cut the bag in the bottom portion into 2 halves using the cutter located in the top portion of the Genie. Then, lift the full bag out of the Genie, give it a shake to consolidate the diapers, and tie the bag closed with a double knot. Discard the bag of dirty diapers and refill the Genie with a fresh bag. For tips on controlling odor inside your Diaper Genie, read on!
