This article was co-authored by Stef Katz. Stef Katz is a Travel Agent and the Founder of The Travel Superhero. She has helped clients enjoy convenience, access, personal attention, and ease in their travel planning for 6 years. Stef specializes in elevated social travel and finds ways to bring peace of mind to her travelers with open communication, genuine care, and professional support. She holds an Associate's Degree in Liberal Arts from Miami Dade College and a Bachelor's Degree in Marketing from the University of Florida, as well as numerous certifications with destinations, tour companies, and cruise lines in the travel industry.
There are 8 references cited in this article, which can be found at the bottom of the page.
This article has been viewed 51,571 times.
Today’s airlines provide passengers with a whole host of methods for acquiring and using boarding passes. You can print your passes from a personal computer in advance, or at a self-service kiosk when you get to the airport. If you need some assistance, agents can generate passes at the check-in counter as well as the departure gate. For fans of digital passes, it’s also possible to pull up a mobile boarding pass via an airline’s app or an emailed PDF. However you choose to get your pass... bon voyage, traveler!
Steps
Retrieving Your Pass at an Airport Kiosk
-
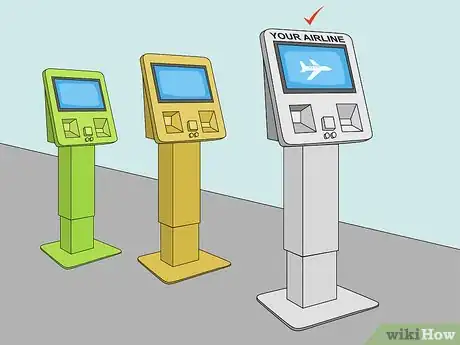
1Approach one of your airline’s designated self-service kiosks. Once you’re in the correct airport terminal, locate your airline. In most airports, these kiosks are clustered in groups directly in front of the check-in counters at major airlines. These stand-alone computers – usually with touch screens – have scanners and print-out slots below the screen. If you see an open one, make your way over to it. On a busy day, you’ll have to wait in line for a kiosk to become available.[1]
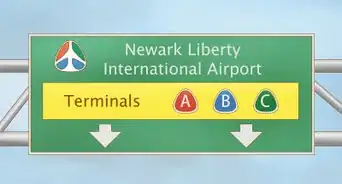
- If you aren’t sure which terminal to go to, first look at your booking confirmation documents for the name of your airline. Then you can find the correct terminal for this airline’s departures which will be noted on an airport map or website and on road signs leading up to the airport itself. Note that sometimes domestic and international departures will be at different terminals, even for the same airline.
- The self-service kiosks look and function similar to ATMs and other ticketing machines.
- Airline agents are typically standing by to provide assistance, should you need it.
-
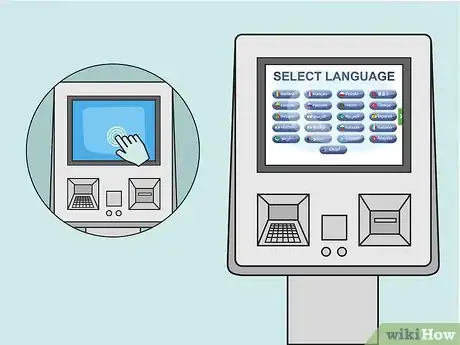
2Tap the screen to select your preferred language. Sometimes you’ll have to tap at the screen to “wake up” the computer and begin the process. The home page will usually prompt you to select your preferred language. This is especially useful if you are flying from a country that speaks another language.[2]Advertisement
-
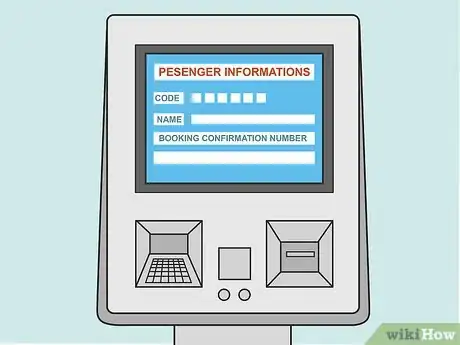
3Enter your identifying passenger information. The kiosk screen will prompt you to enter a code or scan a document to identify yourself. An easy code to use is the record locator, usually a 6-digit alphanumeric code that will be clearly identified in your confirmation documents. You may also be able to enter your frequent flyer ID number, another booking confirmation number, scan your passport, or swipe the credit or debit card you used when booking your flight.[3]
- You should have one (or more) of these ID methods at the ready when you approach the counter. For instance, you could jot down the record locator before you leave for the airport, or use your smartphone to take a screenshot of the confirmation email where this code is listed.
-
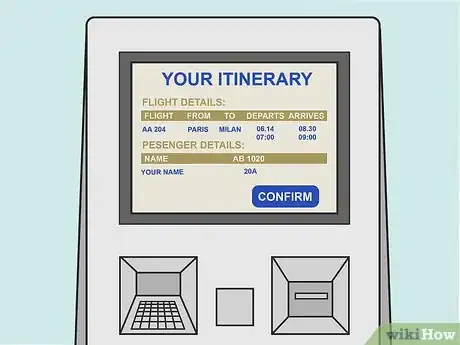
4Review and confirm all of your flight details. The screen will display your flight itinerary, including departure and arrival times as well as any connections. It may also list your name and those of your fellow passengers. You’ll also be asked to approve or change your seats. Make sure everything is correct on each screen and then press a button to confirm and advance to the next step.[4]
- If you’d like to change your seats at this point, you’ll be shown where you’re located and which other seats are available. Typically a seat change involves an additional fee. These kiosks typically accept credit and debit cards for payment.
-
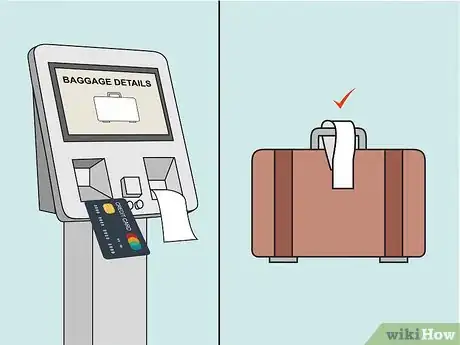
5Check your baggage, if applicable. If you haven’t already paid for checked baggage, you’ll be able to select the quantity of bags you want to check. Then, you can pay the fee with a debit or credit card. Many machines will print out a receipt for this transaction.[5]
- Some kiosks will print out an adhesive tag as well. You’ll need to secure the tag around your bag’s handle. The screen or the back side of the tag will usually show instructions for how to peel off the backing and stick the tag around your bag’s handle.
- As most machines don’t print off tags, you’ll take your bags to the counter to get them tagged. Some counter agents will weigh, tag, and send off your bags once you show your photo ID and boarding pass.
- If you tagged your own bags, or the agent returned your tagged baggage back to you, you’ll need to drop your checked bags off at the designated drop-off point. Look for signage or ask an agent to direct you to the nearest one.
-
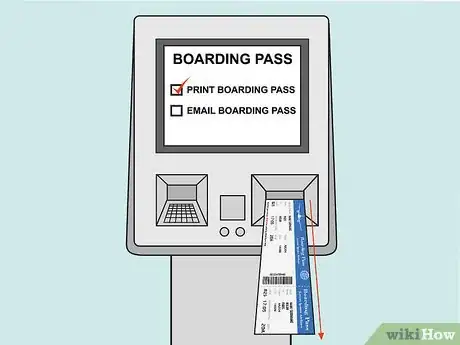
6Select the option to print your boarding pass(es). Finally, you’ll be asked whether you’d like to have your boarding passes printed on the spot from the kiosk. Select the option to print off your passes. Your pass (if you’ve booked a one-way flight) or passes (if you have a return trip or connecting flights) will print out of the machine and you can collect them from the tray.[6]
- Make sure all passes have printed out before you leave! Sometimes there will be a few moments’ pause between each one. Double-check that you have everything before heading off to the baggage drop-off point or security checkpoint.
Getting Your Pass at the Airline Check-In Counter
-
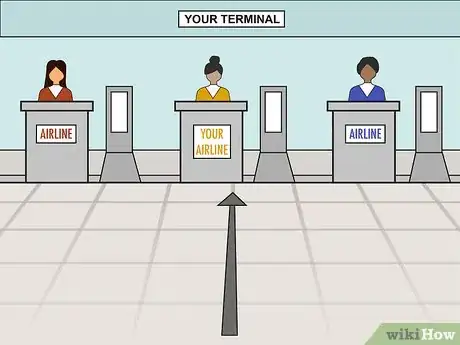
1Make your way to your chosen airline’s counter at the correct terminal. When you arrive at the airport, you should make your way to the terminal in which your airline’s departures originate. Look for signage to indicate where your carrier is located, and approach the counter. On a busy day, you’ll have to wait in line behind other passengers.
- Make sure to factor extra time into your schedule to account for lengthy lines at the counters.[7]
- To find the right terminal, look up the name of your airline on your booking confirmation documents. Pull up an airport map or the airport’s website and search for this airline to see which terminal its departures are operated out of.
-
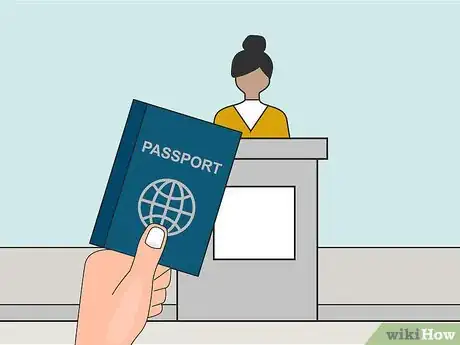
2Provide the agent with your photo identification. Unlike a self-service kiosk, where you can type in your information, an airline agent will need to see a photo ID card. They’ll look up your name in the system to access your flight details. They may also ask for your record locator, flight number, or another confirmation code.[8]
- Oftentimes an agent will ask you about your travel details to confirm that you match the person and plan they see onscreen. Be prepared to clearly state the name of the airport at your final destination and any connecting stops along the way.
- If you’re traveling on a budget airline, you may be required to pay a fee to utilize counter service.[9]
-
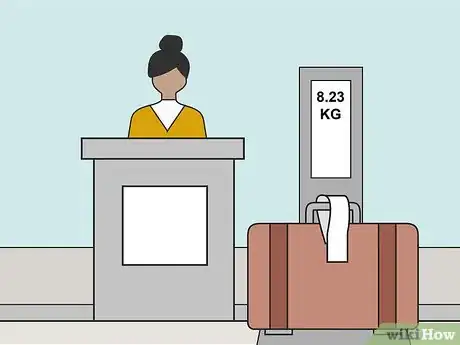
3Check your bags, if applicable. Bring all of your bags with you up to the counter. You’ll be asked to place any bags you would like to check upon the scale next to the agent’s counter for weighing. If you haven’t already paid for checked bags, the agent will charge the fee to whichever credit or debit card you provide.[10]
- The agent will usually tag your bags and send them off to be processed. At some airports, they may ask you to bring your bags to a designated drop-off area.
-
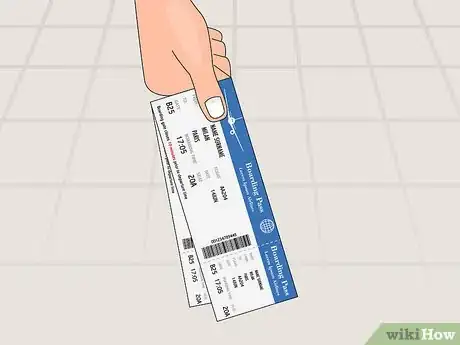
4Request printed copies of your boarding pass(es). Once your bags are checked, the agent will be able to print your boarding passes. They might ask whether you’d like this done. If they don’t mention it, you should ask them to print off your boarding pass (if you’re making a single-segment trip) or passes (if you have a connecting flight). Within moments they’ll provide you with hard copies of all boarding passes for your trip.[11]
- With tickets in hand, you’ll be able to advance to the security screening area.
Printing an Online Pass from Your Computer
-
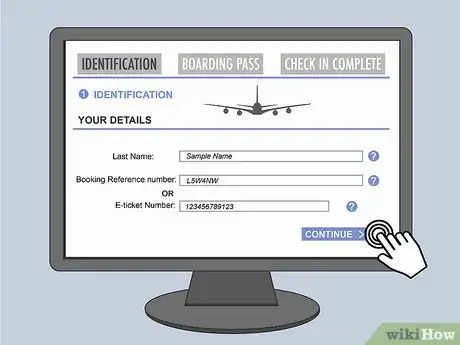
1Complete the online check-in process. Once your departure is 24 hours away, you can check in with most airlines. If you’ve booked directly through the airline’s website, the airline will send an email to the address you used when booking the tickets, noting that it’s time to check in. If you booked through another provider, you can simply head to your airline’s website and enter your record locator, name, and departure date to check in.[12]
- Generally, you’ll be asked to confirm your flight itinerary, confirm or change your seat, and pay for checked baggage. For an international flight, you may also be prompted to provide your passport number.
- Make sure your email address is correct. There’s a good chance your passes will be sent to you via email.
-
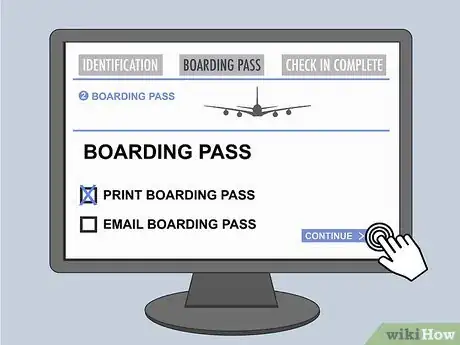
2Select the option to print your boarding pass(es) from a computer. Once you’ve confirmed your flight details and completed the check-in process, the system will ask how you’d like to retrieve your boarding pass or passes, if you have a connecting flight. Check the box or press the button that indicates you want to print off these passes from your computer.[13]
-
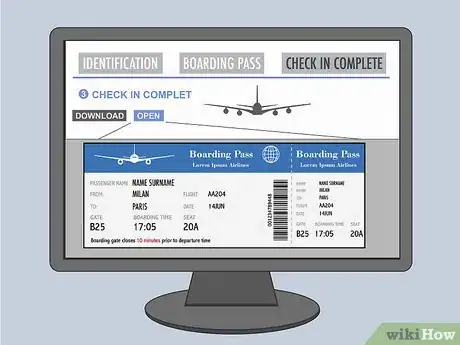
3Download and/or open the digital document containing your boarding pass(es). Depending on your airline, you will either be able to download the passes on the spot or you’ll receive them via email. Once you select the option to print the passes, you might instantly see a PDF download. Sometimes there is a link which opens a digital document in a new tab within your web browser. Many airlines transmit a link or attachment containing your passes via email.[14]
- If you have a connecting flight there may be more than one pass in the document.
-
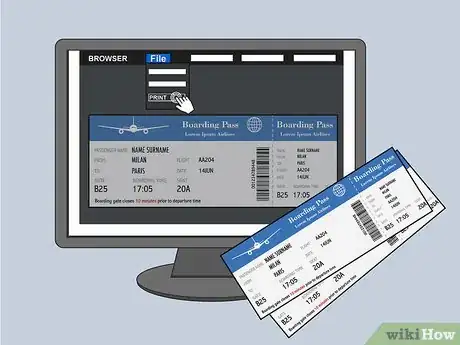
4Print the document from your computer. Navigate to File → Print within the dropdown menu of your document viewer or web browser to print off copies of your boarding pass(es). Double-check the printouts to ensure that every page has printed, and that all information is correct.[15]
- If you’re working from a device or computer that doesn’t have printing capabilities, save the digital document and email it to yourself. You’ll be able to print it at any point before you leave for the airport.
- Note that you won’t be able to use the digital copy of this printable pass as a mobile boarding pass. Typically, a printed pass features a barcode while a mobile pass contains a QR code. If you’ve selected the print option you’ll have to print it out for it to be valid.
Using a Mobile Boarding Pass
-
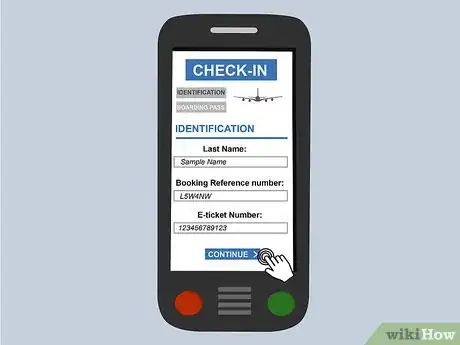
1Follow the online check-in process using a web browser or mobile app. 24 hours before your flight is scheduled to depart, you can check into your flight. Navigate to your airline’s website and follow the link to check in. Once you enter your name, departure date, and record locator you’ll be prompted to confirm your trip itinerary, seat location, and checked baggage.[16]
- If you plan to change your seat or add a checked bag, this is the opportunity to do so. You’ll also be asked to pay additional fees for these services and any other upgrades.
- If you booked directly through the airline’s website, you’ll usually receive an email notifying you when it’s time to check into your flight.
- During check-in, many major airlines will also ask how you would like to receive flight-related notifications. For example, you can opt into having push notification or text messages sent to your device in the event of a gate change, boarding notification, or delay.
-
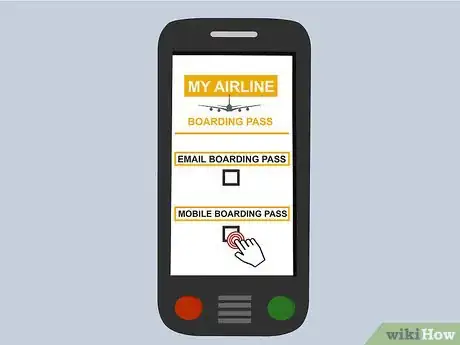
2Choose the option to receive mobile boarding pass(es) through the airline’s app. Make sure the airline’s mobile app is installed on your device and that you have an account set up.[17]
- Note that if you’ve selected the option to print your pass, you won’t be able to present the PDF version from your phone. A mobile boarding pass found in the airline’s app will be formatted differently with a QR code whereas a print-ready pass will have a barcode and will need to be printed out to be valid.
-
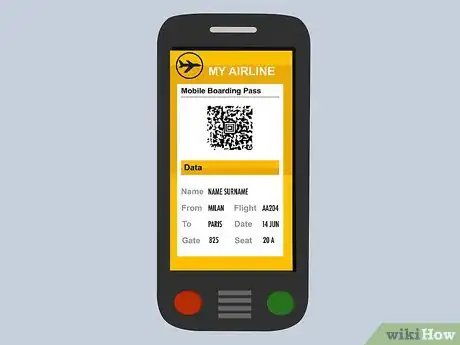
3Open the mobile boarding pass(es) on your device. If you received your pass(es) via email, download and open the PDF containing them. If you’re using the airline’s app, log into your account and navigate to where your passes are contained. You might need to tap on the upcoming flight to view the pass associated with it. Pull up the boarding pass through the app or in PDF format.[18]
- The mobile pass will contain a scannable QR code along with the same details as a traditional paper ticket – your name, flight number, seat number, departure and arrival times, record locator, and so forth.
- You can show this mobile pass to the security officers and gate agents at the airport.
- Unlike many instances when you need to hand over your device to have a representative scan a mobile code for you, agents and officers at the airport will often indicate for you to scan the code yourself.
-
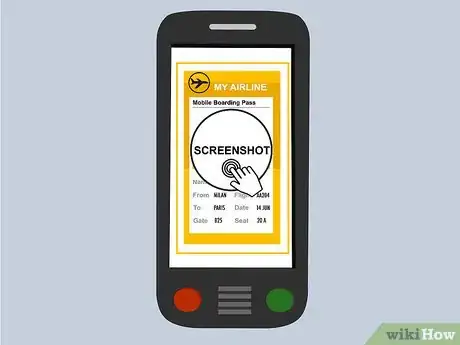
4Take a screenshot of your mobile boarding pass. Though it’s not completely necessary, this quick extra step will prevent you from tons of frustration. In any airport, there’s a chance that your WiFi connection or data access could be lost. Even worse, your mobile device could crash! If any of these things happen, you can show the screenshotted pass to airline agents and security officers as needed.[19]
- If you can’t access your mobile boarding pass, or your phone dies, you can use another method such as a self-service kiosk or have an agent assist you at the check-in counter. If this issue occurs once you’re past security but before you board your flight, ask a gate agent to print off a copy for you.
Community Q&A
-
QuestionWhen buying a ticket, can this ticket cover you for both the outbound journey and the return at the same time?
 Community AnswerNo, if you are buying a ticket, it either has to be from your place or to your place. For instance, if you are flying to New York, you first buy a ticket, which is from (your place) to New York. Then, you also have to buy a return ticket so that you can reach your place.
References
- ↑ https://www.tripsavvy.com/airports-self-service-checkin-kiosks-2973028
- ↑ https://traveltips.usatoday.com/boarding-pass-13277.html
- ↑ https://traveltips.usatoday.com/boarding-pass-13277.html
- ↑ https://www.tripsavvy.com/airports-self-service-checkin-kiosks-2973028
- ↑ https://www.tripsavvy.com/airports-self-service-checkin-kiosks-2973028
- ↑ https://www.tripsavvy.com/airports-self-service-checkin-kiosks-2973028
- ↑ https://traveltips.usatoday.com/boarding-pass-13277.html
- ↑ https://traveltips.usatoday.com/boarding-pass-13277.html
- ↑ https://traveltips.usatoday.com/boarding-pass-13277.html
- ↑ https://traveltips.usatoday.com/check-luggage-airport-33651.html
- ↑ https://umabroad.umn.edu/students/travel/airport
- ↑ https://umabroad.umn.edu/students/travel/airport
- ↑ https://www.smartertravel.com/ups-downs-online-check/
- ↑ https://www.smartertravel.com/ups-downs-online-check/
- ↑ https://www.smartertravel.com/ups-downs-online-check/
- ↑ https://traveltips.usatoday.com/electronic-boarding-pass-work-100837.html
- ↑ https://traveltips.usatoday.com/electronic-boarding-pass-work-100837.html
- ↑ https://traveltips.usatoday.com/electronic-boarding-pass-work-100837.html
- ↑ https://lifehacker.com/take-a-screenshot-of-your-mobile-boarding-pass-when-tra-5967413
- ↑ https://www.smartertravel.com/ups-downs-online-check/
- ↑ https://www.whathappensnow.com/travel/air-travel/get-help/
About This Article
To get your boarding pass for most airlines, you should get an email to check in online once your departure is 24 hours away. Follow the link and select the option to print your boarding pass from a computer. You can then download your pass as a PDF and print it at home. Alternatively, visit the airline’s website on a smartphone and choose the mobile option for your boarding pass, which you can show on your phone when you get to the airport. If you don’t have a phone or printer, you can also collect your boarding pass from a self-service kiosk or check-in counter once you’re in the correct terminal for your flight. You can check your confirmation email to find the terminal if you don’t know. For more tips, including how to follow the instructions on a self-service kiosk, read on!



-Step-12.webp)


