This article was co-authored by wikiHow staff writer, Dan Hickey. Dan Hickey is a Writer and Humorist based in Chicago, Illinois. He has published pieces on a variety of online satire sites and has been a member of the wikiHow team since 2022. A former teaching artist at a community music school, Dan enjoys helping people learn new skills they never thought they could master. He graduated with a BM in Clarinet Performance from DePauw University in 2015 and an MM from DePaul University in 2017.
This article has been viewed 7,777 times.
Learn more...
Gluing is an easy way to bond metal pieces together for home repairs and projects, but how do you make sure the pieces really stick? Glue is great for smaller metal pieces that won’t experience intense wear and tear, and the materials you need are easily available online or at your local hardware store. We’ve put together a handy guide to gluing metal to metal, including which glues to use and how to prep your metal for a strong bond. If you’re ready to get metal crafting, keep scrolling!
Things You Should Know
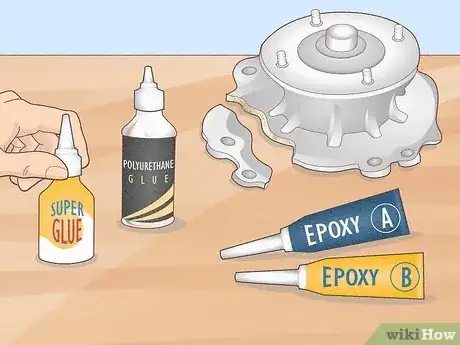
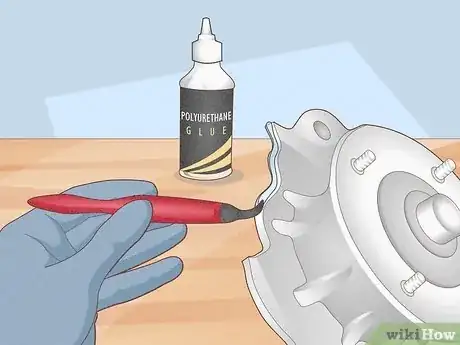
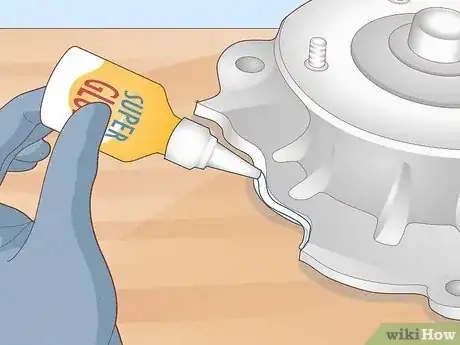
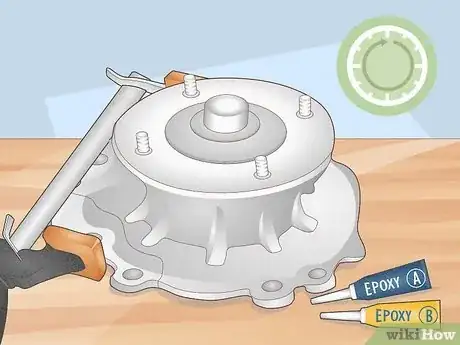
- Choose epoxy, polyurethane, or super glue. Consider the strength you need, drying time, and the size of gaps between the metal pieces.
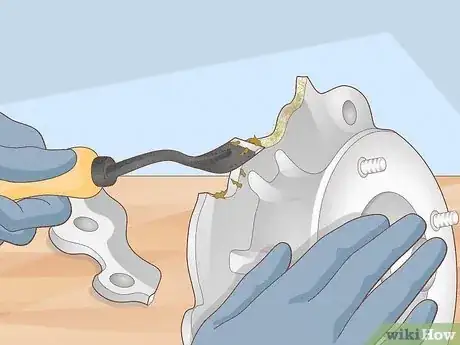
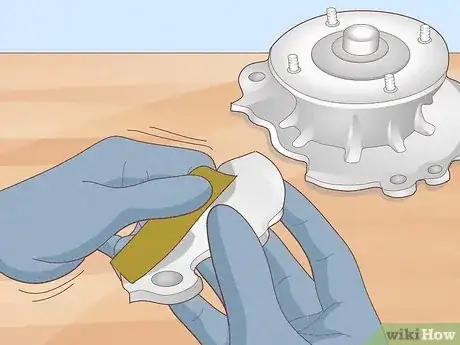
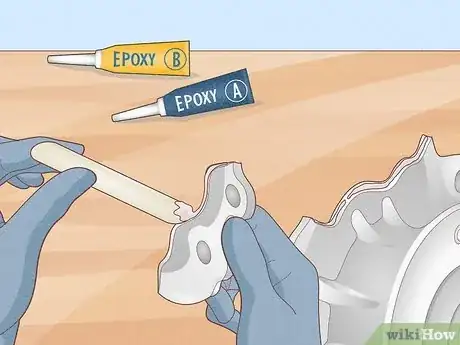
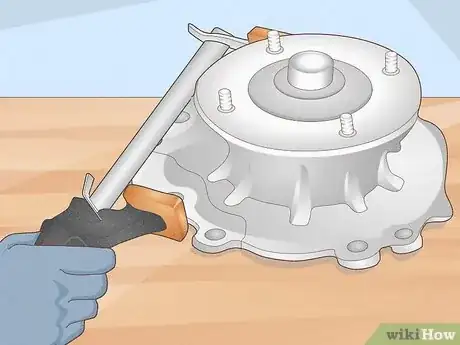
- Thoroughly clean and lightly sand both metal pieces before applying glue. Afterwards, clamp the pieces together for 1-2 hours to set.
- Wait 24 hours for the adhesive to cure fully—afterwards, your metal is fully bonded and ready for use.
Steps
Warnings
- Rinse your eyes, nose, or mouth with warm water for several minutes if they come into contact with any adhesive. See a doctor immediately and bring the glue packaging with you so they can see the ingredients in the product.[20]⧼thumbs_response⧽
References
- ↑ https://resin-expert.com/en/guide/metal-glue-guide
- ↑ https://housegrail.com/how-to-glue-metal-to-metal/
- ↑ https://resin-expert.com/en/guide/metal-glue-guide
- ↑ https://housegrail.com/how-to-glue-metal-to-metal/
- ↑ https://resin-expert.com/en/guide/metal-glue-guide
- ↑ https://resin-expert.com/en/guide/metal-glue-guide
- ↑ https://housegrail.com/how-to-glue-metal-to-metal/
- ↑ https://resin-expert.com/en/guide/metal-glue-guide
- ↑ https://housegrail.com/how-to-glue-metal-to-metal/
- ↑ https://resin-expert.com/en/guide/metal-glue-guide
- ↑ https://housegrail.com/how-to-glue-metal-to-metal/
- ↑ https://resin-expert.com/en/guide/metal-glue-guide
- ↑ https://homesteady.com/13416253/how-to-make-metal-stick-without-welding
- ↑ https://resin-expert.com/en/guide/polyurethane-glue
- ↑ https://housegrail.com/how-to-glue-metal-to-metal/
- ↑ https://housegrail.com/how-to-glue-metal-to-metal/
- ↑ https://housegrail.com/how-to-glue-metal-to-metal/
- ↑ https://resin-expert.com/en/guide/metal-glue-guide
- ↑ https://housegrail.com/how-to-glue-metal-to-metal/
- ↑ https://resin-expert.com/en/guide/metal-glue-guide
