X
wikiHow is a “wiki,” similar to Wikipedia, which means that many of our articles are co-written by multiple authors. To create this article, volunteer authors worked to edit and improve it over time.
The wikiHow Video Team also followed the article's instructions and verified that they work.
This article has been viewed 49,897 times.
Learn more...
Elephant ears are fairly simple to put together for a costume. They can be added to an existing headband or attached to a paper circle. Both styles are explored here.
Steps
Method 1
Method 1 of 2:
Elephant ears on a headband
-
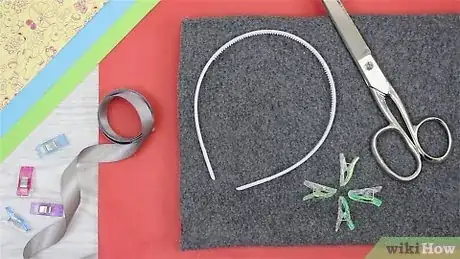
1Find suitable grey fabric. Velvet, felt, a strong cotton, etc. would all make suitable choices. Grey ribbon can be used on the headband.
-
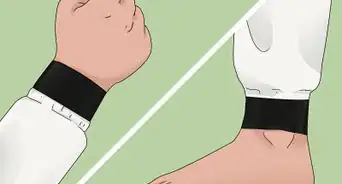
2Make a 2 to 5cm-wide (1-2 inch-wide) strip of fabric. Alternatively, if using the ribbon, skip this step.Advertisement
-
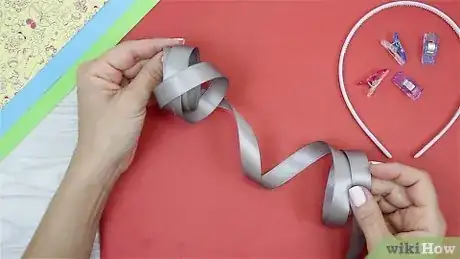
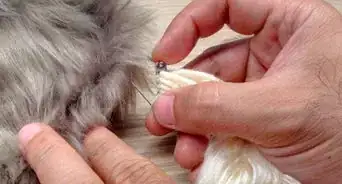
3Wrap the strip or ribbon around the headband. Tie and tuck under at the end, trim to neaten. Apply a dab of fabric glue to prevent unraveling.
-
4Draw two elephant ear shapes on paper, one facing left, one facing right. Use either an online image to trace over or simply draw from your imagination.
-
5Cut out the ear shapes to make into a template.
-
6Pin the templates to the fabric. Cut out two elephant ear shapes, two of the left facing and two of the right facing shapes.
-
7Pin the left ear together, wrong side facing out. Do the same for the right side.
-
8Stitch around the edges of the ears. Leave a small area open to turn the right way out.
-
9Turn the ears the right way out. Stuff with cotton balls or rolled up scraps of fabric to give a light fill. Finish the stitching.
-
10Attach the ears to headband. Glue the short edge of the ear to the headband.
-
11Once dry, the headband can be worn.
Advertisement
Method 2
Method 2 of 2:
Elephant ears and trunk mask
-
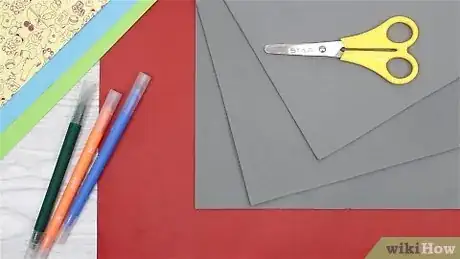
1Use light cardboard or very strong paper to make this mask of elephant ears and trunk. Grey is the best color for an elephant. Silver is another option for a "shiny" elephant.
-
2Cut a strip of paper that fits around your face, chin to forehead way. It needs to be wide enough to sit soundly and hold the ears and trunk.
- Tape the end of this circle together under your chin. It can help to have someone else do this; if not, fit in front of a mirror.
-
3Remove the circle strip from your head. Attach a piece of elastic to one side, then attach another piece to the opposite side. This forms the tie that goes behind your head.
- Knot this so that when it's around your head, it won't fall off.
-
4Draw elephant ear templates on paper. It's best to draw on paper first, in case you make an error. At the straight side (the part that attaches to the circle strip), add a small flap for each ear to enable easy attachment. Be sure to make a right facing ear and a left facing ear. Add little curve cuts (waves) at the base to emulate the elephant ear shape and keep the sides curved.
- Cut these out and use them as templates.
-
5Lay the paper templates on the cardboard. Trace around, then cut out the elephant ear.
-
6Design the trunk. This is very simple. Draw a block-letter T in the appropriate proportion to the ears. Cut out the large T.
-
7Attach the ears and trunk to the circle strip. Do this as follows:
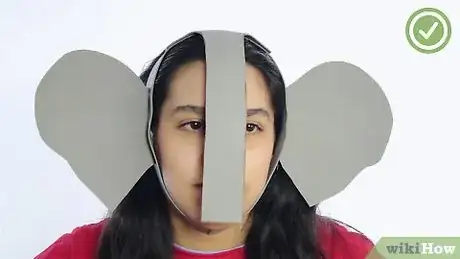
- Bend the top of the T over. Align this with the circle strip, above and in the middle of where you have already stapled on the elastic. Glue, tape or staple in place.
- Being guided by the placement of the trunk, attach the right ear on the right and the left ear on the left. Again, tape, glue or staple them in place.
-
8Slip on the elephant mask. Make any adjustments needed and it's ready to wear.
Advertisement
Things You'll Need
- Fabric
- Paper
- Scissors, marker, ruler, etc.
About This Article
Advertisement
