X
wikiHow is a “wiki,” similar to Wikipedia, which means that many of our articles are co-written by multiple authors. To create this article, 11 people, some anonymous, worked to edit and improve it over time.
This article has been viewed 47,828 times.
Learn more...
Saddlebags or panniers are an awesome add-on to your bicycle. Not only do they look aesthetically good but they are very functional as well! However, saddlebags can be a bit expensive or some available on the market just won't suit your taste. Why not make your own saddlebags? It's not hard as you think and as long as you have all the materials needed, it will take perhaps just a day or less to make. Follow these steps and let's get started.
Steps
Method 1
Method 1 of 2:
Single Saddle Bag
-
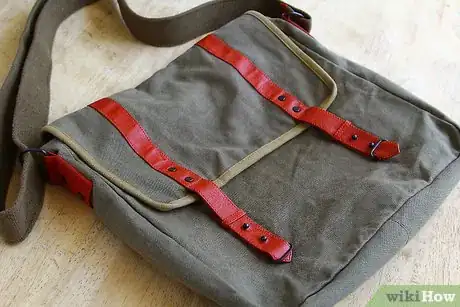
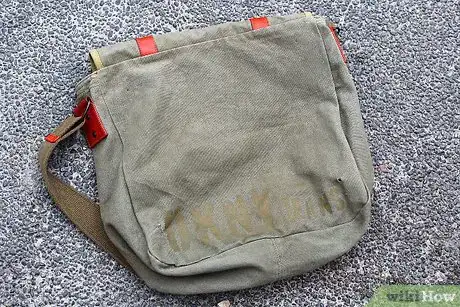
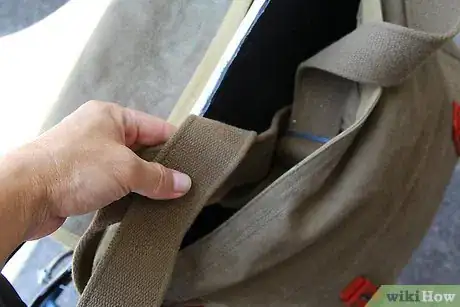
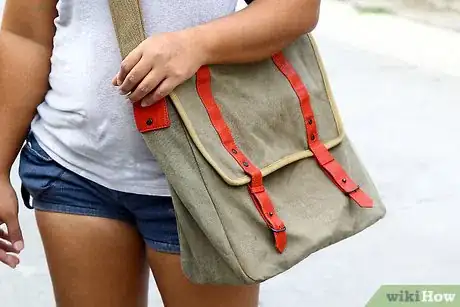
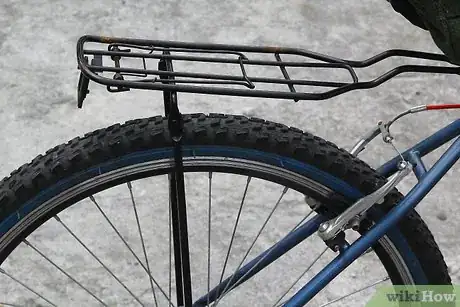
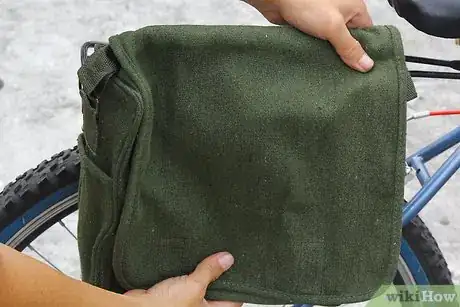
1Find a suitable bag. It's better if you can find something that is weatherproof for durability, but any bag you have will do in a pinch.
- Get a bag with that retro-appeal or euro-look. You could go an old army bag from a military surplus store.
- Visit the nearest thrift shop in town. There are no limits here in what style you want. You can even go for canvas grocery bags.
-
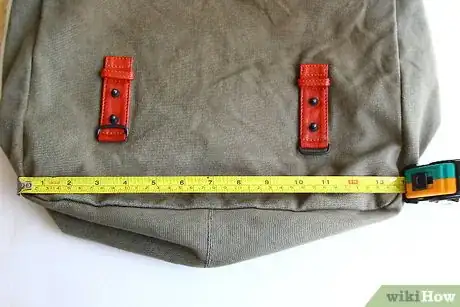
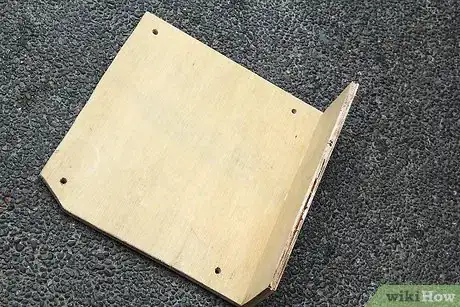
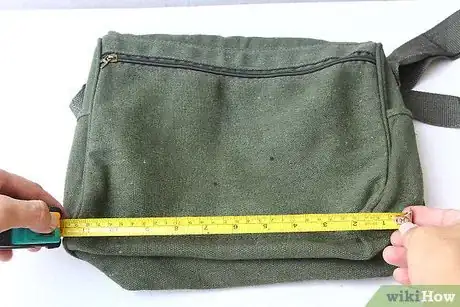
2Measure the size of your bag. Make sure to measure the length and width of the bag, as well as the base of the bag.
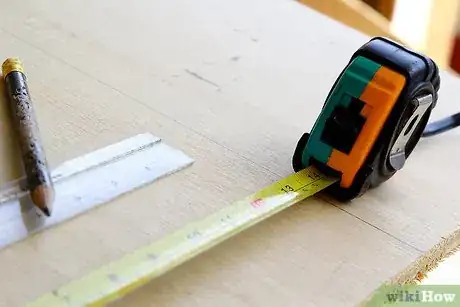
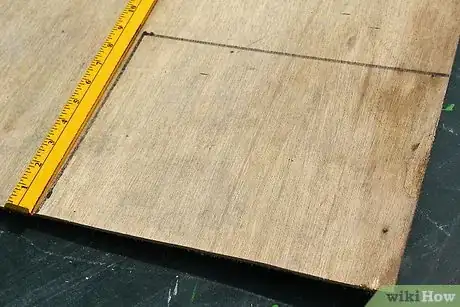
- Transfer these measurements to a 1/4-inch plywood.
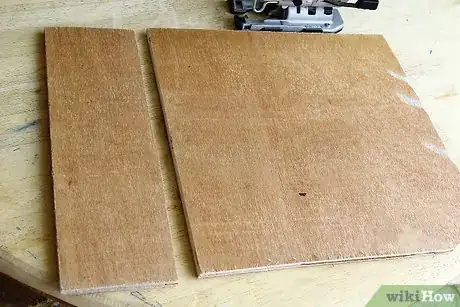
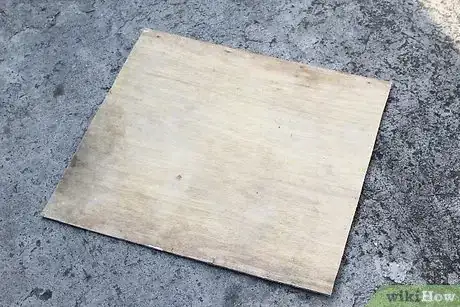
- Cut the wood to the size of your bag.
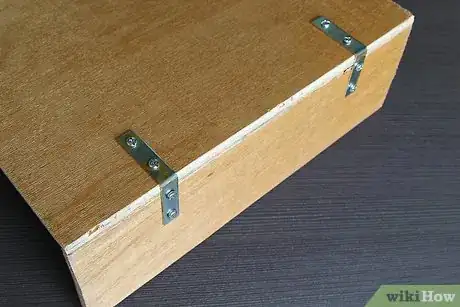
- You should now have two wood panels, one for the back of the bag and the other for the bottom of the bag.
Advertisement -
3
-
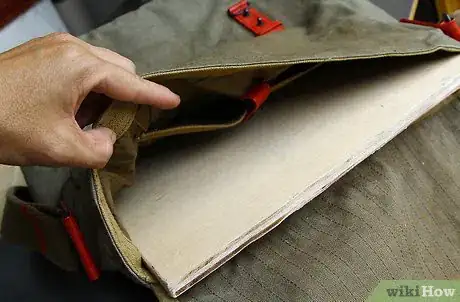
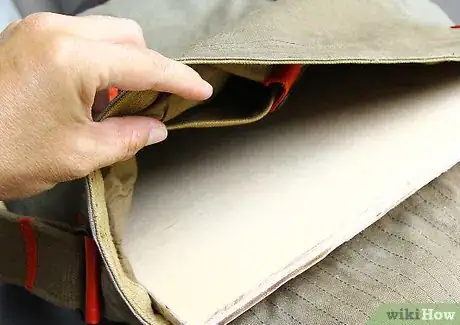
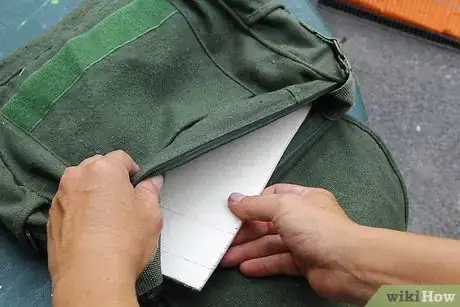
4Tuck the board inside the bag.
-
5
-
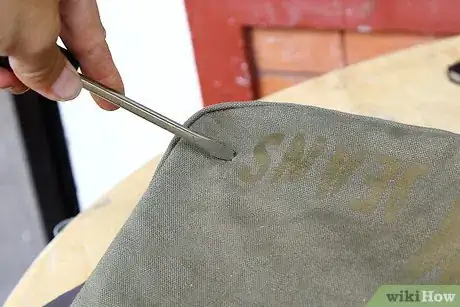
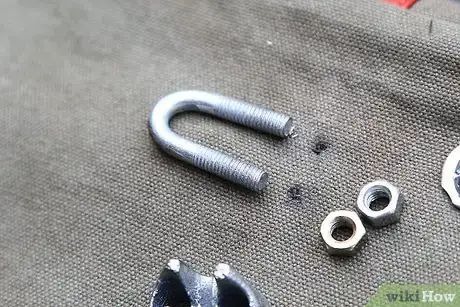
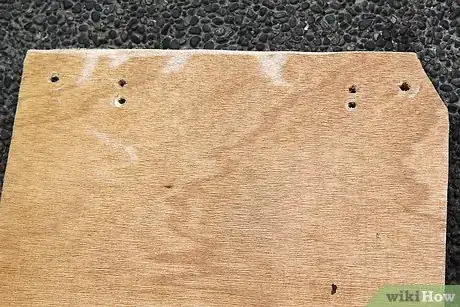
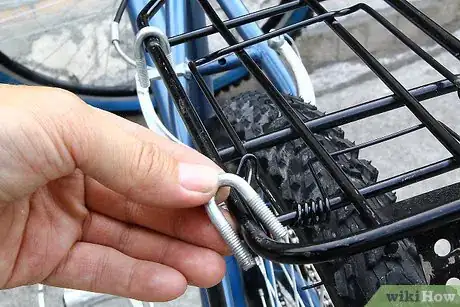
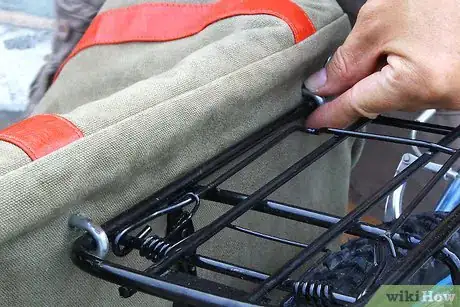
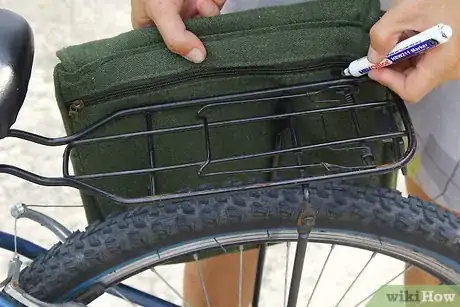
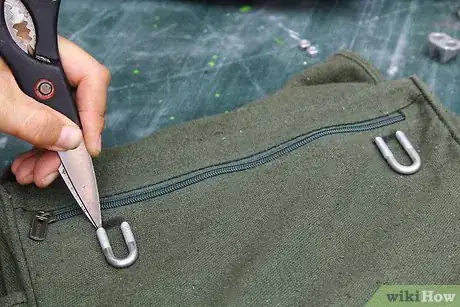
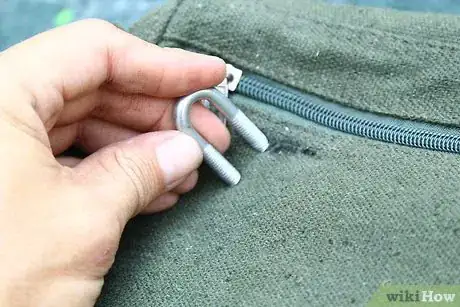
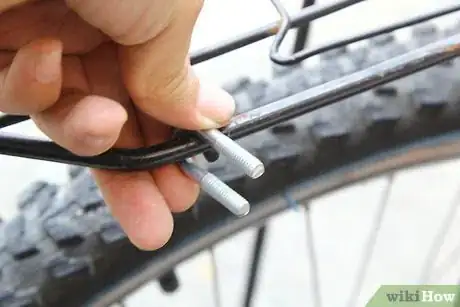
6Obtain two set of U-bolts. They should be about 1⁄4 inch (0.6 cm) in size, depending on the size of the frame of your bike. For a test fit, mount the U-bolts on the bike rear rack. Get the measurements of the U-bolt from the rack and apply this to the saddlebag.
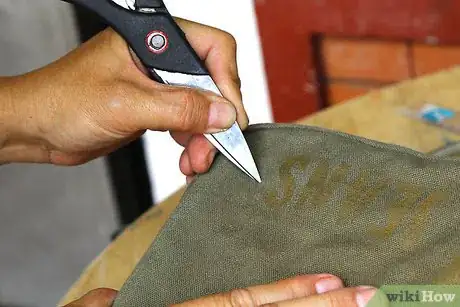
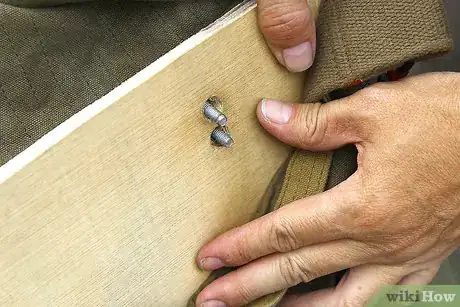
- Poke the holes for the U-bolts.
-
7Remove the board from the bag.
-
8
-
9
-
10
-
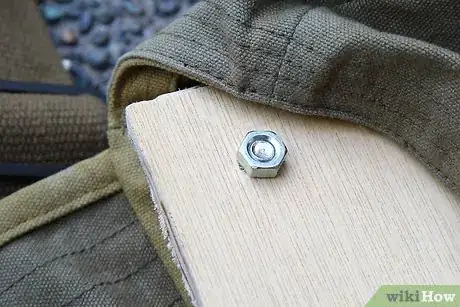
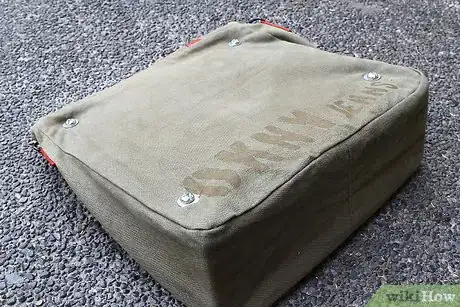
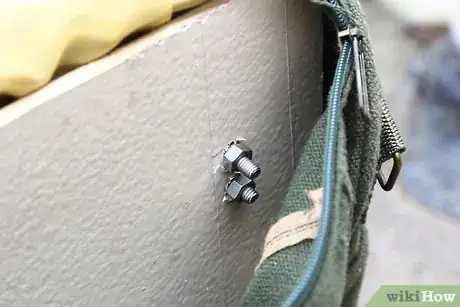
11Insert the U-bolt to the bag, passing through wooden board.
-
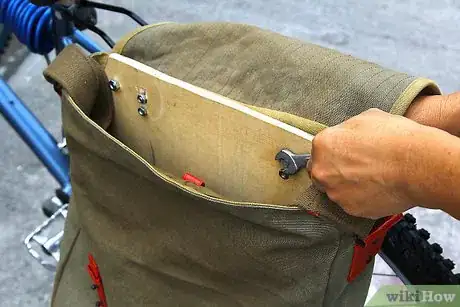
12Secure the saddlebag to the rack by tightening the nut of the U-bolt.
-
13Add a foam board to the bag for insulation, to dampen the cargo and hide the wood frame.
-
14
-
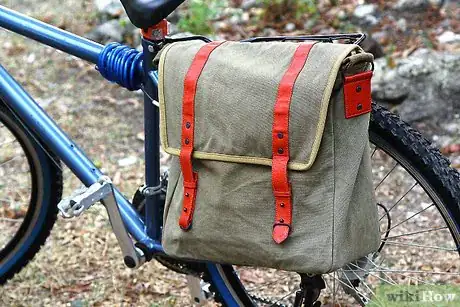
15Now you're done! This saddlebag can carry approximately 4 kilos of cargo.
-
16Looks cool on your bike! Enjoy your own DIY bicycle pannier.
Advertisement
Method 2
Method 2 of 2:
Dual Saddle Bags
-
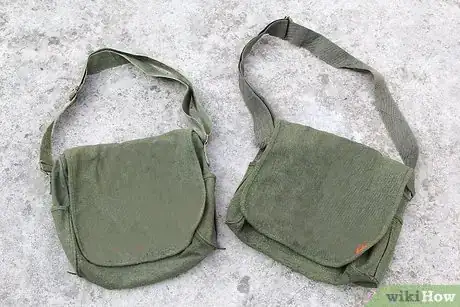
1Visit your nearest thrift shop and buy two identical bags.
-
2Measure the length and width of both bags.
-
3
-
4Insert the plywood into the bag.
-
5Install a bike rear rack (this is where you will mount the saddlebags)
-
6
-
7Poke holes on your markings.
-
8Get your drill and make holes passing through the plywood inside the bag.
-
9Place the U-bolt on the the bike rear rack.
-
10Mount the bag and secure them with the U-bolts and nuts.
-
11Do the same steps for the other bag.
Advertisement
Things You'll Need
- Bicycle
- Bicycle Rear Rack
- Old bag
- 1/4-inch plywood approximately 12 x 14 inches
- Drill
- Saw
- 4 ordinary ¼-20 nuts per bag
- 2 U-bolts per bag
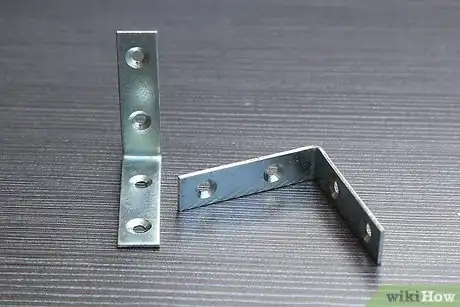
- 2 L-Brackets per bag
- Wood Adhesive
- Foam board
- Measuring tape or ruler
About This Article
Advertisement
