This article was co-authored by Meredith Juncker, PhD. Meredith Juncker is a PhD candidate in Biochemistry and Molecular Biology at Louisiana State University Health Sciences Center. Her studies are focused on proteins and neurodegenerative diseases.
wikiHow marks an article as reader-approved once it receives enough positive feedback. In this case, 85% of readers who voted found the article helpful, earning it our reader-approved status.
This article has been viewed 880,815 times.
There's no need to look up to see the clouds in the sky when you can make a cloud of your own at home! All you need is a glass jar or plastic soda bottle and a few common household items. Try this easy experiment to have your own cloud in a bottle.
Steps
Making a Cloud in a Glass Jar
-
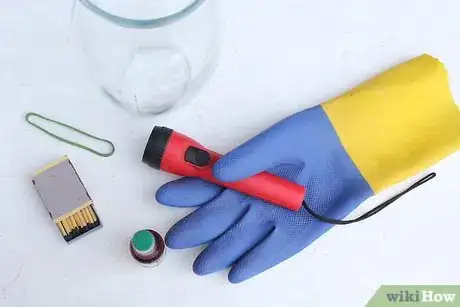
1Gather your supplies. Assemble all your supplies for this science experiment before you start. Have the following on hand:
- 1 US gal (3.8 L) glass jar
- Matches
- Rubber glove
- Rubber band
- Flashlight or lamp
- Food coloring
- Water
-
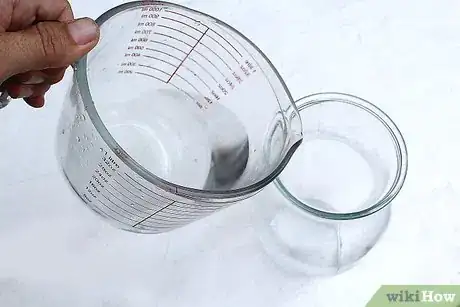
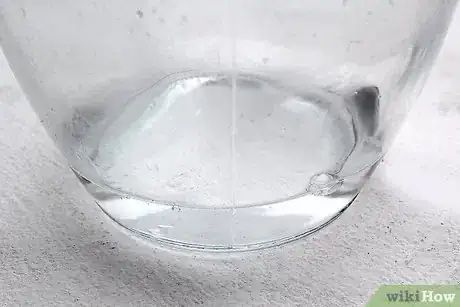
2Pour boiling water into the jar. Use just enough water to cover the bottom of the jar. You only want to use a small amount of water so that the water can evaporate.
- Swirl the water around inside the jar so that it covers the sides.
- Use oven mitts, since the boiling water will make the jar very hot.
Advertisement -
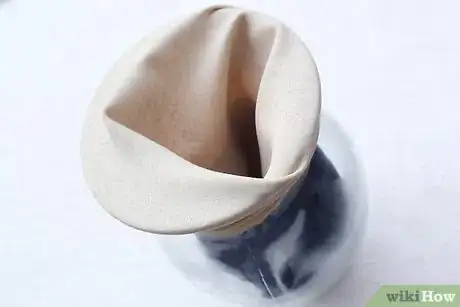
3Put the rubber glove wrist around the mouth of the jar. Have the fingers of the glove pointing downward into the jar. This will seal in the air into the jar.
-
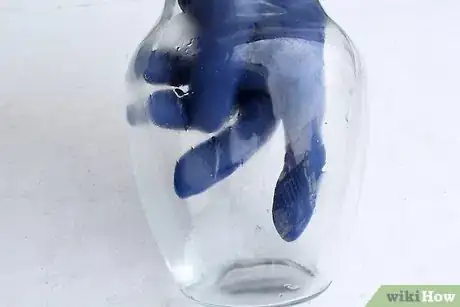
4Try putting your hand in the glove. Once your hand is in the glove, move it upward so that you pull the fingers of the glove up. You’ll notice that nothing happens to the water in the jar.
-
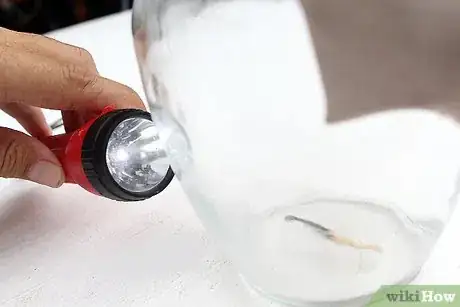
5Light a match and drop it in the jar. Take the glove off the jar for just a moment. Light a match (or have an adult light it for you) and drop it in the jar. Stretch the glove back over the jar, with the fingers pointing down into the jar.
- The water at the bottom of the jar will put out the match, and smoke will form in the jar.
-
6Put your hand in the glove again. Slide your hand into the glove and pull it outward again. This time, a cloud will form in the jar. When you put your hand back inside the jar, the cloud will disappear.[1]
- This will last for 5-10 minutes, and then the particles will settle into the bottom of the jar.
-
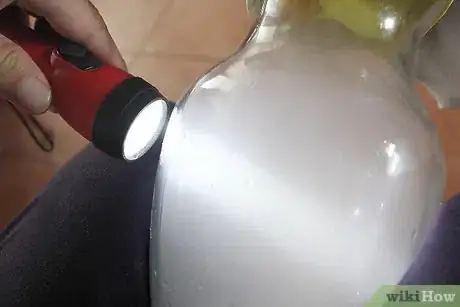
7Shine a flashlight on the jar. When you shine a light on the jar, you will be able to see the clouds better.
-
8Understand how this works. The air is full of warm water vapor molecules inside the jar. The air is compressed by the glove because the glove takes up some of the space inside the jar. Pulling the glove fingers out of the jar releases some space in the jar and allows the air to expand. The air inside the jar cools because pressure and temperature have a proportional relationship when pressure and temperature drops. The smoke from the match acts as a vehicle that the water molecules can attach to. They stick to the smoke particles, condensing into cloud droplets.[2]
- When the glove fingers go back into the jar, the air inside the jar warms up again and the cloud disappears.
-
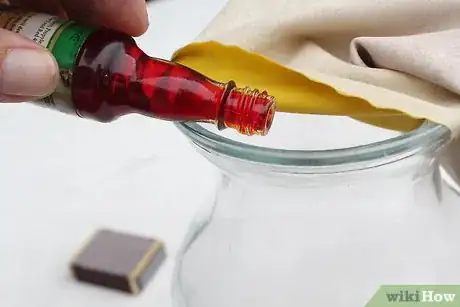
9Try the experiment again with colored clouds. Add a few drops of food coloring to the water in the bottom of the jar. Then cover the jar, add a lighted match, and watch your clouds bloom in a different color.
Using Aerosol to Make Clouds
-
1Assemble your supplies. Assemble all your supplies for this science experiment before you start. Have the following on hand:
- 1 US gal (3.8 L) glass jar with lid
- Aerosol (hairspray or air freshener)
- Flashlight or lamp
- Water
- Dark-colored paper and flashlight
-
2Pour boiling water into a glass jar. Put enough water in the jar to cover the bottom, or about 1 inch (2.5 cm). Swirl the water around so that the jar heats up. This will also prevent any condensation from forming in the jar.
- The jar will be very hot. Be sure to use oven mitts to hold the jar.
-
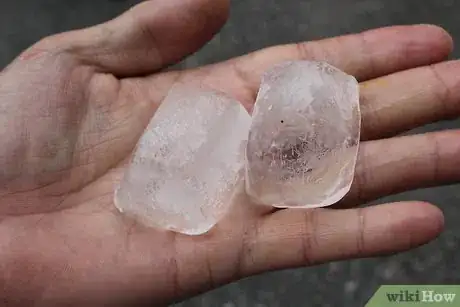
3Place ice in the jar lid. Turn the jar lid upside down so that it’s a little bowl. Place two ice cubes in the lid. Lay the lid on top of the jar. You may now see some condensation in the jar.
-
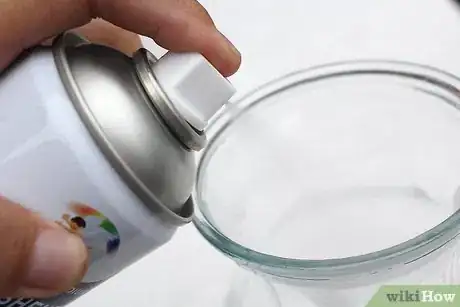
4Spray aerosol into the jar. Use an aerosol product like hairspray or air freshener to spray into the jar. Lift the iced lid up and quickly spray a small amount into the jar. Replace the lid to trap the aerosol in the jar.
-
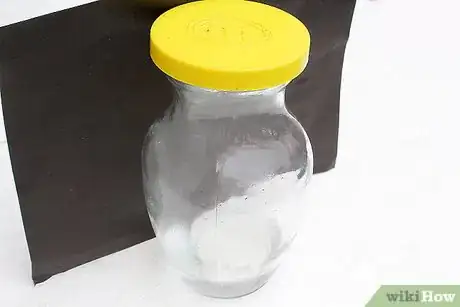
5Place a dark-colored piece of paper behind the jar. Use a dark piece of paper to create contrast. This way, you will be able to see the cloud that has formed in the jar.
- You can also use a flashlight to shine into the jar.
-
6Open the lid and touch the cloud. When you lift the lid off the jar, the cloud will float out. You can let it pass through your fingers.
-
7Understand why this works. You created hot, moist air in the jar when you poured in the boiling water. The ice on the lid works to cool the air as it rises. This water vapor will turn back into a liquid when it cools, but it needs a surface to condense on. When you spray the aerosol into the jar, you’ve given the water vapor a surface. The molecules stick to the aerosol and condense into cloud droplets.
- The clouds swirl around inside the jar because the air inside is swirling around. The warm air is rising while the cool air is sinking. You can see the movement of air as the clouds swirl.
Using a Plastic Soda Bottle to Make Clouds
-
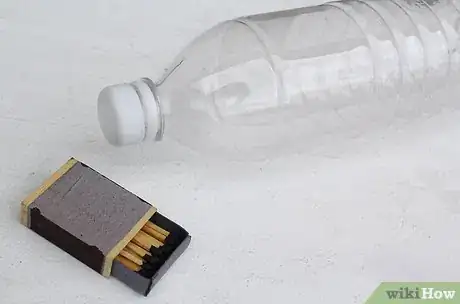
1Assemble your supplies. Have your supplies on hand before you start on this experiment. You will need:
- Plastic bottle with a cap: A large soda bottle is ideal for this experiment. Make sure to remove the label from the plastic bottle. Then you will be able to see the clouds when they form inside the bottle. It is also best to choose a clear bottle.
- Matches
- Water
-
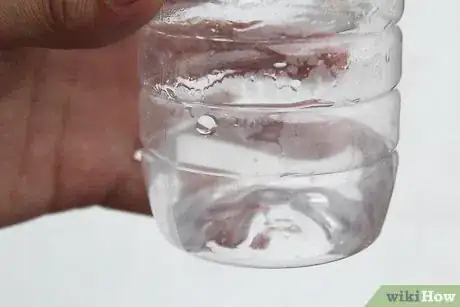
2Pour hot water into the bottle. Use hot water from the tap. Pour in enough water to cover the bottom of the bottle, or about 1 inch (2.5 cm).
- Don’t use boiling water in a plastic bottle. The plastic might warp and the experiment won’t work. The water should be hot, though. Try for about 130 °F (54 °C).
- Swirl around the water a bit to warm up the sides of the bottle.
-
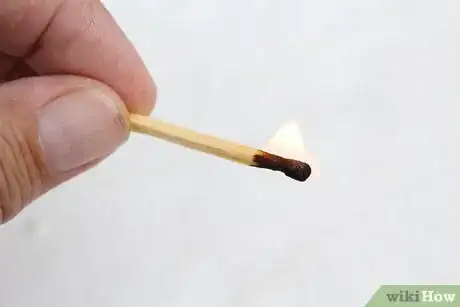
3Strike a match. Blow it out after a few full seconds. Make sure an adult is around you while you are doing this step.
-
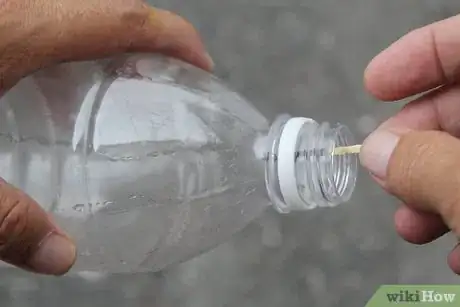
4Toss the burned match into the bottle. Tilt the bottle with one hand and insert the head of the match into the top of the bottle. Let the smoke from the match fill the bottle. , where it will seem to disappear. Discard the match.
-
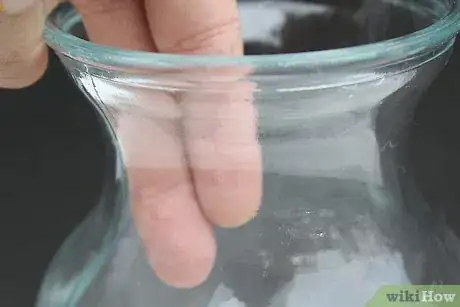
5Screw the cap onto the bottle. Grip the neck of the bottle so that you do not squeeze the sides before the cap is screwed in completely. This prevents any smoke or air from escaping.
-
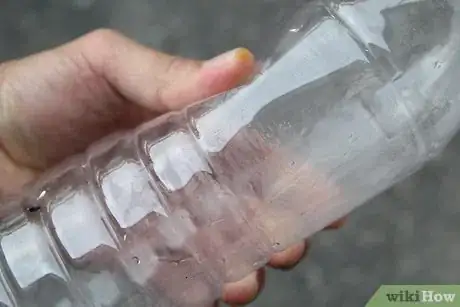
6Squeeze the sides of the bottle hard. Do this three or four times. Wait a few seconds then squeeze the bottle again, this time holding the squeeze longer before releasing.
-
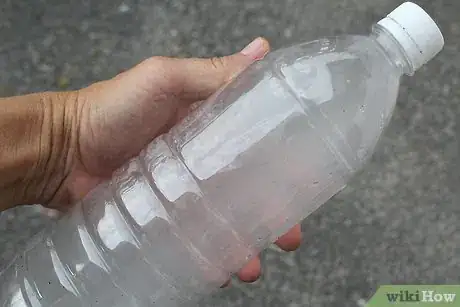
7Look at the formation of fog in the bottle. You should see your very own cloud there! [3] Putting pressure on the bottle's sides forces the water particles to compress. When you let go of the sides of the bottle, the air expands, decreasing the temperature. When the air cools, the particles can stick together a little more easily, which causes them to clump into little tiny droplets around the smoke molecules. [4]
- This mimics the process of clouds forming in the sky. Clouds in the sky are made up of water droplets that have clung to tiny particles of dust, smoke, ash, or salt.
Community Q&A
-
QuestionCan the cloud rain in the bottle?
 lilly portillaCommunity AnswerNo, it will not rain. The cloud will only condensate, causing it to just turn back into water.
 -
QuestionIs there a way to make it without a match?
 Community AnswerIf you do not have matches, use a lighter and a piece of paper, or an incense stick to make the smoke you need.
 -
QuestionIs the cloud toxic to inhale or ingest?
 Community Answermethod 1 : non-toxic for inhaling and ingesting method 2 (using air freshener): non-toxic for inhaling, ingesting toxic method 2 (using hairspray) : toxic for inhaling and ingesting method 3 : non-toxic for inhaling, ingesting toxic (depends on the plastic)
Warnings
- Use adult supervision when lighting and handling the match if you're a child.⧼thumbs_response⧽
References
About This Article
To make a cloud in a bottle, start by pouring a little bit of hot water into a plastic bottle so just the bottom is covered. Then, strike a match and let it burn for a few seconds before blowing it out. Once the match is out, toss it into the bottle and put the cap on. Then, just squeeze the bottle a few times and you should see a foggy cloud form inside! To learn how to make a cloud in a glass jar, keep reading!





-Step-15.webp)

