This article was co-authored by Doug Ludemann. Doug Ludemann is the owner and operator of Fish Geeks, LLC, an aquarium services company based in Minneapolis, Minnesota. Doug has worked in the aquarium and fish-care industry for over 20 years, including having worked as a professional aquarist for the Minnesota Zoo and Shedd Aquarium in Chicago. He received his Bachelor of Science in Ecology, Evolution, and Behavior from the University of Minnesota.
There are 7 references cited in this article, which can be found at the bottom of the page.
wikiHow marks an article as reader-approved once it receives enough positive feedback. In this case, 100% of readers who voted found the article helpful, earning it our reader-approved status.
This article has been viewed 177,762 times.
Freshwater shrimp can make great pets. Shrimp like ghost shrimp and cherry shrimp are about as hardy as many fish and offer a visually striking alternative to traditional fish tanks. The small tank requirements make fresh water shrimp a great choice for offices, classrooms, or your living room. It is not recommended to house shrimp with other fish unless you are using them as a food source, as fresh water shrimp are extremely susceptible to predators.
Steps
Setting Up Your Shrimp Tank
-
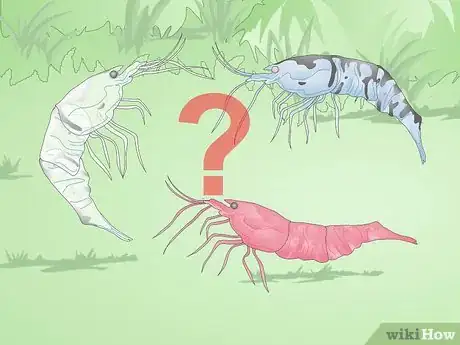
1Choose the right shrimp for you. There are lots of species of shrimp to choose from when making a shrimp tank. All shrimp are more susceptible to issues with water quality than fish.[1]
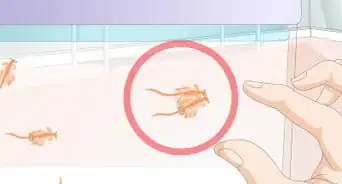
- Ghost shrimp, also called glass shrimp, are one of the easiest breeds of shrimp to raise. They are translucent (see through) and highly active. Ghost shrimp are also very affordable.
- Cherry shrimp are usually green and brown, but there are red varieties available for purchase. They are slightly more expensive than ghost shrimp, but require similar care.
-
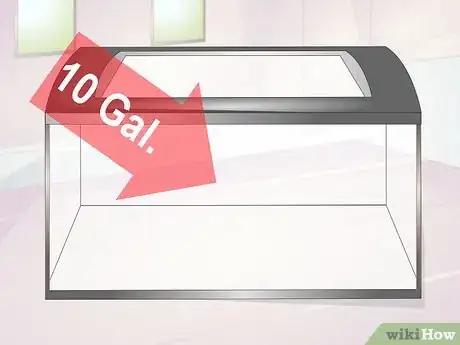
2Choose the right fish tank. There are many options to choose from for shrimp tanks. Choosing a tank that is at least ten gallons will ensure you have enough space for your shrimp to flourish.[2]
- Make sure to note the size of your tank. You will need to use that figure to calculate flow rate in your choice of water filter.
- A ten-gallon tank is often sufficient for even a large population of shrimp.
Advertisement -
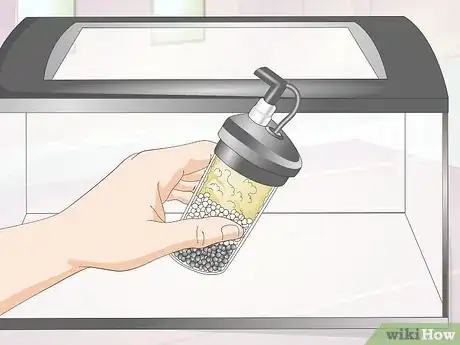
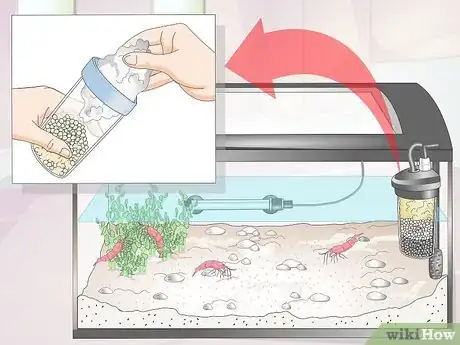
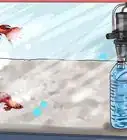
3Choose the right aquarium filter. You will need to determine the required flow rate for your tank. Pet stores can often help you choose the right filter for your tank. You can also use one of the many free volume calculators available online to help you choose. Shrimp waste is often very small, so you'll need an effective filter to catch this. [3]
- You will need to know the volume and dimensions of your tank to use volume calculators.
- Try using the free volume calculator at http://aquariuminfo.org/volumecalculator.html to determine your filter needs.
- In-tank filters like Lee's 10 Premium Undergravel Filter and the Emperor Pro Series Bio-Wheel are good options. The Fluval 406 canister filter is also good and mounts externally. Sponge filters are recommended if you are going to create an ongoing colony of shrimp, as the shrimplets will not be sucked in as they would with a hang-on-back filter intake. Shrimp also enjoy picking debris off sponge filters.
-
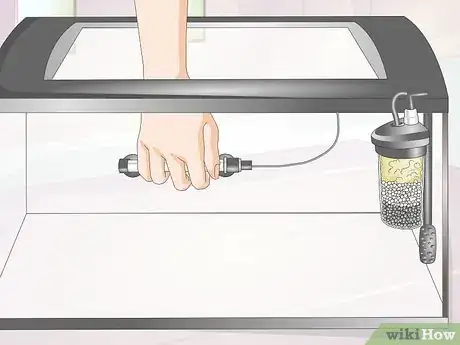
4Install a tank heater. You can also find online calculators to help you determine which water heater to purchase. It is important to choose a water heater that is rated appropriately to heat a tank the size of yours.
- Pet stores can help you identify the right heater for your tank.
- Generally, it's better to round up on the required wattage of your water heater.
- Purchasing two equal wattage water heaters to place on either side of the tank can increase efficiency and ensure the tank remains warm if one heater fails.
-
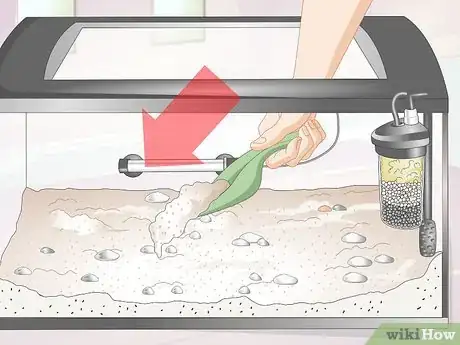
5Add substrate to the floor of the tank. Most plant substrates come ready to be placed in your aquarium upon purchase. Gravel substrates may require multiple cleanings before they are free of dust and debris. [4]
- You can buy shrimp-ready substrate at most pet stores.
- Use enough substrate to fill the bottom of the aquarium to about an inch.
- Try to leave the area at the front of the tank clear so shrimp will congregate in a visible area, but feel free to vary the depth of the substrate otherwise.
Preparing to Add Your Shrimp
-
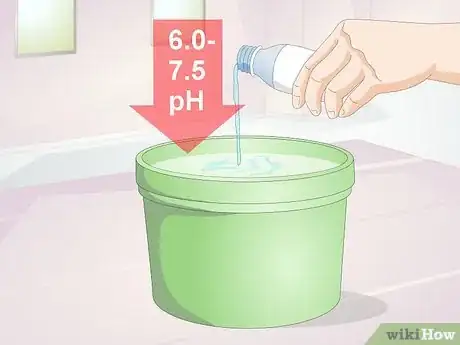
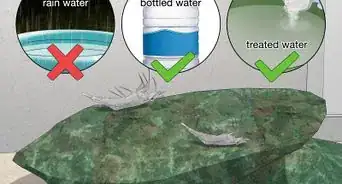
1Treat the water as necessary to make it safe for shrimp. If you buy water from the pet store that is made for aquariums, you may not need to treat it. Tap water will require treatment to ensure it is safe for shrimp.[5]
- Test your chlorine levels using a test you get from a pet store. If chlorine is present, use a commercial dechlorinator to remove all traces of it.
- Nitrate and ammonia levels should be zero. Pet stores sell water treatment kits to help reduce nitrate and ammonia.
- The pH range of your water should stay within 6.0 and 7.5.
-
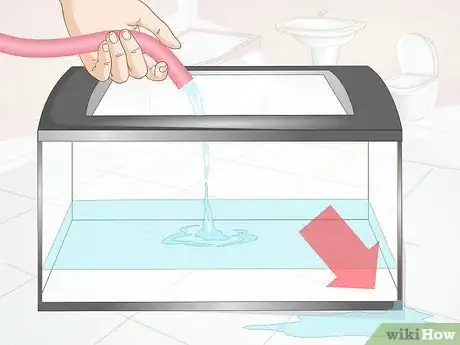
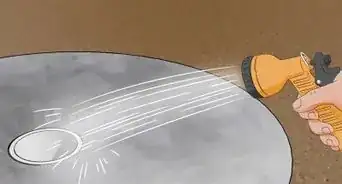
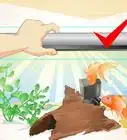
2Fill the tank and check for leaks. Before you begin filling the tank and installing fixtures, check your tank for leaks. Fill the tank a few inches and wait to see if the seals hold. You can do this with untreated water if you intend to empty it again.
- New fist tanks should always be checked for leaks before placing animals in them.
- Filling the tank completely before you check for leaks could lead to a much larger mess if the seal on the tank fails.
-
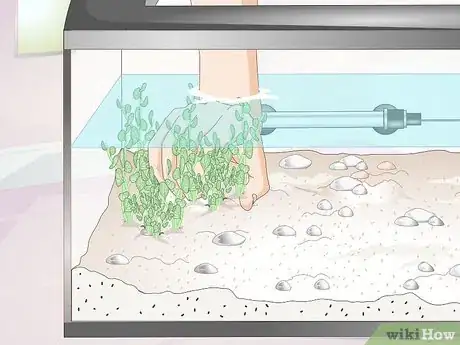
3Choose between a planted or non-planted food setup. A planted food set up requires the inclusion of living plants inside your shrimp tank. A non-planted tank will need more attention, as you will need to feed the shrimp yourself.[6]
- Low-light planted tanks can grow moss and ferns to provide their shrimp with a food source.
- Higher-light planted setups can use living substrates and grow Rotala on the walls of the tank to provide shrimp with food.
- Non-planted setups will need less water quality maintenance, but will require you to feed the shrimp yourself more often.
-
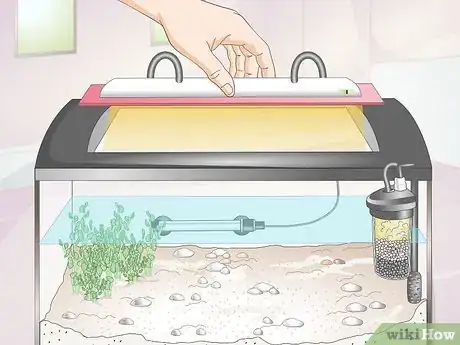
4Add lighting for your shrimp and plants. You will need to choose the correct form of lighting for you tank based on the plants you have chosen. Be aware that some light options may increase the temperature of your tank's water.[7]
- Non-planted tanks will only need a common LED tank light available at most pet stores.
- Planted setups will need lighting appropriate for your choices in plants. Metal Halides, fluorescents or LED lights are all good options.
- Look for light sources that are around 6500 kelvins to approximate the sun's rays for plant growth.
-
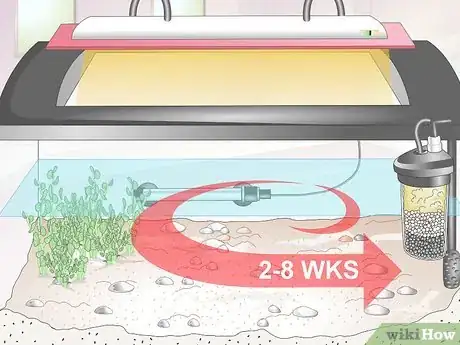
5Cycle your tank for 2-8 weeks. Before adding any shrimp, you will need to cycle your tank for some time. Cycling is simply allowing your tank to operate as it will once your shrimp are introduced. This is important to establish a bacteria base in your water and filters. Tanks that are not cycled properly may kill shrimp entering the environment.[8]
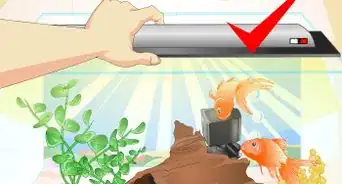
- Ensure the aquarium light is set to be on for only eight hours per day to avoid overgrowth of algae.
- Test the water bi-weekly for pH, ammonia, nitrate and chlorine. Re-treat the water if necessary.
Adding Shrimp
-
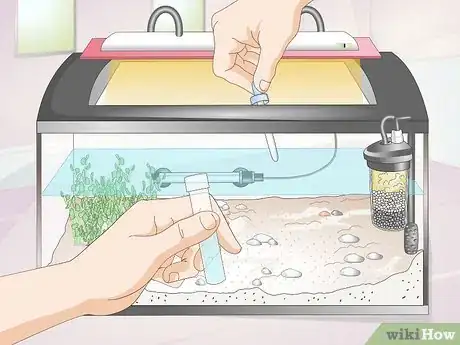
1Test the water quality and temperature. Although you should have been testing the water bi-weekly throughout cycling, test it again before adding any shrimp to it. Poor water quality or extreme temperature can quickly kill young shrimp.
- Make sure the is no chlorine, ammonia or nitrates present in the water.
- Ensure the pH of the water is between 6.0 and 7.5.
- Check the water temperature. Shrimp need water that is between 65 and 80 degrees Fahrenheit to survive.
-
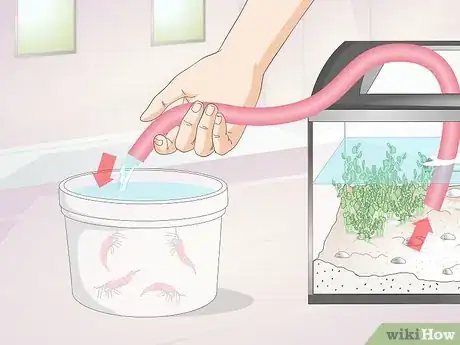
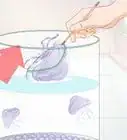
2Siphon water from the tank into a large bowl containing your shrimp. When you buy your shrimp, they will come in a bag or container with water they are already accustomed to. Pour that water with the shrimp into a large bowl and use a siphon to drip water from the tank into the bowl. Mixing the water will help them adjust to a new environment. Use air-line tubing like that used on tank filters to siphon water from the tank to the bowl. [9]
- Place the bowl at a lower level than the tank, then put one end of the hose in the tank's water.
- Suck gently on the other end of the tube until water starts to flow from the tank to the bowl.
- Fold the hose over and use a rubber band to kink it so only a few drops come from the tube at a time.
- Allow the tank to drip into the bowl for thirty minutes.
-
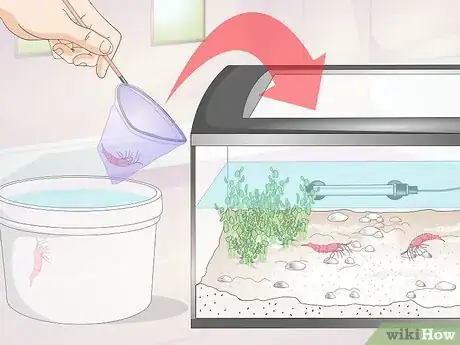
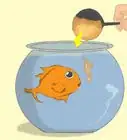
3Use a net to transplant the shrimp to the tank. After you've given the shrimp enough time to adjust to the water of the tank, use a small tank net to scoop the shrimp out of the bowl and place them into the tank.[10]
- Be careful not to crush any shrimp as you attempt to get them all from the bowl.
- Place your hand over the open side of the net as you transfer the shrimp to prevent them from jumping out.
- If a shrimp jumps out of the net, scoop it up gently and place it in the tank as quickly as you can.
-
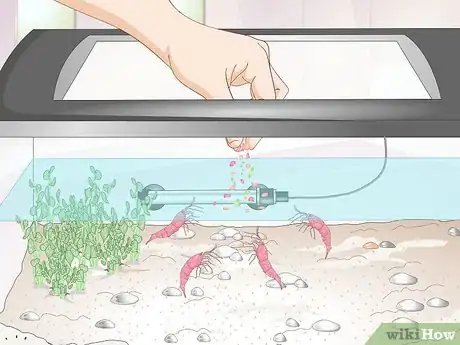
4Feed your shrimp. If you have a planted aquarium setup, you will still need to provide food for your shrimp from time to time to make sure they receive all the nutrients they need. Non-planted tanks will require daily feeding for your shrimp.[11]
- Boiled vegetables like zucchini and spinach are great for a shrimp's health.
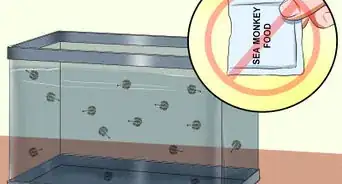
- Processed shrimp foods that come in flakes or pellets are designed to provide shrimp with the nutrition they need. You can find these foods at most pet stores. Try to only use sinking foods.
-
5Maintain the water quality. Now that your shrimp are safely in their new home, it's up to you to keep up with tank maintenance. Make sure the water quality doesn't diminish now that the shrimp have been added.[12]
- Make sure the nitrate, ammonia and chlorine levels all stay at zero.
- Adjust your filtration method if you find the water quality diminishing by replacing your filters if necessary.
Community Q&A
-
QuestionIs a substrate on the bottom a requirement? What purpose does it serve?
 CaeiiaTop AnswererYes, to mimic natural surroundings. The bottom will be too shiny if you don't cover it, plus it'll be hard for the shrimp to walk on it. Algae/food also grows on some substrate.
 -
QuestionIf I don't want to breed shrimp, would it be cruel to keep only females or just one shrimp? How social are they?
 Jacqueline LeeCommunity AnswerIt is fine to keep a solitary ghost shrimp. Amano shrimp cannot be kept alone, but you do not need to worry about breeding within a group because they only breed in brackish water. Cherry shrimp interact with one another, so you should keep a group of at least six; if you'd like to keep them without breeding them, then look for only females,
 -
QuestionCan I put a ghost shrimp with lobsters?
 Community AnswerNo! The lobsters will try to eat anything in their domain, including shrimp.
References
- ↑ http://aquariuminfo.org/shrimptank.html
- ↑ http://aquariuminfo.org/shrimptank.html
- ↑ Doug Ludemann. Aquarium Care Professional. Expert Interview. 27 August 2019.
- ↑ http://aquariuminfo.org/shrimptank.html
- ↑ http://www.planetinverts.com/for_the_newcomer.html
- ↑ http://aquariuminfo.org/shrimptank.html
- ↑ http://worldwideaquaculture.com/freshwater-shrimp-farming-how-to-start-your-own-shrimp-farm/
- ↑ http://www.theshrimpfarm.com/articles/fresh-water-invertebrates.php
- ↑ aquariuminfo.org/rcs.html
About This Article
To make a shrimp aquarium, start by installing an aquarium filter and a tank heater inside a 10 gallon tank. Then, add an inch of shrimp-ready substrate to the bottom of the tank, and use pH test strips to check that your water has a pH between 6.0 and 7.5 before filling your tank. Next, add live plants, such as moss and fern, to provide food for your shrimp, as well as an LED tank light to help your plants thrive. Finally, let your tank run for at least 2 weeks to establish a bacteria base in the water and filters before adding your shrimp. For more advice from our Veterinary co-author, including how to maintain the water quality in your tank, keep reading.
