This article was co-authored by Lauren Kurtz. Lauren Kurtz is a Naturalist and Horticultural Specialist. Lauren has worked for Aurora, Colorado managing the Water-Wise Garden at Aurora Municipal Center for the Water Conservation Department. She earned a BA in Environmental and Sustainability Studies from Western Michigan University in 2014.
There are 15 references cited in this article, which can be found at the bottom of the page.
This article has been viewed 42,017 times.
Spinach is a great addition to salads, soups, sautés, and stir-fries. It's a great cool-weather crop that grows well in pots, and it can be stored in shady balcony gardens and low-temperature areas. Growing spinach is a pot is ideal because it gives you plenty of time to harvest the leaves before insects feast on them. The entire process includes preparing your pot, sowing your seeds, and harvesting your spinach plants.
Steps
Preparing Your Pot
-
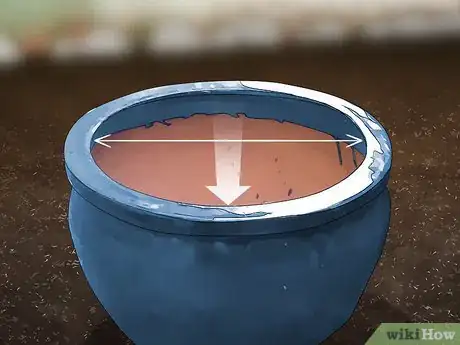
1Purchase a pot that has enough depth and width for your seeds. Growing spinach in a pot requires a depth of between 6 to 8 inches (15 to 20 cm).[1] In terms of width, it should be at least 14 inches (36 cm) in diameter.
- A pot with a diameter of 14 inches (36 cm) will hold 3 to 4 spinach plants.
-
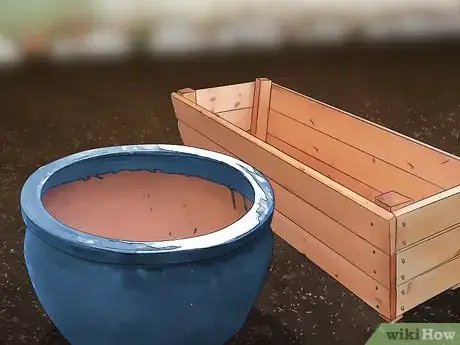
2Choose a container made of concrete, wood, or glazed ceramic. These materials allow for optimal food growth. Avoid porous materials like terracotta and unfired clay, as they can leach water-soluble chemicals through their surface.
- Never use pots that might be contaminated with lead or asbestos. For example, old containers are sometimes coated with lead-based paint. Prior to the 1970s, paints had high lead concentrations.
Advertisement -
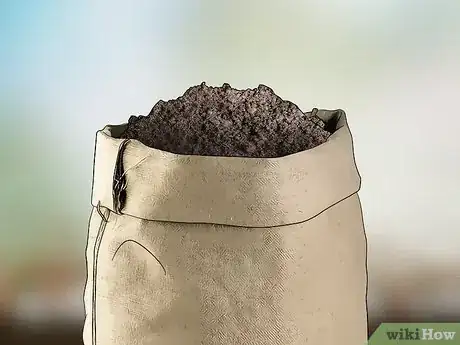
3Purchase potting soil if you don't want to mix your own. This is often an easier option, but you won't have control over the ingredients. Use quality potting mix that is high in organic matter. The ideal texture is crumbly and loamy.[2]
- Avoid soil that clogs drainage—well-draining soil is crucial for optimizing the growth of spinach in containers.
-
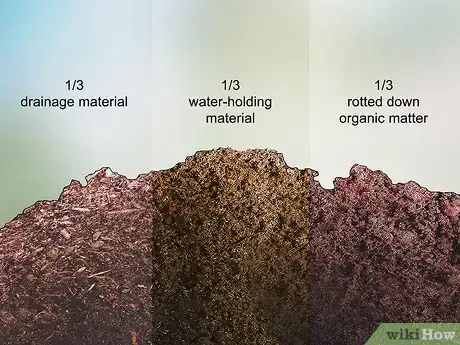
4Create your own potting mix if you have the time. If you're preparing your own potting mix, use 1/3 drainage material (grit, perlite, composted bark), 1/3 water-holding material (coir, peat, vermiculite), and 1/3 rotted down organic matter (manure, compost, worm castings).
- Sprinkle 1⁄2 cup (120 ml) some organic sources of nitrogen such as soy meal or alfalfa meal into the center of the pot and claw it into the bottom of the soil.[3] Top it with 3 to 4 inches (7.6 to 10.2 cm) of potting mix.[4]
- You can also add animal-based amendments like worm castings, fish meal, feather meal, or composted manure.
- Add 1⁄4 to 1⁄2 cup (59 to 118 ml) bat guano to the potting soil to provide it with high-quality nutrients.
- If you have a lot of pots to fill, it's usually less expensive to mix your own potting soil instead of buying a commercial potting soil.
-
5Test the pH of your soil. Spinach thrives in slightly alkaline soil with a pH between 6.5 and 7.5.[5] If the acidity drops below 6.0, the spinach plant's leaves and stems may turn yellow. Add limestone to the soil to manually adjust pH levels.
- If your soil is low in magnesium, add dolomitic limestone to raise pH. If your soil is high in magnesium, add calcitic limestone to raise pH.[6]
- You can also add finely crushed eggshells, ground oyster shell, or wood ashes to adjust pH.
-
6Loosen your soil prior to planting your spinach seeds. Use a small gardening shovel to dig into your soil about 8 to 10 inches (20 to 25 cm) prior to sowing your seeds.[7] Fill it with potting mix and organic amendments such as yard trimmings, manures, and leaves from deciduous trees.[8] This will create air pockets that facilitate air and water penetration.[9]
Sowing Your Spinach Seeds
-
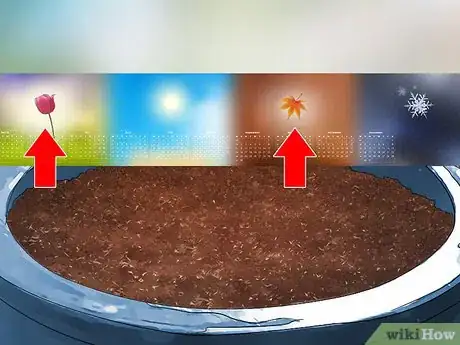
1Plant your spinach in spring and fall for the best results. For autumn spinach plants, keep your plant in a spot that gets plenty of sun. Since the days are shorter and the sun is less intense, you'll want your plant to soak up the rays as much as possible.[10] For spring planting, place your plants in a spot with some shade.
- If you're growing spinach in the summertime, choose bolt-resistant varieties like 'Tyee' or 'Space'.[11] Place your pots in regions where they receive partial shade from other vegetables or structures and harvest them before the day length reaches 14 hours.
- If you're in a subtropical or tropical climate, place your containers in a spot with lots of shade.
-
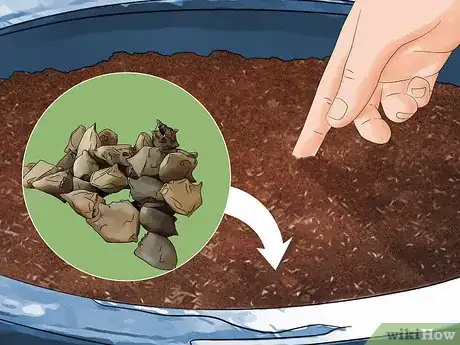
2Punch your spinach seeds into the soil. Always punch your seeds at least 1⁄2 inch (1.3 cm) deep (and at least 1 inch (2.5 cm) deep during summer). Afterwards, lightly cover them with soil.[12]
- Add 1⁄2 inch (1.3 cm) of fine mulch after sowing your seeds to help with moisture retention.[13]
- Let your seeds germinate in their permanent pot indoors for around 3 weeks before putting them outside.[14]
- Alternatively, you can keep your pot outdoors after seeding, as long as the ground has thawed. Even though you aren't planting the spinach in the ground, this is a good indicator that your spinach could survive outside. Spinach can survive temperatures as low as 15 °F (−9 °C).[15]
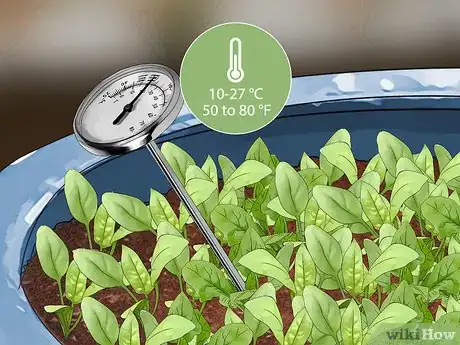
- The best soil temperature for growing spinach is 50 to 80 °F (10 to 27 °C).
-
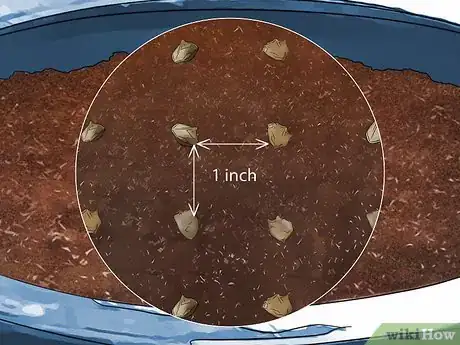
3Space your seeds apart to allow proper growth. Plant your seeds about 1 inch (2.5 cm) apart to allow proper growth. Once they begin to grow, use garden shears or scissors to trim them so they're 3 to 4 inches (7.6 to 10.2 cm) apart.[16]
- Keep the strongest seedlings and cut the weaker sprouts to the ground.
-
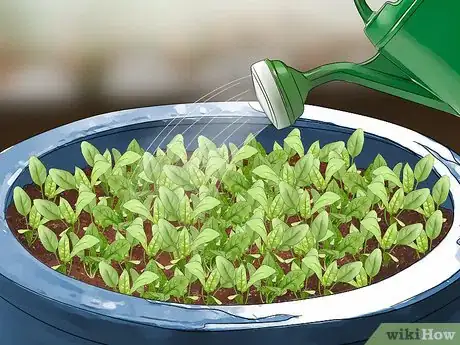
4Water your spinach plants often to prevent the soil from drying out. Spinach does best with 1 to 1.5 inches (2.5 to 3.8 cm) of rainfall per week. If you're not getting rain, give them 3 to 4 light soakings per week.[17] Pot-grown plants require plenty of moisture—always check to ensure that the soil hasn't dried out.[18]
- Keep the soil consistently damp, but never soggy. Too much moisture can harm growth as well.
- Never let your spinach plants dry out during the summer, as this will lead to bolting and can harm growth.
- Spinach that has bolted is still edible. However, it's tougher and tastes more bitter.
-
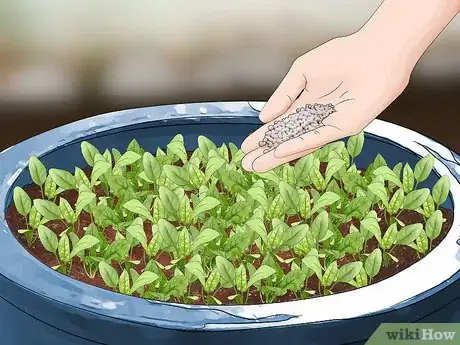
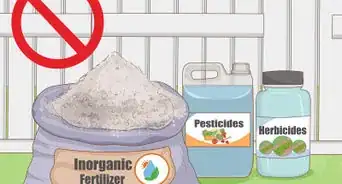
5Fertilize your spinach plant's soil regularly. You can encourage the growth of your spinach plants by fertilizing them with continuous-release plant food or liquid fertilizer. Use products that contain lots of nitrogen.
- Use slow-release fertilizer.
- Organic fish emulsion or cottonseed meal are two alternative options.[19]
-
6Monitor soil temperature using a soil thermometer. After you put your plants in their chosen position, keep an eye on soil temperature using your thermometer. Spinach seeds germinate in temperatures as low as 40 °F (4 °C), although the best range is between 50 to 80 °F (10 to 27 °C).[20] The absolute minimum is 20 °F (−7 °C) and maximum is 90 °F (32 °C).
- Spinach is very sensitive to heat. Anytime soil temperatures are over 75 °F (24 °C), move it into the shade to be safe.[21]
-
7Overwinter your spinach. Spinach be maintained over the winter for an early crop the following year. Monitor soil temperature carefully.
- Keep in mind that when soil temperature is low, nitrogen is limited. Provide your spinach plants with water-soluble plant food as soon as you spot new growth in the late winter.[22]
Harvesting Your Spinach Plants
-
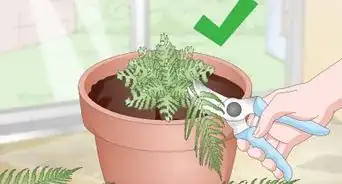
1Cut off spinach leaves early if you want baby spinach. If you want baby spinach, begin harvesting when your plants are around 2 inches (5.1 cm) long.[23] You can typically pinch off the leaves at the stems using your fingernail. Use garden shears or scissors for tougher leaves.
- Always harvest full leaves with a bit of stem. Leaves without stems will go bad very quickly.
-
2Remove your spinach leaves after 40 to 45 days if you want adult spinach. For harvesting adult plants, ensure that they have at least 6 leaves that are around 4 inches (10 cm) long.[24] Use garden shears to cut the outside leaves and ensure the plant will continue producing in its container. Once it has grown a tall flower stalk, harvest the plant by cutting the main stem.
- Bolting occurs when spinach plants send up a seed stalk that eventually flowers. Flowering turns the leaves bitter and inedible. If mature plants begin to grow taller in a short period of time, it's a sign of bolting – pull up the whole plant and harvest its leaves.
-
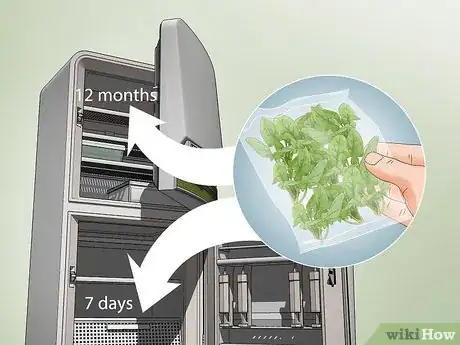
3Store your harvested spinach in the refrigerator. If you're not using your spinach right away, store your unwashed leaves in a plastic bag for 5 to 7 days.[25]
- If you store spinach in your freezer at 0 °C (32 °F), it can last for 10 to 12 months.
Warnings
- Heat and longer days can kill spinach plants. Keep an eye on soil temperature during the summer and keep your plants in the shade when necessary.⧼thumbs_response⧽
- Watch out for flea beetles, spider mites, and aphids feasting on spinach leaves. You can remove these pests with a sharp stream of water.⧼thumbs_response⧽
- Downy mildew and white rust are two diseases that can affect spinach plants.⧼thumbs_response⧽
Things You'll Need
- 1 small garden shovel
- 1 pair of garden shears or scissors
- 1 plant pot
- 1 watering can
- 1 bag premium quality potting mix
- 1 box dolomitic or calcitic limestone
- 1 pack of pH strips
- 1 soil thermometer
- 1⁄2 inch (1.3 cm) fine mulch
- 1⁄2 cup (120 ml) alfalfa meal or soy meal
- 1⁄4 to 1⁄2 cup (59 to 118 ml) bat guano
- Crushed eggshells, ground oyster shell, or wood ashes
- Drainage material (grit, perlite, composted bark)
- Water-holding material (coir, peat, vermiculite)
- Rotted down organic matter (manure, compost)
References
- ↑ http://balconygardenweb.com/how-to-grow-spinach-in-pots-growing-spinach-in-containers-care/
- ↑ http://balconygardenweb.com/how-to-grow-spinach-in-pots-growing-spinach-in-containers-care/
- ↑ https://coastofmaine.com/product/alfalfa-meal/
- ↑ https://www.grow-it-organically.com/growing-spinach.html
- ↑ https://www.grow-it-organically.com/growing-spinach.html
- ↑ http://extension.msstate.edu/content/soil-testing
- ↑ https://www.grow-it-organically.com/growing-spinach.html
- ↑ https://www.uvm.edu/sites/default/files/Extension-Master-Gardener/improvinggardensoilswithcomposting.pdf
- ↑ https://mantis.com/cultivating-the-soil-why-its-important-and-how-it-differs-from-tilling/
- ↑ http://balconygardenweb.com/how-to-grow-spinach-in-pots-growing-spinach-in-containers-care/
- ↑ https://www.grow-it-organically.com/growing-spinach.html
- ↑ https://www.almanac.com/plant/spinach
- ↑ https://www.grow-it-organically.com/growing-spinach.html
- ↑ https://plantinstructions.com/vegetables/grow-spinach-pot/
- ↑ https://www.almanac.com/plant/spinach
- ↑ https://www.almanac.com/plant/spinach
- ↑ https://www.backyard-vegetable-gardening.com/fertilizing-spinach.html
- ↑ https://plantinstructions.com/vegetables/grow-spinach-pot/
- ↑ https://plantinstructions.com/vegetables/grow-spinach-pot/
- ↑ http://balconygardenweb.com/how-to-grow-spinach-in-pots-growing-spinach-in-containers-care/
- ↑ https://www.grow-it-organically.com/growing-spinach.html
- ↑ https://www.growveg.com/guides/growing-winter-spinach/
- ↑ https://www.backyard-vegetable-gardening.com/harvesting-spinach.html
- ↑ http://www.balconycontainergardening.com/plants/395-grow-care-spinach</
- ↑ http://www.stilltasty.com/fooditems/index/18375
