This article was co-authored by wikiHow Staff. Our trained team of editors and researchers validate articles for accuracy and comprehensiveness. wikiHow's Content Management Team carefully monitors the work from our editorial staff to ensure that each article is backed by trusted research and meets our high quality standards.
There are 12 references cited in this article, which can be found at the bottom of the page.
This article has been viewed 12,725 times.
Learn more...
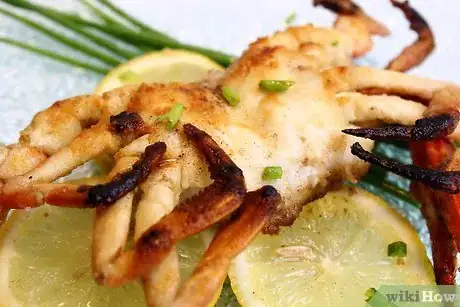
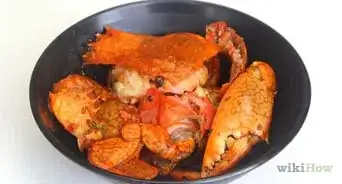
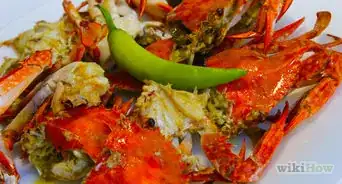
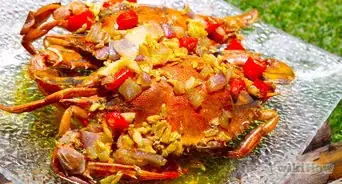
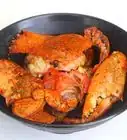
Soft shell crabs, which are perfect for a savory seafood dinner, are actually normal crabs that have molted their tough outer shell. This means you can eat practically the entire crab, and the only parts you need to trim off are the face, apron, and gills. If you prefer not to do the cleaning process yourself, you can also purchase pre-cleaned crabs. After they've been cleaned, you should start cooking the crabs right away for the best flavor. Roll the crabs in a flour-salt mixture and fry them in oil until they turn a warm red. Garnish and serve them while they're still hot!
Ingredients
- 1 soft shell crab
- 1 tablespoon (15 mL) oil with a high smoking point (such as avocado oil)
- 1/4 cup (32 g) flour
- 1/2 tsp (0.03 g) salt
- Additional seasonings, to taste (garlic powder, black pepper, cayenne pepper, seafood seasoning)
- Fresh lemon wedges
- Fresh parsley, chopped
Makes 1 serving
Steps
Cleaning the Crab
-
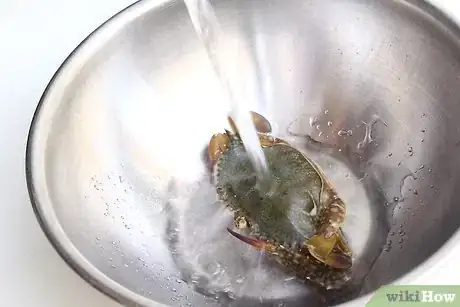
1Give the live crab a quick rinse in cold water. Hold the crab under a stream of cold running water for a few seconds. This will get rid of any debris and dirt before you start cutting. [1]
-
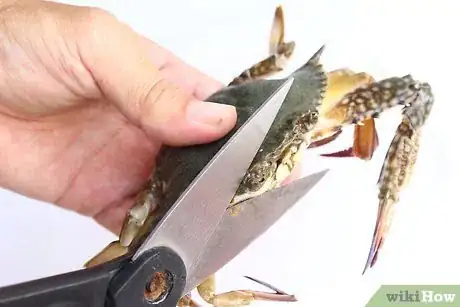
2Use kitchen shears to cut away the face side of the crab. Cut straight across the crab, just behind the eyes and mouth. The face side should come away in a 1⁄2 inch (1.3 cm) strip.[4] Make sure to cut quickly in order to be as humane as possible.Advertisement
-
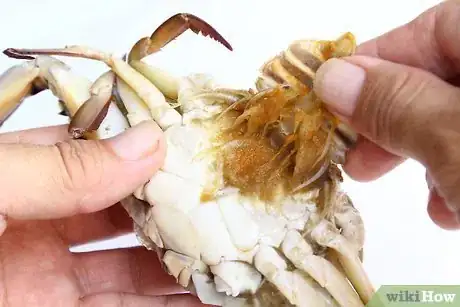
3Turn the crab over and cut away the “apron." On the white bottom side of the crab, you'll find a flap, also known as the "apron." Lift it up and pull it off of the crab, then discard the piece. It should come away fairly easily, and because this piece is tough and chewy, it's important to remove it for a smooth dining experience.[7] Discard the apron piece.
- On males, this flap is long and narrow, while on females, it's generally wider.[8]
-
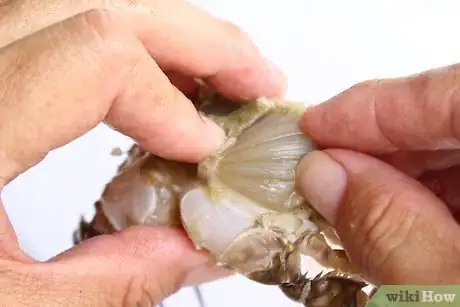
4Turn the crab over and lift the shell to remove the gills. Flip the crab back over and lift up one pointy side of its shell. This will reveal the gills, which look like fibrous, frilly, beige tongues. Pull the gills out by hand at the base, then lift up the other side of the shell and repeat the process.[9] Once you've removed them all, you can discard the gills.
-
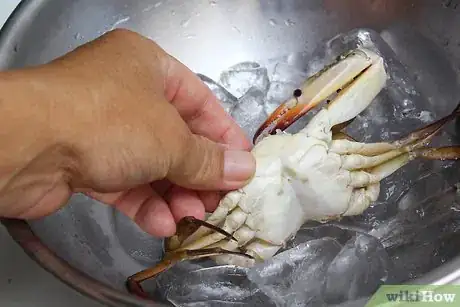
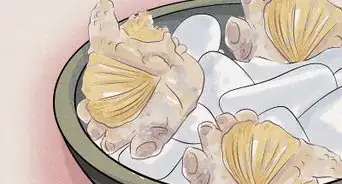
5Rinse and dry the crab, then place it on ice. Rinse away any extra debris or fat that may have squeezed out during the cutting. Pat the crab dry with a kitchen towel and place it in a bowl of ice to keep it fresh while you cook.[10]
- If you need to keep them longer, you can also wrap up the cleaned crabs in plastic wrap. Store them in the bottom of your refrigerator, where it's coldest, for up to 2 days.[11]
- If you end up not using them within 2 days, you can also keep them in the plastic wrap and freeze them for up to 3 months.[12]
Breading and Cooking the Crabs
-
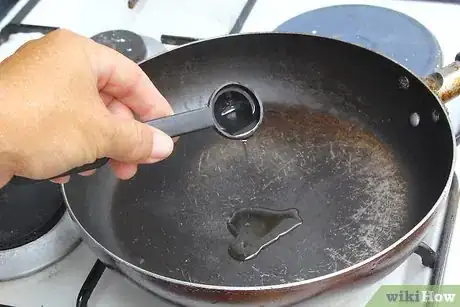
1Heat 1 tbsp (13.6 g) of oil in a large non-stick skillet. Choose an oil with a high smoking point, such as avocado oil or virgin olive oil.[13] Keep the pan over a medium-high temperature until the oil is hot enough for the crabs. To check the oil's temperature, place the tip of a crab claw into the oil. If it sizzles, the pan is ready!
- If the oil is not hot when you place the crabs into the pan, they'll turn out soggy instead of crispy.[14]
- You could also use butter instead of oil if you prefer a buttery flavor.
-
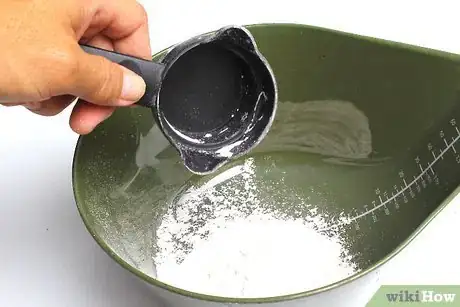
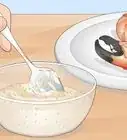
2Mix salt and flour in a shallow, wide bowl. For 4 crabs, use 1/4 cup (31.25 g) of flour and 1/2 tsp (0.03 g) of salt. Adjust the ratio depending on how many crabs you're cooking. Combine the two ingredients well so the breading will have an even taste.[15] This simple mixture will let the crab's natural flavor shine through.
- Sprinkle in some black pepper, garlic powder, cayenne pepper, or seafood seasoning for a little extra flavor. Adjust the seasoning to your taste.[16]
-
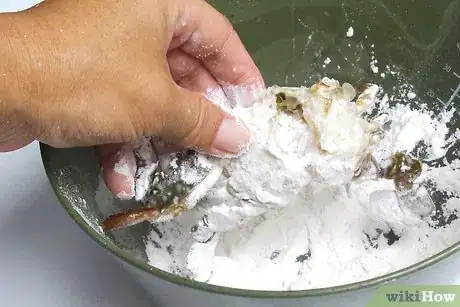
3Coat the crab lightly in the flour mixture. Place the crab in the salt and flour, then flip it over to coat both both sides well.[17] Scoop up some of the flour mixture in your hands and cover the shell with it, then lift the crab out of the mixture and shake off the excess powder.
- If the flour mixture doesn't stick to the crab, try dunking the crab in milk first.[18]
-
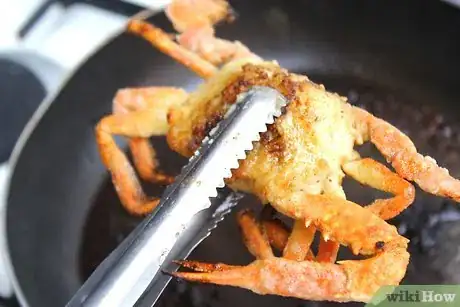
4Place the crab in the skillet and cook it for 2-3 minutes on each side. Gently set the crab into the hot oil and let it fry for 2-3 minutes, or until the crab turns red and the flour turns golden brown.[19] Flip the crab over once and repeat on the other side. Once the whole shell is red and the breading is cooked and crispy on both sides, the crab is done and ready to serve.[20]
- You should only flip the crab once during the cooking process.[21]
Plating and Serving the Meal
-
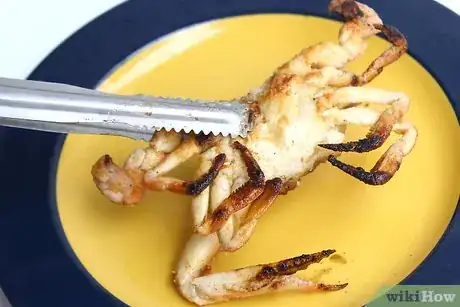
1Serve the crabs hot, straight out of the oil. The longer you wait to eat them, the soggier the crabs will grow. Put them on plates and serve them as soon as possible.
- To keep from making a mess, you can line the plate with a paper towel before placing the crab on top.[22]
-
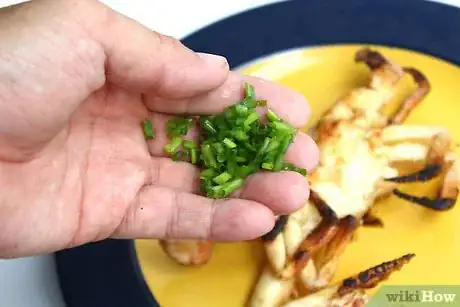
2Garnish with flaky salt and fresh parsley. A delicious dish deserves a beautiful presentation! Sprinkle the crab with pinch of flaky sea salt to bring out the flavors in the meat.[23] Chop up some fresh parsley leaves and sprinkle those over the top as well. The parsley will enhance the crab's natural briny flavor and add a pleasing pop of color.
-
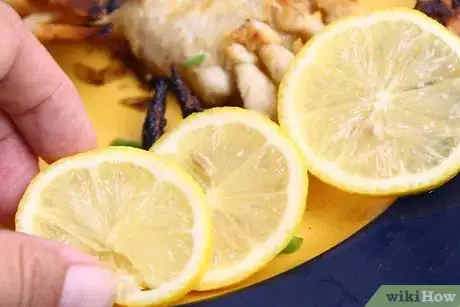
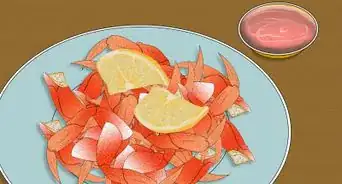
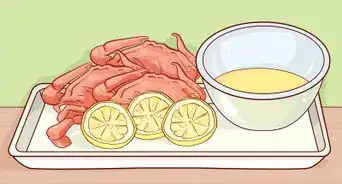
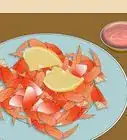
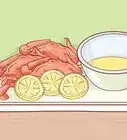
3Serve with fresh lemon wedges. Cut up a fresh lemon into small wedges, then place them in a bowl for the table or add a few wedges on each plate of crab. A few squeezes of the lemon juice will add a bright citrus note that contrasts nicely with the savory meat.
-
4Store leftovers to use in other dishes. Refrigerate any crab leftovers within 2 hours of cooking and keep them in the refrigerator for up to 3-5 days.[24] You can either eat them on their own or use them in other dishes, such as sandwiches, tacos, salad, sushi rolls, and omelets.[25]
- You can also freeze the cooked crab in freezer bags or plastic wrap for 2-3 months.
- The crab won't stay crispy, but the meat will still be usable in other dishes. To make the meat crispy again, try re-breading and frying it.
Things You'll Need
- Kitchen shears/sharp knife/sharp scissors
- Ice
- Large non-stick pan
- Plastic wrap
References
- ↑ http://www.seriouseats.com/2014/05/how-to-clean-soft-shell-crabs.html
- ↑ http://emerils.com/127840/soft-shell-crabs-grill
- ↑ http://www.seriouseats.com/2014/05/how-to-clean-soft-shell-crabs.html
- ↑ http://www.seriouseats.com/2014/05/how-to-clean-soft-shell-crabs.html
- ↑ https://dinersjournal.blogs.nytimes.com/2013/05/21/how-to-clean-a-soft-shell-crab/
- ↑ https://www.epicurious.com/expert-advice/how-to-cook-soft-shell-crabs-at-home-recipe-article
- ↑ https://dinersjournal.blogs.nytimes.com/2013/05/21/how-to-clean-a-soft-shell-crab/
- ↑ https://dinersjournal.blogs.nytimes.com/2013/05/21/how-to-clean-a-soft-shell-crab/
- ↑ http://georgiapellegrini.com/2012/06/04/food-drink/how-to-clean-cook-soft-shell-crabs/
- ↑ https://dinersjournal.blogs.nytimes.com/2013/05/21/how-to-clean-a-soft-shell-crab/
- ↑ http://www.cookinglight.com/cooking-101/techniques/cleaning-soft-shell-crabs
- ↑ http://www.finecooking.com/article/how-to-prepare-soft-shell-crabs
- ↑ https://jonbarron.org/diet-and-nutrition/healthiest-cooking-oil-chart-smoke-points
- ↑ https://theblondcook.com/how-to-clean-and-fry-soft-shell-crabs/
- ↑ http://www.myrecipes.com/recipe/sauted-soft-shell-crabs
- ↑ http://www.myrecipes.com/recipe/sauted-soft-shell-crabs
- ↑ http://georgiapellegrini.com/2012/06/04/food-drink/how-to-clean-cook-soft-shell-crabs/
- ↑ https://www.epicurious.com/expert-advice/how-to-cook-soft-shell-crabs-at-home-recipe-article
- ↑ https://www.epicurious.com/expert-advice/how-to-cook-soft-shell-crabs-at-home-recipe-article
- ↑ http://georgiapellegrini.com/2012/06/04/food-drink/how-to-clean-cook-soft-shell-crabs/
- ↑ https://www.epicurious.com/expert-advice/how-to-cook-soft-shell-crabs-at-home-recipe-article
- ↑ http://georgiapellegrini.com/2012/06/04/food-drink/how-to-clean-cook-soft-shell-crabs/
- ↑ https://www.epicurious.com/expert-advice/how-to-cook-soft-shell-crabs-at-home-recipe-article
- ↑ http://www.stilltasty.com/fooditems/index/16985
- ↑ http://www.finecooking.com/article/how-to-prepare-soft-shell-crabs
