This article was co-authored by Ryan Corrigan, LVT, VTS-EVN. Ryan Corrigan is a Licensed Veterinary Technician in California. She received her Bachelor of Science in Veterinary Technology from Purdue University in 2010. She is also a Member of the Academy of Equine Veterinary Nursing Technicians since 2011.
There are 12 references cited in this article, which can be found at the bottom of the page.
This article has been viewed 49,813 times.
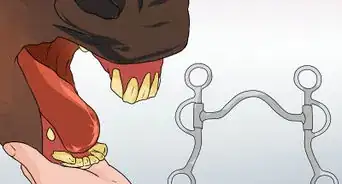
Bit guards can help protect your horse's mouth, but they are difficult to put on because the tough rubber resists stretching over a bit's large cheek pieces. Traditionally, you boil the rubber to make it soft enough to stretch with your bare hands, but you don't even need to do that if you use bailing twine or leg straps to stretch out the bit guard. Once you stretch it out, you can simply push the bit ring through the guards to slip them in place.
Steps
Attaching Twine to Stretch the Bit Guards
-
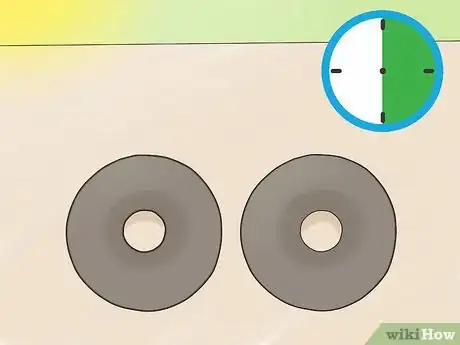
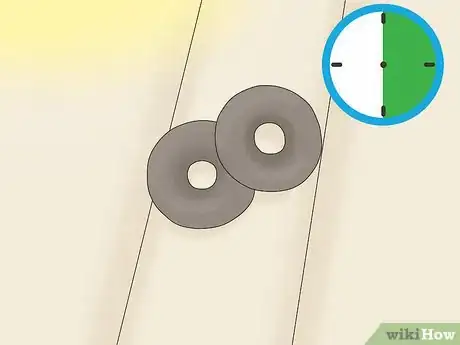
1Let the bit guard warm up for about 30 minutes. Set it outside in the sun if it's a hot day so that it has a chance to warm the rubber. Another option is placing it on the dashboard of a hot car. Warming it up will make the rubber easier to stretch. While this isn't strictly necessary, it will make the process go easier.[1]
- You can also set it in boiling-hot water for about 10 minutes to help soften it up. Some people even microwave it for 1-2 minutes.
-
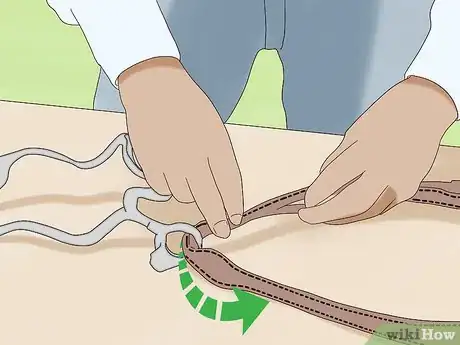
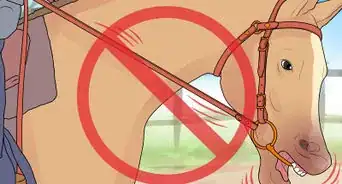
2Take the bit off the head stall. Unbuckle the straps that attach the bit to the head stall. If you don't take this step, you won't be able to slip the bit guards on. They slip over the hoops on the end of the bit, which is where the straps are attached.[2]
- The bit guards attach to the bit to help keep it from pinching the side of your horse's mouth.
Advertisement -
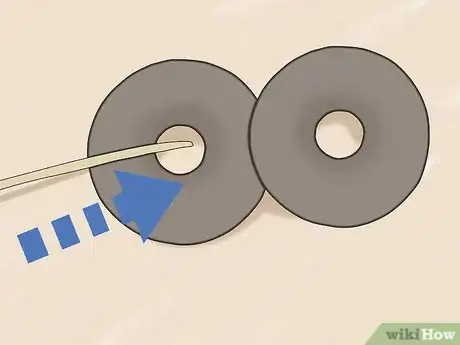
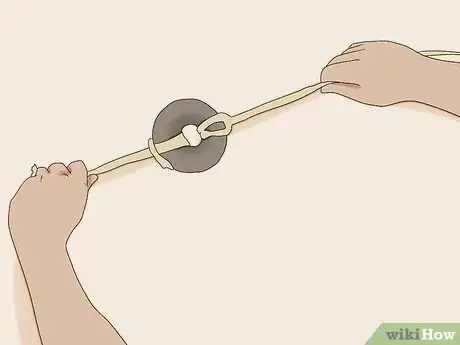
3Slip a piece of bailing twine through the center of the bit guard. Fold the twine in half and push the folded piece through the center of the bit. Slip the ends through the loop you've just pulled through the center. Tighten it up to tie the twine to the bit guard.[3]
- Use a piece that's at least 6 feet (1.8 m) long.
-
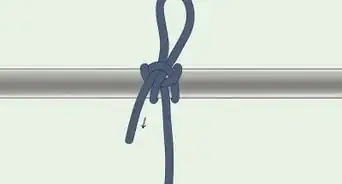
4Make a big loop for your foot on the twine you just slipped through the guard. At this point, you can tie a loop in this side of the twine. You can use a slip knot or a square knot to tie off the top of the loop.[4]
- The loop should be big enough for your foot to go through. You'll need to step in it in a minute.
-
5Tie a second length of twine to the other side of the guard, too. Repeat the process of folding the twine in half and pulling it through the center of the bit guard. Draw the ends of the twine through the loop you just made and pull on it to tighten it across from the first piece of twine.[5]
- Use a piece that's about 6 feet (1.8 m) long.
- You don't need to make a foot loop on this side.
-
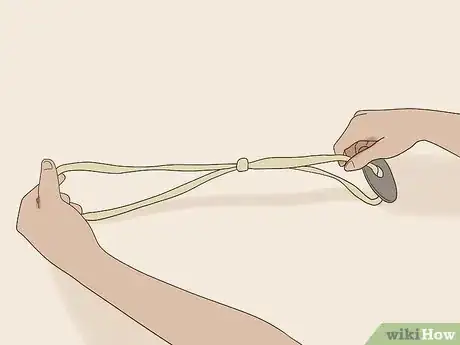
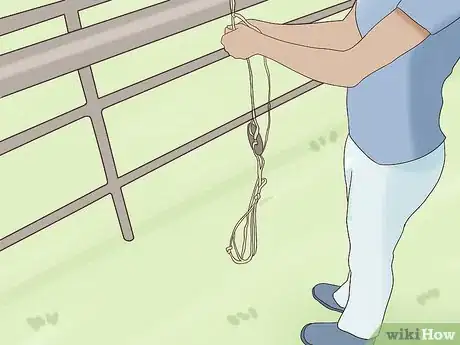
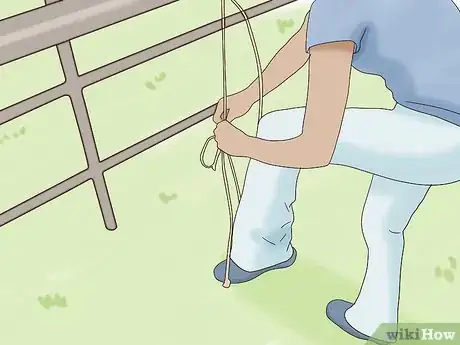
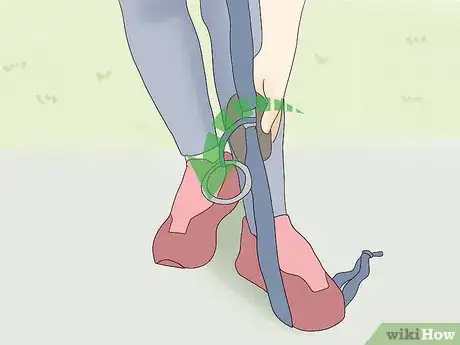
6Stretch the bit guard using a sturdy railing and your foot. Tie the end without a foot loop on something sturdy, such as a railing or even a doorknob. Bring the ring on the other side down and step in it to stretch it out. Hold the bit ring up to it to determine how much you need to stretch the guard.[6]
- Unless your twine is very long, you probably won't be able to pull it all the way to the ground, so be careful to keep your balance.
-
7Insert the bit ring into the guard. As the guard is stretched out, use your hand to push the ring on the end of the bit through the guard. This may take some effort because the hole in the bit guard is smaller than the bit ring until it stretches. However, you should be able to get it through in a minute or two.[7]
- When the bit guard is on the bit, untie or cut the twine and pull it out of the guard.
- Do the same thing for the other bit guard, sliding it on to either side. Reattach the bit to the headstall when you're done.
- To put the bit on the horse, slide the guards to the ends so that there will be one on each side of the horse's mouth.
Using Leg Straps to Stretch the Bit Guards
-
1Leave the bit guard somewhere warm or hot for 30 minutes. Put it in the sun, for instance, to help soften the rubber and make it easier to stretch. You can also leave it in a hot car for about the same amount of time. Even though this step isn't absolutely necessary, it will make the job easier.[8]
- Alternatively, put the bit guard in boiling-hot water for 5-10 minutes to warm it up.
- Some people also microwave the guard for 30 seconds or so.
-
2Pull a leg strap through the hole in the bit guard. You may need to fold the strap a little width-wise to pull it through. Draw it out until you have 2 even ends next to each other over one side of the bit guard with the middle of the leg strap going through the hole.[9]
-
3Draw another leg strap through the hole across from the first leg strap. While holding the first strap in place, pull another leg strap through the center of the bit guard. Pull it out until the 2 ends are even on that side, too.[10]
- At this point, you should have 2 leg straps threaded through the middle of the bit guard. They should be across from each and each one should be doubled over itself. You should be able to pull on each side to stretch out the bit guard.
-
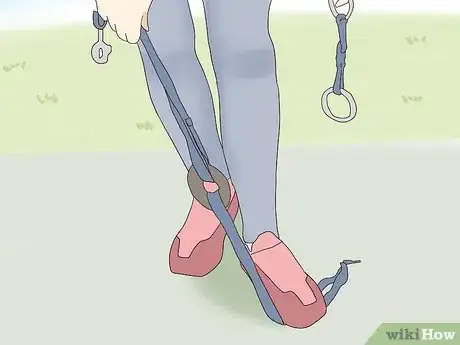
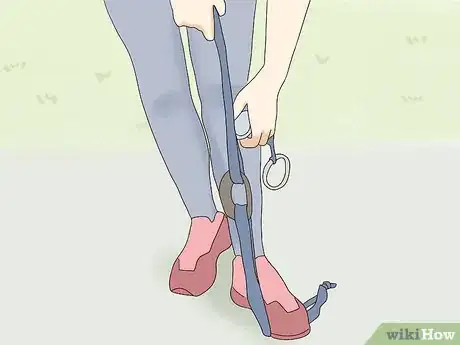
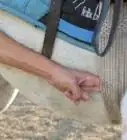
4Stand on 1 set of the leg straps. Drop 1 set of the leg straps to the floor, making sure you have about 6 to 8 inches (15 to 20 cm) on the ground. Step on the leg straps to hold them in place.[11]
- Be careful not to lose your balance! Hold on to a railing or doorknob if you need to.
-
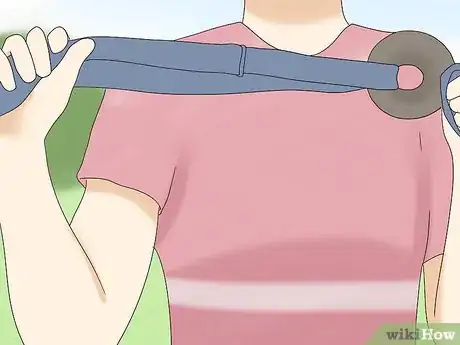
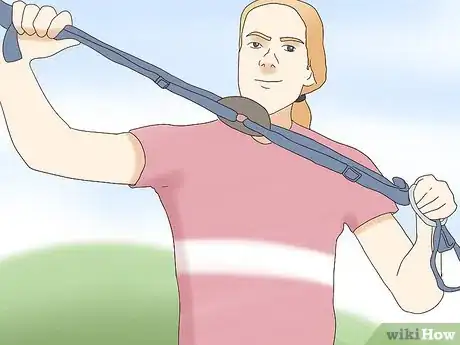
5Pull up on the other set of leg straps. Grab the second set of leg straps and pull up with all of your might. Make sure you're standing on the first set of leg straps to keep them in place. As you pull up, the bit guard will begin to stretch out, leaving room for the bit.[12]
- If you want, you can hold on to one end while someone else holds on to the other instead of trying to step on it.
-
6Slip the bit into the guards. When the guard is stretched out enough, use your hand to force the loop on the end of the bit through the bit guard. It might take a little finagling, but you should be able to push it through fairly easily.[13]
- Once it's on the bit, slip the leg straps out of it.
- Repeat the process for the other guard. It doesn't matter which side you slip the guard over, as you'll just move it over in a minute.
- Before putting on the bit, slide the guards to either side of the bit so that they're up against the rings on either side.
Things You'll Need
- 2 pieces of bailing twine or leg straps
- 2 bit guards
- Bit
References
- ↑ https://www.youtube.com/watch?v=8Q4INJYXXYo&feature=youtu.be&t=32
- ↑ https://www.youtube.com/watch?v=8Q4INJYXXYo&feature=youtu.be&t=121
- ↑ https://www.youtube.com/watch?v=8Q4INJYXXYo&feature=youtu.be&t=48
- ↑ https://www.youtube.com/watch?v=8Q4INJYXXYo&feature=youtu.be&t=153
- ↑ https://www.youtube.com/watch?v=8Q4INJYXXYo&feature=youtu.be&t=168
- ↑ https://www.youtube.com/watch?v=8Q4INJYXXYo&feature=youtu.be&t=189
- ↑ https://www.youtube.com/watch?v=8Q4INJYXXYo&feature=youtu.be&t=217
- ↑ https://www.youtube.com/watch?v=8Q4INJYXXYo&feature=youtu.be&t=32
- ↑ https://www.youtube.com/watch?v=3bX75t5V-Jg&feature=youtu.be&t=38
