This article was co-authored by Kelly Medford. Kelly Medford is an American painter based in Rome, Italy. She studied classical painting, drawing and printmaking both in the U.S. and in Italy. She works primarily en plein air on the streets of Rome, and also travels for private international collectors on commission. She founded Sketching Rome Tours in 2012 where she teaches sketchbook journaling to visitors of Rome. Kelly is a graduate of the Florence Academy of Art.
This article has been viewed 389,920 times.
One way of transposing images from one piece of paper to another without the use of a computer is to use the grid method. It's simple and can be used by people with varying levels of drawing ability while still yielding great results.
Steps
-
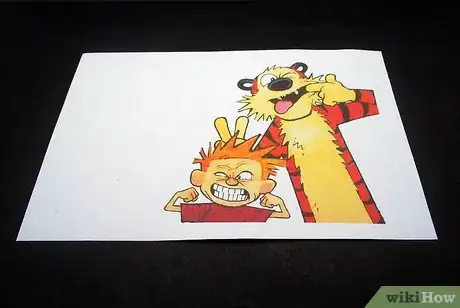
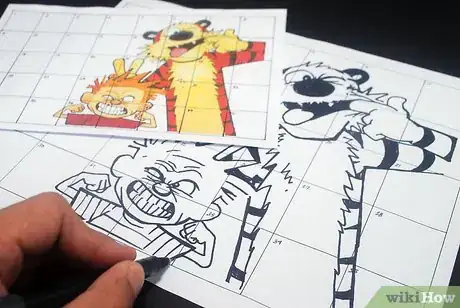
1Pick your image. The image this article will be using as an example is this image from a Calvin and Hobbes cartoon. If you're using this method for the first time or you don't have a lot of drawing experience, choosing a simple cartoon image like the one shown is ideal.
-
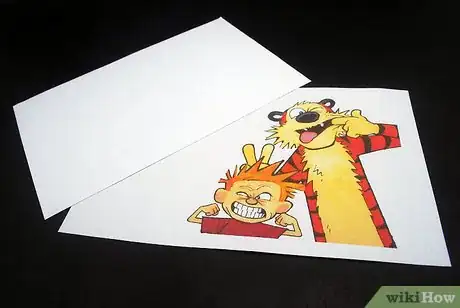
2Choose your drawing paper. It should be scaled to the size of your original print. The image in this example uses a 1:1 scale drawing (8.5" x 11"/21.4cm x 28cm), meaning that the reference image and the final product will be the same size. However, depending on the size of your image, you may need to scale the size of your drawing up or down accordingly.
- For example, if you have an image that's 8.5" x 11" (21.4cm x 28cm):
- To scale the drawing size up 2x, the paper should be 17" X 22" (43cm x 56cm).
- To scale the drawing size down 0.5x, the drawing paper should be 4.25" x 5.5" (10.7cm x 14cm).
Advertisement - For example, if you have an image that's 8.5" x 11" (21.4cm x 28cm):
-
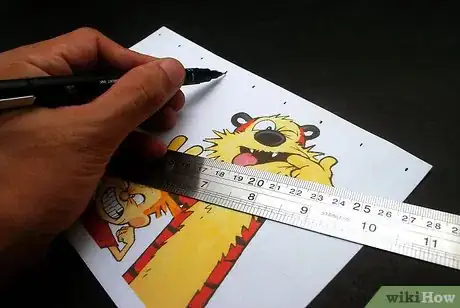
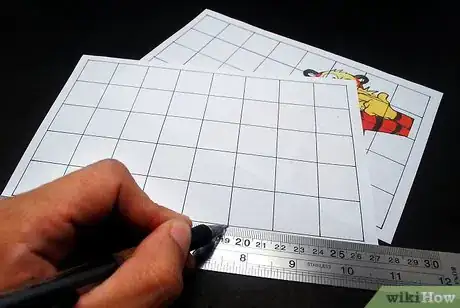
3Mark the edges of the reference picture at equal intervals. The example image uses one-inch (2.5cm) intervals, which is a good size to use, however your intervals may have to be slightly larger or smaller depending on the size of your paper. In the end, you should make sure to have equally spaced marks along the edges of your paper.
- Note that in the example image, because one-inch markings were used, there is a quarter-inch (0.64cm) marking at both the upper and lower half of the drawing, since the height is 8.5"/21.4 centimeter (8.4 in). These two quarter-inch markings account for the extra half-inch. Depending on the size of your paper, you may have to do this as well.
-
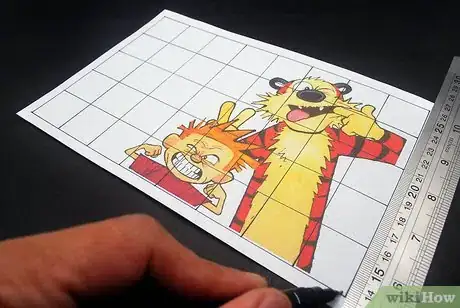
4Connect the opposing marks with a ruler. These connected lines will form a grid pattern, hence the name "Grid Method".[1]
-
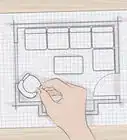
5Make the same grid pattern on your drawing paper. Mark the edges at equal intervals and connect them using a ruler to create a grid as you did with the original image. However, make sure to only draw the markings and grid lines lightly so that you can erase them later on. In the end, you should have something similar to the image provided.[2]
- Whether you need to make your drawing larger or smaller, make sure that the size of the squares of your new grid is proportionate.
-
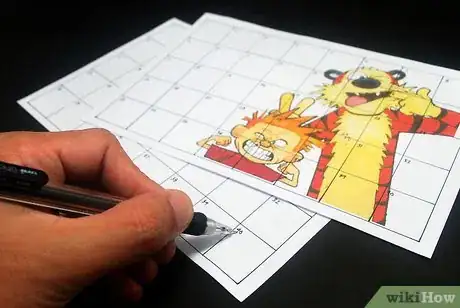
6Number each box on both your reference picture and drawing paper. This will enable you to easily keep track of which box on the original image corresponds with which box on your drawing paper. Start with the top left corner and work down from there, creating what will look like a calendar. Again, remember to press lightly with your pencil on your drawing paper so that you can easily erase the numbers at the end.[3]
-
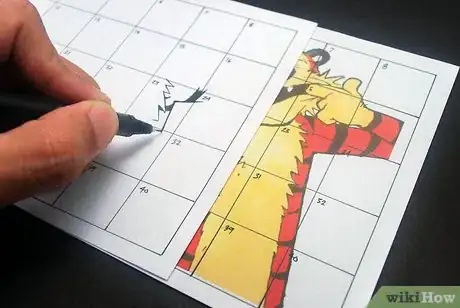
7Begin drawing. Look at a box on your reference picture and re-create what's inside of it in the corresponding box on your drawing paper.
You can begin in whichever box you'd like, but it's helpful to start with the boxes that include the general outline of your image in order to make sure that it will all connect properly. Make sure to use a pencil so that you can easily make adjustments to your drawing.
-
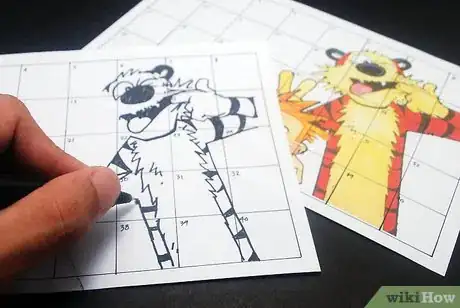
1Add the details. Once you have the outline complete, you can begin to add in smaller details such as eyes, noses, mouths, etc. You don't have to include all of the details that your reference image does - it's up to you to decide how detailed you'd like your picture to be.
-
2Outline your drawing and erase the grid and numbers. Once you've finished the drawing, take a pen or a fineliner and re-trace your drawing with it. After that, use an eraser to get rid of the grid lines and the numbers so that all that remains is your drawing. Make sure to wait until the ink from your pen or fineliner is completely dry before you erase, otherwise you may smudge the ink.
Community Q&A
-
QuestionHow do I enlarge a 15 cm x 10 cm photo to fit on a 457 x 610 mm canvas?
 Community AnswerGrid the picture and then make a grid on your canvas with different measurements. For example, if the grid on the picture is 8 boxes by 5 boxes and each square is 1 in. by 1 in., then on a 32 by 20 canvas you would do 8 boxes by 5 boxes (but each square would be 4 in. by 4 in.).
 -
QuestionAfter I finish my preliminary drawing, should I paint over the grids or erase them?
 Community AnswerIf you used pencil to draw the grid, then you should try to erase it as best you can. Depending on what paint you'll be using to color the painting, the grid lines may show through. You don't want that.
 -
QuestionWould this be considered copying artwork?
 Madysen McCartyCommunity AnswerNot if you are properly crediting the original artist, and/or as long as you aren't taking credit for it.
Things You'll Need
- An image you want to draw
- Proportionally scaled drawing paper
- A pencil
- An eraser
- A ruler
- A pen or fineliner
