wikiHow is a “wiki,” similar to Wikipedia, which means that many of our articles are co-written by multiple authors. To create this article, volunteer authors worked to edit and improve it over time.
wikiHow marks an article as reader-approved once it receives enough positive feedback. This article received 14 testimonials and 91% of readers who voted found it helpful, earning it our reader-approved status.
This article has been viewed 239,208 times.
Learn more...
Stoneware baking pans and trays from the Pampered Chef are designed to be a naturally non-stick surface. You can cook food with little to no oil, without using coated non-stick pans that chip and fleck away. In fact, these baking dishes get better with time thanks to a process called “seasoning” that improves the surface.
Steps
Washing New Stoneware
-
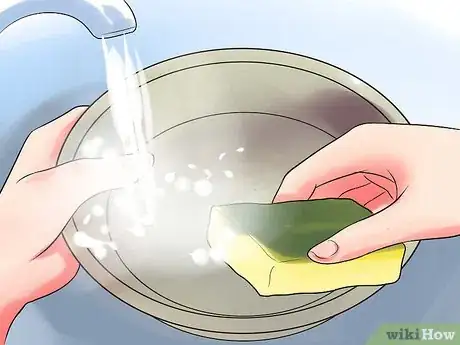
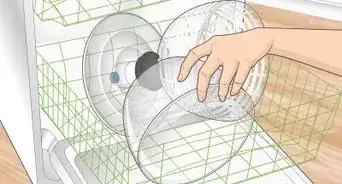
1Remove the stoneware dish from the package. Wash it by hand prior to the first use. In the future, it is not recommended that you use soap on your stoneware, or it will remove the seasoning.[1]
-
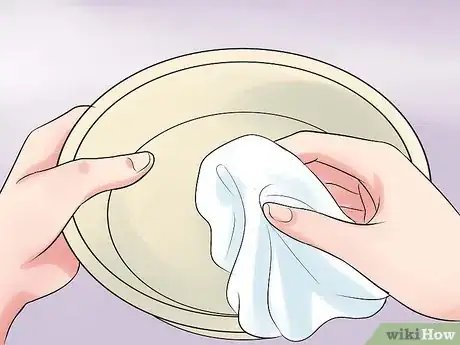
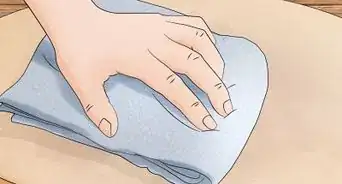
2Dry the stoneware with a towel and set it aside.Advertisement
-
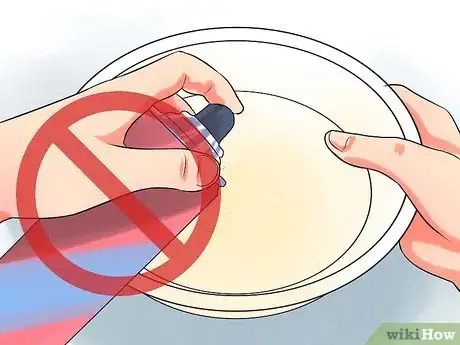
3Don’t use aerosol non-stick spray on the surface of the stoneware. It can cause a sticky surface that prevents seasoning.
-
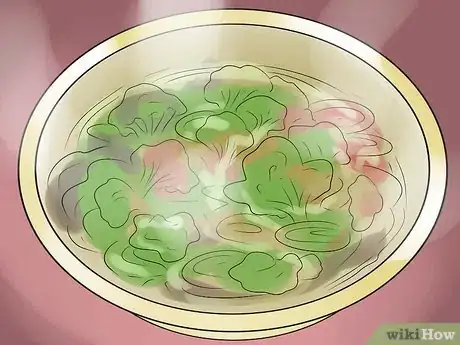
4Wait until you have seasoned your pan initially to use it in food preparation.
Seasoning New Stoneware
-
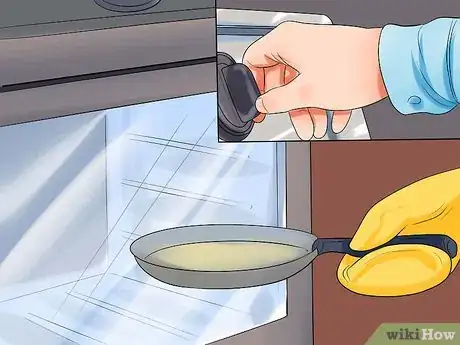
1Preheat your oven to 425 degrees Fahrenheit (220 degrees Celsius). You should not pre-heat the stoneware. It can be placed directly inside a preheated oven, even when refrigerated before use.[2]
-
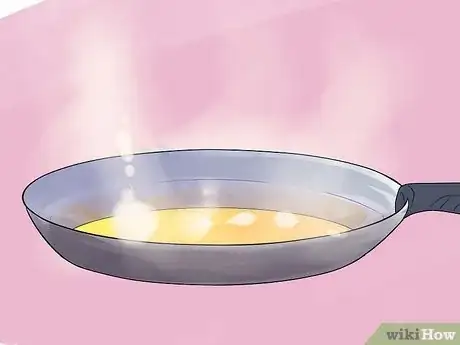
2Fill the inside of the stoneware item with vegetable oil before you use it. Fill it to two-thirds full. If you are using a muffin pan, fill each of the compartments two-thirds full of oil.
-
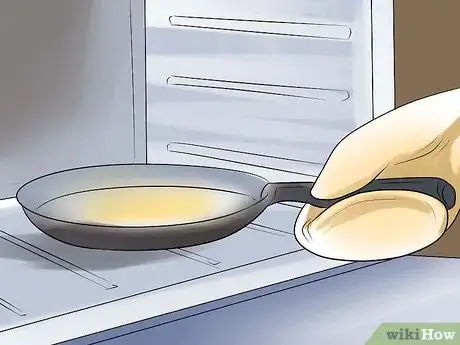
3Place the pan inside the pre-heated oven for 20 minutes.[3]
-
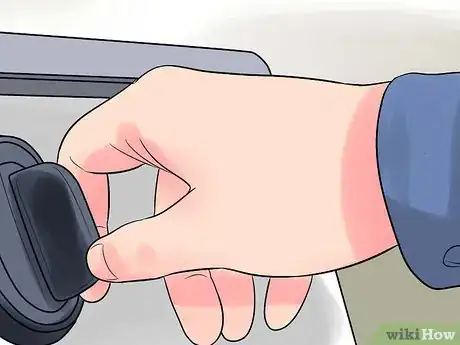
4Remove the pan from the oven with oven mitts. Set it to cool on a wire rack or other sturdy surface. Turn off the oven.
-
5Let it cool for two to four hours. The pan should cool completely and absorb some of the oil.
-
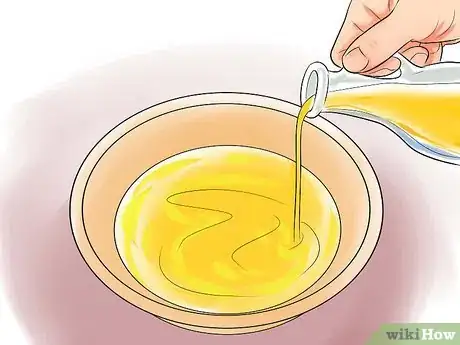
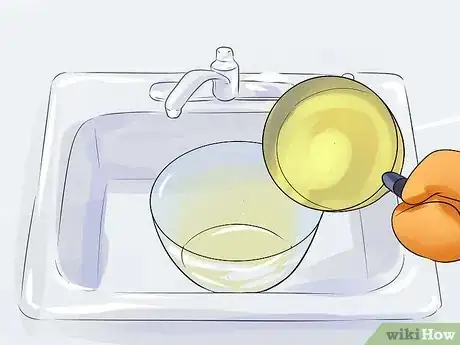
6Pour the oil off into a large bowl in the sink. Reserve the oil for future seasoning or use. You can also funnel it back into an oil container.
-
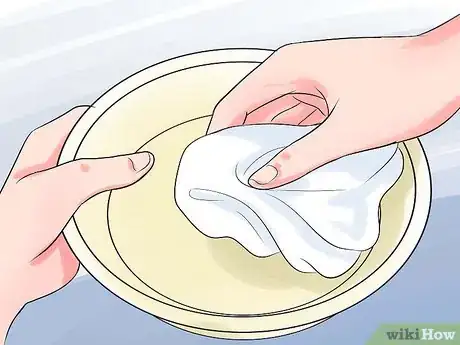
7Wipe the inside of the container lightly with a paper towel. Then, bake with it within the next few days.
-
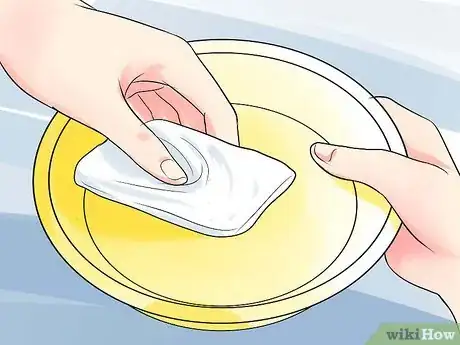
8Dip a paper towel in oil and rub it around the inside of the stone surface before you use it during the next two to three uses. Then, it should remain coated so that you have a non-stick surface for the remaining time you use it.
- Keep in mind that the darker and “dirtier” the stoneware looks, the better the surface will be for baking. The light coating of oil will stay on the pan, so that you don’t need to add too much oil or fat.
Community Q&A
-
QuestionHow do I remove the smell from burned stoneware?
 Community AnswerI would recommend trying hot water and baking soda, or hot water and white vinegar. Either method shouldn't hurt, you'll just have to re-season.
 -
QuestionShould I season a pizza stone?
 Community AnswerAbsolutely. All stoneware baking dishes, trays, and round stoneware need to be seasoned. That's what makes them wonderful to cook with.
 -
QuestionI just got a pizza stone at a thrift store. I would like to clean it before seasoning it. What should I do?
 Community AnswerUse very hot water to clean it, but do not use soap. Then you can season it, and any old germs will be cooked away.
Things You'll Need
- Oven
- Vegetable oil
- Paper towels
- Water
- Mild dishwashing liquid
- Kitchen towel
- Bowl
- Funnel
- Oven mitts
References
About This Article
Pampered Chef stoneware is designed to be naturally non-stick so you can cook food with little to no oil. Before you season your stoneware, you’ll need to wash it by hand with water only, since soap can ruin the pan. Once it’s dry, fill the inside of your pan ⅔ full with vegetable oil. Then, place the pan in an oven pre-heated to 425 degrees for 20 minutes. Remove it and let it cool with the oil in it for 2-4 hours. This will allow the pan to absorb some of the oil. Afterward, pour out the remaining oil and wipe the inside lightly with a paper towel. To learn how to season your pan before cooking, read on!
