This article was co-authored by wikiHow Staff. Our trained team of editors and researchers validate articles for accuracy and comprehensiveness. wikiHow's Content Management Team carefully monitors the work from our editorial staff to ensure that each article is backed by trusted research and meets our high quality standards.
There are 10 references cited in this article, which can be found at the bottom of the page.
This article has been viewed 158,180 times.
Learn more...
No matter how much you love those canvas slip-ons or low profile trainers, the sad truth is that they’re just not cut out for wet weather. But there’s no need to trade them in for a pair of waders just yet. With a dependable waterproofing spray, or simple piece of wax and a hairdryer, you can safeguard any type of textile-based footwear in minutes. As a result, you'll be able to rock your favorite kicks more often while keeping your feet protected from drips, drizzles, and the occasional dunk in a puddle.
Steps
Waterproofing Shoes with Wax
-
1Grab a hunk of beeswax or colorless candle. For this type of DIY upgrade, you can’t go wrong with a ball of natural beeswax. Beeswax can be found in most hardware stores, where it’s commonly sold as a lubricant. If you’re unable to get your hands on beeswax, a clear, odorless paraffin wax candle (such as a tea light) will also do the trick.
- Whatever type of wax you go with, just make sure it’s not dyed, or you risk staining the shoe.
- If the shoes you’re trying to waterproof are expensive or irreplaceable, you might want to use one of these products just to be on the safe side.
-
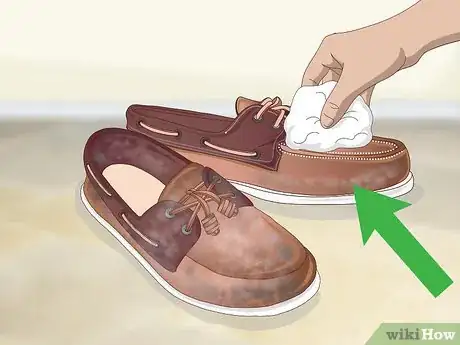
2Clean the shoes with a damp cloth, or wash dirtier shoes. To ensure that the wax settles properly, you’ll want to start with a spotless surface. A quick wipedown will help remove dust and light debris. For older pairs that have seen a lot of action, it may be necessary to send them through the washer and dryer before you start waxing.[1]
- Waxing the shoes without cleaning them first will trap dirt happens to be clinging to them. And, since they’ll then be waterproof, cleaning them after the fact can be tricky.
- Make sure the shoes are completely dry before you proceed. If you’re anticipating bad weather, it may be a good idea to wash old shoes a few days before you plan on wearing them.
Advertisement -
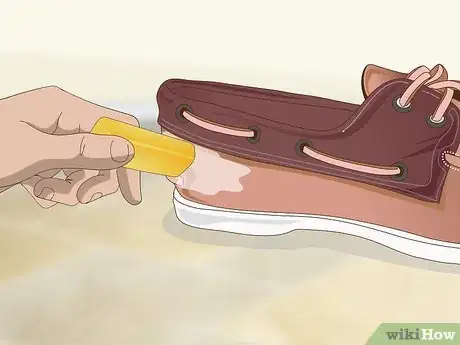
3Test the wax on an inconspicuous part of the shoe. Before you start rubbing away, make a small mark low down on the heel or sidewall of the shoe close to the outsole and see how it looks. That way, you can make sure it won’t stain. Keep in mind that much of the contrast will be eliminated after the wax melts.
- A colorless or off-white type of wax will be the least conspicuous and blend smoothly with the materials and colors.
- If you're using a colored wax, make sure it matches the hue of the shoe as closely as possible.
-
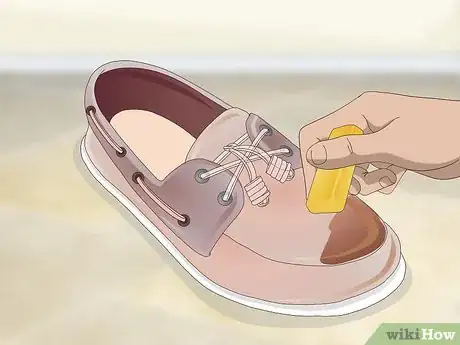
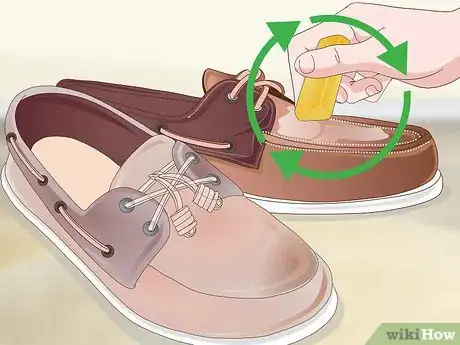
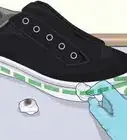
4Rub the wax all over the outside of the shoe. Rub the wax back and forth vigorously to form a thick layer over any part of the shoe you want to make off-limits to moisture. Really dig in. Imagine that you’re coloring with a crayon. Pay particular attention to the areas around the toe, heel, sidewalls, and laces where water has a tendency to seep in.[2]
- Double check that you’ve coated the whole shoe. Any spots you’ve missed will be vulnerable to leaks.
- Beeswax works best when you apply it to boots since it can get gummy and build up on other standard shoes.
- As the wax builds up, it will cause visible discoloration. Don’t worry—this will disappear as soon as you apply heat.[3]
-
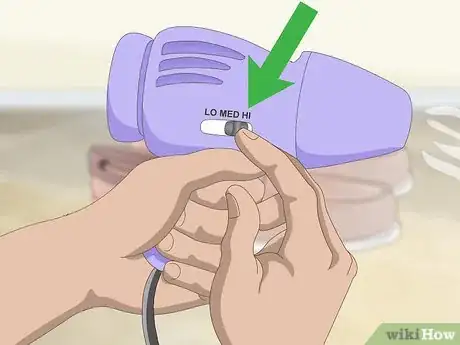
5Set the hairdryer to high heat. Switch on the hairdryer to let it warm up before blasting the shoes.The more intense the temperature, the faster and more completely the wax will melt.[4]
- Hold the nozzle close to the surface of the shoe so that the heat is better concentrated.
-
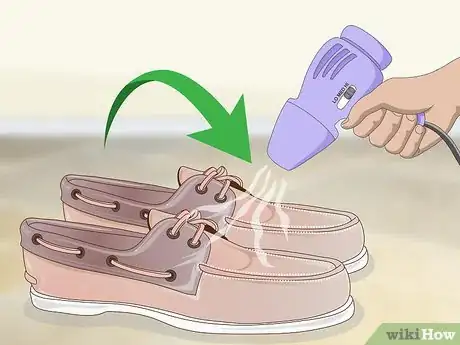
6Wave the hairdryer over the shoe from front to back. Go over the shoe slowly, turning it or angling the hairdryer as needed. You should notice the wax beginning to fade into the shoe almost instantly. When you’ve got one shoe done, move on to the other.[5]
- It may take half a minute or so for the heating coils in the hairdryer to warm up enough to melt the wax.
- Do one shoe at a time. That way, you’ll have a helpful visual reference to tell you when the wax has completely set in.
-
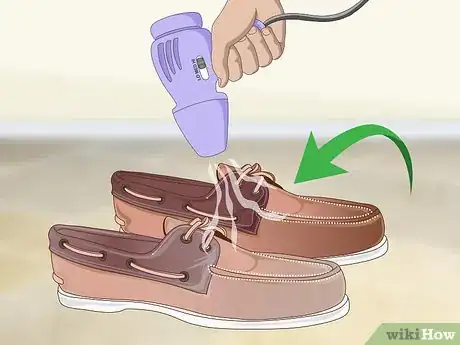
7Continue heating until the wax disappears. As it liquefies, the wax will become integrated into the fabric, sealing the tiny openings and creating a barrier against moisture. It will then re-harden as a clear, protective layer. The finished shoe should look no different than it did before you waxed it.[6]
- Look closely for any unmelted sections that you might have overlooked before you put the hairdryer up.
- Wax is naturally water repellent and non-penetrating, even on the most porous materials, so it won’t harm the shoes to become part of their construction.[7]
-
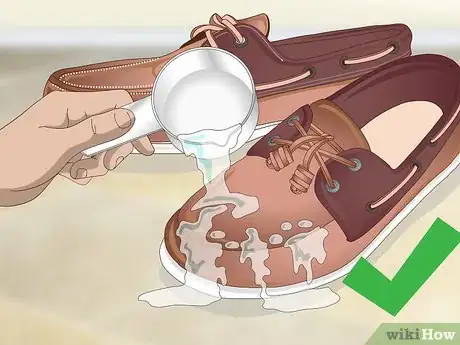
8Test out the waterproofing. All that’s left to do now is see how well your experiment worked. Pour a cup of water over the toe section of the shoe. The water should bead up and roll right off. Congrats! You can now go forth fearlessly no matter how soggy it gets outside.
- If the water is being absorbed, you may need to apply a second and more thorough layer of wax. Be sure to wait until the shoes have dried before adding more wax.
- You won’t be able to go swimming in your new-and-improved shoes, but getting caught in a light rain or traipsing through a snowy meadow should no longer be a problem.
Treating Shoes with Waterproofing Spray
-
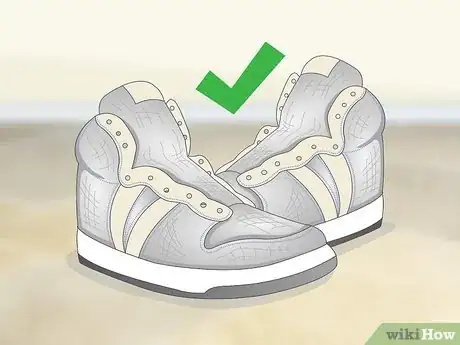
1Select a pair of textile-based shoes to waterproof. While it’s possible to waterproof just about any kind of shoe, you’ll get the best results with a more absorbent fabric. The wax you’ll be using will settle nicely into the woven fibers of fabric shoes. On materials like leather or synthetics, it will simply form a coat on the surface which is likely to wear off much faster.[8]
- Canvas, hemp, suede, and other textured materials will make the best candidates for waterproofing.
-
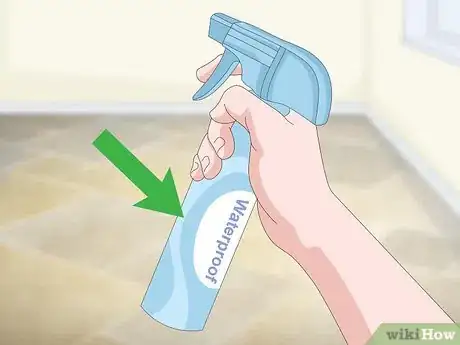
2Purchase a quality waterproofing spray. There are many different brands and styles to choose from, but they all do essentially the same thing. The most important ingredients you're looking for are silicone or acrylic polymers, which help block water and prevent mold, mildew, and general water-related deterioration.
- Waterproofing sprays can be found in most shoe stores, as well as shops that specialize in outdoor clothing and equipment.
-
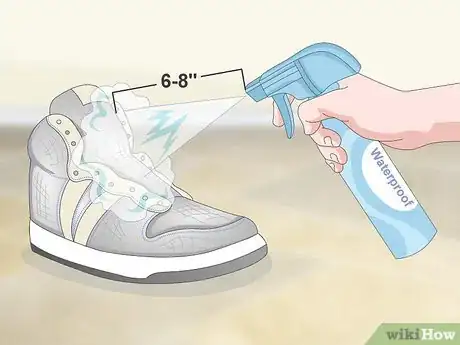
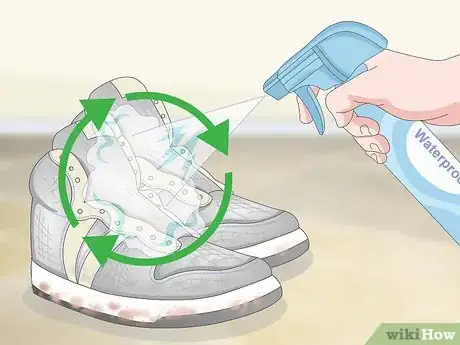
3Spray the entire upper portion of the shoe. Hold the can 6–8 inches (15–20 cm) away from the shoe and mist on a light, even coating. Make sure you cover every part of the shoe where moisture might get in, including the seam where the upper connects to the outsole. Don't saturate it. Instead, look for the spray to just glisten once it's settled on the surface.[9]
- Hang up the shoe if possible This will allow you to accurately target the top half of the shoe without accidentally spraying your hand.
- To decrease your exposure to noxious fumes, work in a well-ventilated area. Outdoors is ideal, but if that isn't an option, you can also turn on the overhead fan.
- It may take two or more coats to make materials with irregular textures like suede or nubuck fully water-resistant.[10]
-
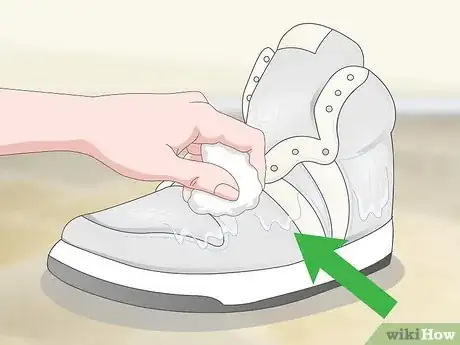
4Wipe off the excess spray with a microfiber cloth or hand towel. Go over the entire shoe lightly. Try not to use so much pressure that you soak up the wet waterproofing spray—a few quick dabs will do.
- Avoid paper towels. The shedding fibers will get trapped in the sticky spray, effectively becoming a part of the material.
- Be sure to remove as much of the spray as you can from the surrounding outsole, as well as accents like zippers, eyelets, and rubberized detailing.
-
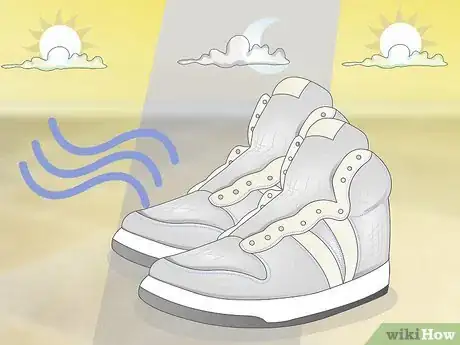
5Let the shoes dry overnight. Most sprays will dry to the touch within 20-30 minutes, but for guaranteed protection, it's best to leave them to sit for 24-48 hours before putting them to the test. Should you decide to apply multiple coats, give each coat a few minutes to wick up before following up with the next.
- Don't try to accelerate the dry time by using an external heat source, such as a hair dryer or an open fire. This could interfere with the chemical process needed for proper bonding, damage the shoe, or even create a fire hazard.
-
6Reapply the spray after every few uses. As a rule, waterproofing sprays aren't as resilient as waxes, so you may find yourself having to touch up your footwear more often to keep your feet dry and happy. During the winter or a rainy summer season, plan on repeating the process following 7-8 wears. In drier climates, you'll be able to get away with less frequent treatments and can use the spray as needed.
- How often you waterproof your shoes will depend largely on how much wear they receive.
- If you plan on doing any trekking in extreme conditions, it may be a good idea to spray them 2-3 times.
Maintaining Waterproofed Shoes
-
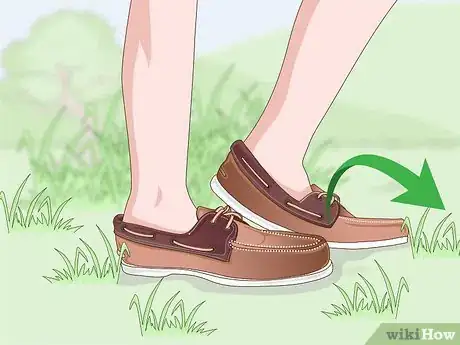
1Break in the shoes. Sprays and waxes can stiffen softer materials considerably. When you’re finished waterproofing, put the shoes on and walk around in them for a little while. Some light activity will get them nice and relaxed in no time. After three or four wears, you shouldn’t even be able to tell a difference.[11]
- Flex your foot in all different directions to loosen up the more rigid areas.
-
2Reapply waterproofing products as often as needed. Make sure you give your footwear some much-needed attention before the rainy season arrives. Under normal conditions, you shouldn’t need to repeat the process more than about once every few months. Of course, the more you put a pair through, the faster the protective water-resistant coating will deteriorate.[12]
- If you live in a hotter climate, you may need to show your shoes a little more attention. Exposure to heat can continually re-melt the waterproofing, causing it to wear away in no time.
- Don’t forget to treat your shoes again any time you wash them, or you’ll be in for an unpleasant surprise when you step outside!
-
3Wash out the waterproofing when desired. If at any point you decide to undo the waterproofing, all you need to do is scrub the shoes with a sudsy solution of hot water and mild dish soap or laundry detergent. The heat will help melt the spray or wax, while the surfactants in the detergent whisk away the oily mess. Give the shoes time to dry and it will be like it never happened.[13]
- Once you’ve finished washing, rinse the shoes until the water runs clear. Otherwise, leftover traces of waterproofing and detergent can congeal into a slick residue as they dry.
Community Q&A
-
QuestionWhere do I buy dryer sheets?
 IsabellaCommunity AnswerTry the laundry aisle of the supermarket, this is where they are usually kept. If there are none available where you live, then you can put 1/4 cup of baking soda while your clothes are being washed.
Warnings
- While some people recommend using petroleum jelly or linseed oil, more often than not these substances leave behind dark, oily spotting, effectively ruining the appearance of the shoe.⧼thumbs_response⧽
- Attempting to waterproof materials like patent leather, plastic, and nylon may cause permanent damage or discoloration to the finish.⧼thumbs_response⧽
Things You'll Need
- Beeswax
- Clear, odorless paraffin wax candle (optional)
- Hairdryer
- Mild detergent (for washing)
References
- ↑ https://www.brit.co/waterproof-shoes/
- ↑ https://www.youtube.com/watch?v=NnFQy49mank&feature=youtu.be&t=42
- ↑ https://experthometips.com/2016/11/02/how-to-waterproof-your-shoes/
- ↑ https://experthometips.com/2016/11/02/how-to-waterproof-your-shoes/
- ↑ https://tiphero.com/waterproof-shoes-for-winter
- ↑ https://www.youtube.com/watch?v=I-Wvjn7rVvA&feature=youtu.be&t=30
- ↑ https://www.bobvila.com/articles/how-to-waterproof-fabric/
- ↑ https://tiphero.com/waterproof-shoes-for-winter
- ↑ https://www.racked.com/2016/11/18/13589878/velvet-care-shoes
About This Article
To waterproof shoes with wax, start by getting a ball of natural beeswax or colorless candles. Next, clean your shoes with a damp cloth to remove any dirt or debris. Once they’re dry, rub the wax on the outside of the shoes until a thick layer forms. Then, set a hairdryer to high heat and hold the nozzle close to the shoes, waving it back and forth, until the wax fades into the shoes. Alternatively, apply a coat of quality waterproofing spray to your textile-based shoes. After you’ve coated the shoes, allow them to dry for 24 to 48 hours. To learn how to maintain your waterproofed shoes, keep reading!
