Windows 8
Personalizing Your Start Screen
Creating app groups
To further organize your apps, you can put related apps into groups. You can also name your groups, and each group will display its name at the top.
To create a new app group:
- Click, hold, and drag an app to the right until it is on an empty area of the Start screen.
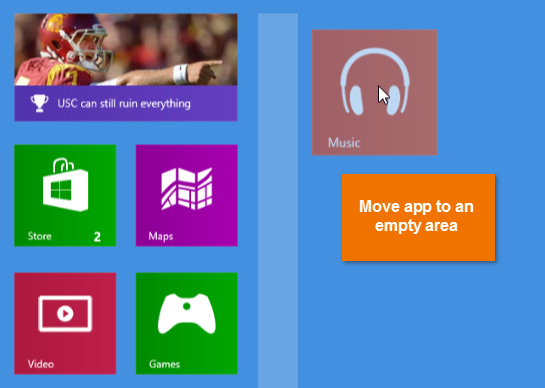 Moving an app
 - Release the mouse. The app will now be in its own app group, and you should see a space between the new group and the other groups. This space helps to visually separate the different groups.
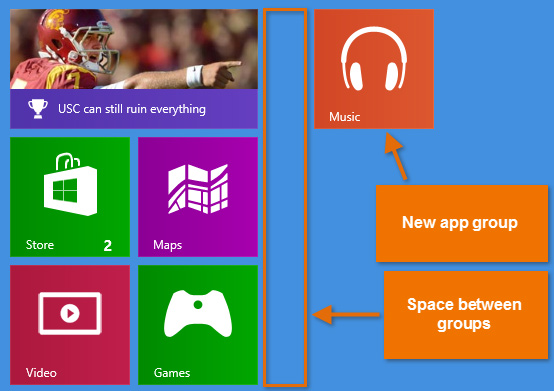 The new app group
 - You can now move more apps into the new app group.
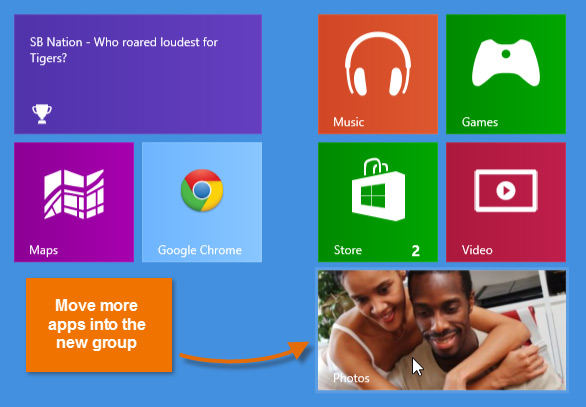 Adding apps to the new group
To name an app group:
- Right-click any app on the Start screen, and then click Name group above the desired app group.
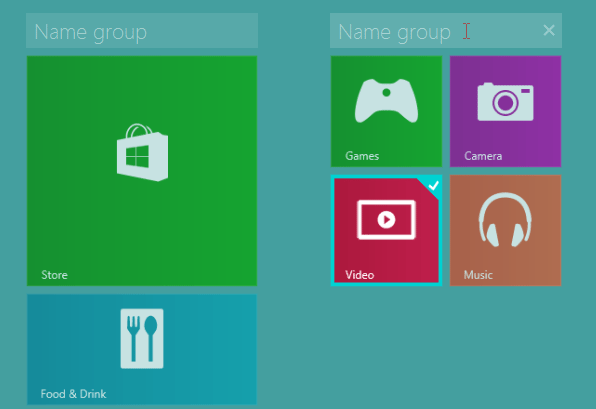 Clicking Name Group
 - Type the desired name. Shorter names usually work best, so try to use a single word if possible. When you're done, press Enter.
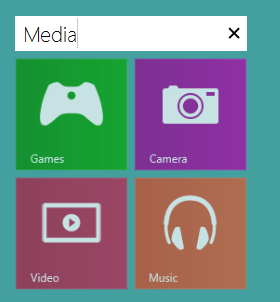 The new group name
 - Click anywhere on the Start screen to return to the normal view. The new name will appear above the app group.


