Lesson 21: Printing and Creating PDF Files
/en/googleslides/installing-addons/content/
Printing and creating PDF files
If you want to create a handout of a Google Slides presentation, you can either print a hard copy or export a PDF. In this lesson, we will explore both options.
Watch the video below to learn how to print and create PDF files.
Making selections within print settings and preview
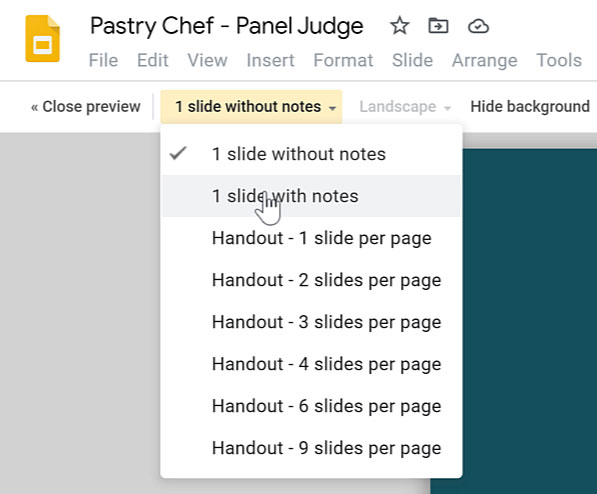
Print settings and preview allows you to select options to create a handout. If you only want one slide per page, you have a choice of with notes or without notes.
- First, go to File, then select Print settings and preview.
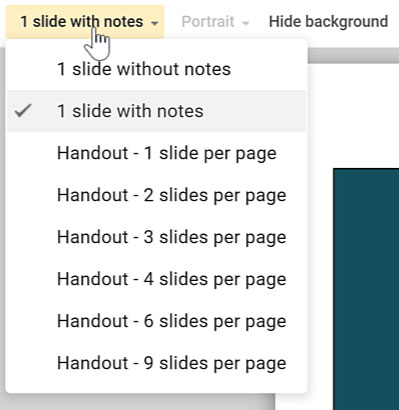
- The default is to have each slide be one page. To change this, open the drop-down menu. If you want to include the presentation notes, you can pick the option 1 slide with notes.
Looking at alternative handout options
Within Print settings and preview, you will see that you have alternative handout options that are more than one slide per page. By opening the drop-down menu, you'll be able to view and choose the option you'd like for your handout. We'll show some of the possibilities below.
- Handout - 3 slides per page: This option provides a note-taking column within the handout, which could help those attending a training or lecture.
- Handout - 9 slides per page: This may be hard to read as a handout for the audience, but could be useful to presenters to see an overview of their presentation.
- Handout - 4 slides per page: This one helps to consolidate the number of slides to fewer pages and is easier to read.
Selecting page orientation and hiding the background
Depending on the handout option chosen in Print settings and preview, you can see if changing the page orientation makes the slides more legible. Looking at the toolbar, open the drop-down menu. You can select either Portrait or Landscape mode.
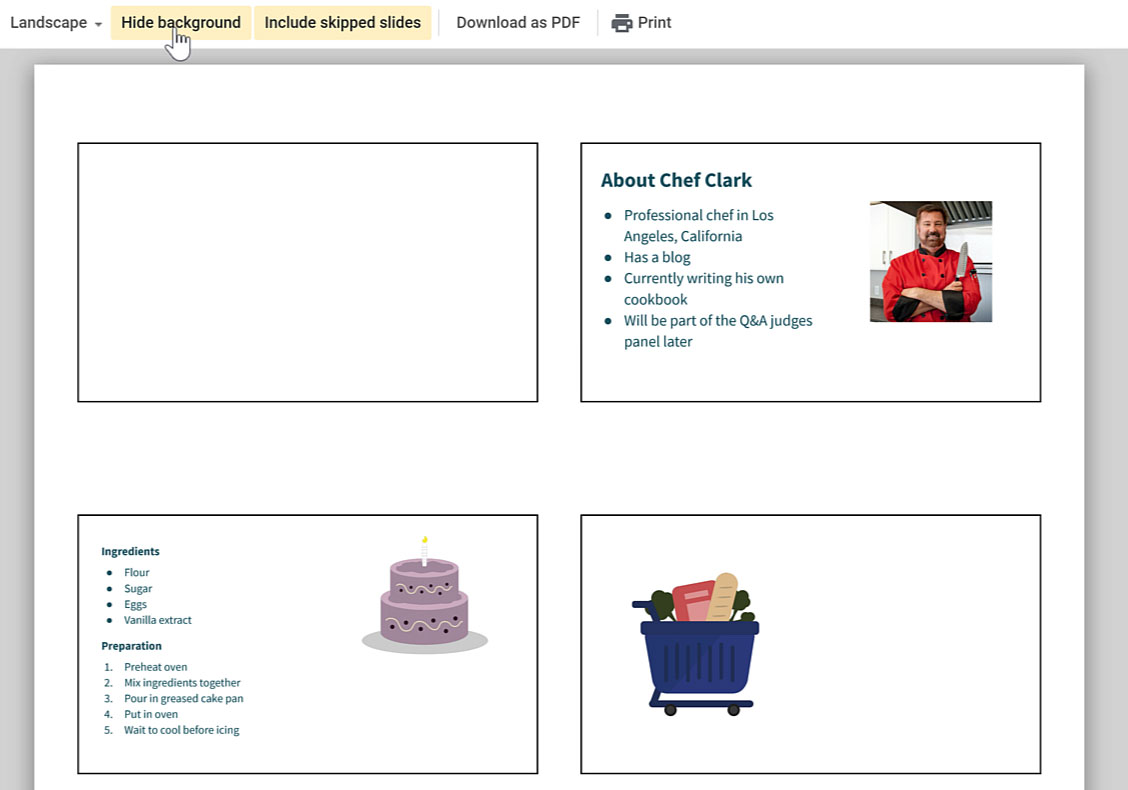
You may notice Hide background on the toolbar. It is a feature that helps to decrease the amount of ink used to print a handout.
When selected, it hides the theme background from the printed slides, but you can still see images as well as text with darker font colors. One disadvantage is that a presentation with lighter font colors will have unreadable text since the background is now white.
Printing and creating PDFs
- With Print settings and preview open, let’s click Print.
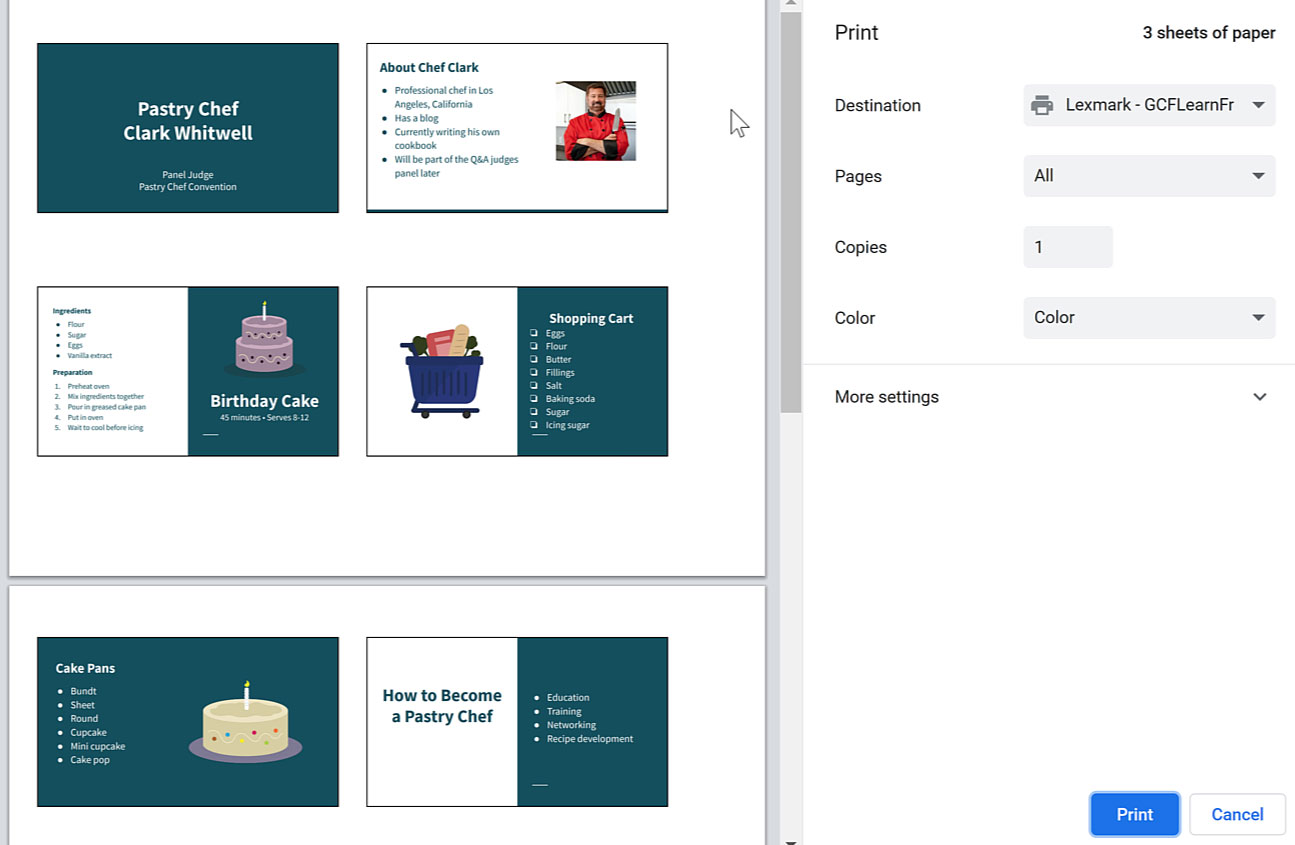
- The options that you have selected will show up on the preview screen.
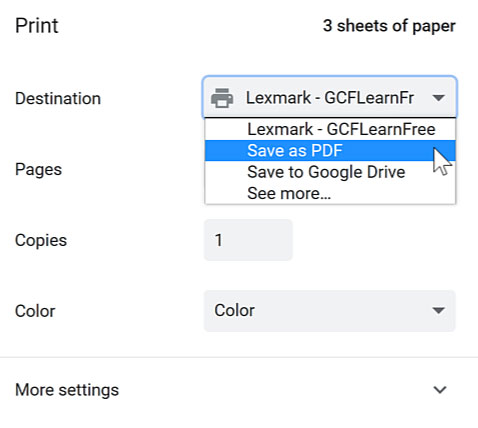
- Click the drop-down arrow to pick an option from Destination. You can choose a printer, save as PDF to your computer or save as a PDF to your Google Drive.
- Click More settings. There you will see a Pages per sheet option. We don't necessarily recommend adding more pages per sheet. Instead, it’s better to use the slides per page option that we introduced earlier because it is specifically designed for creating handouts.
Showing multiple ways to print
There are three ways to print if you do not need specialized options.
- There is an icon on the toolbar that you can click to print.
- You can use the keyboard shortcut of Ctrl+P or Command+P if you're on a Mac.
- Lastly, you can go to File, then select Print.
Printing a Google Slides presentation is easy with the options and features available to you. Whether you want to have a hard copy or create a PDF, Google Slides has both options for you to use.
/en/googleslides/skipping-slides/content/


