X
This article was co-authored by wikiHow staff writer, Nicole Levine, MFA. Nicole Levine is a Technology Writer and Editor for wikiHow. She has more than 20 years of experience creating technical documentation and leading support teams at major web hosting and software companies. Nicole also holds an MFA in Creative Writing from Portland State University and teaches composition, fiction-writing, and zine-making at various institutions.
This article has been viewed 43,619 times.
Learn more...
This wikiHow teaches you how to accept a Skype contact request on a Windows or macOS computer.
Steps
Method 1
Method 1 of 3:
On Windows
-
1Open Skype. If you’re using Windows 10, click the Start menu at the bottom-left corner of the screen, then click the blue Skype icon. If you have Windows 8 or 8.1, press the ⊞ Win key on the keyboard (or swipe in from the right side of the screen if you’re using a touch screen) and click/tap Skype.
-
2Sign in to Skype. If you haven’t yet signed in, type your Skype username and click Next to enter your password. Once you’ve entered the correct information, click Sign In.
- If it’s your first time using Skype on this computer, you may see a pop-up window describing a product feature. Click Close to continue.
Advertisement -
3Click the Recent Conversations icon. It’s the chat bubble icon near the top-left corner of the screen (inside the vertical gray bar). If you have a pending contact request, the icon will also contain a red dot.
-
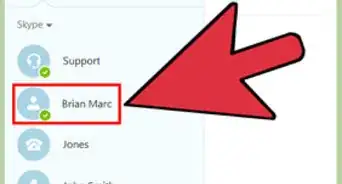
4Click the name of the person who sent you a request. The request appears in the “Recent” section.
-
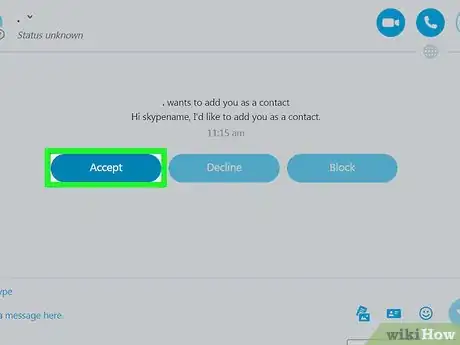
5Click Accept. This adds the person who sent the request to your contacts. You’ll also be added to their contacts.
Advertisement
Method 2
Method 2 of 3:
On macOS
-
1Open Skype. It’s the blue and white icon with a white “S.” If you have Skype installed, you’ll see it on the Dock, in the Launchpad, or in the Applications folder.
- If you haven’t installed Skype on your Mac, see Skype to learn how.
-
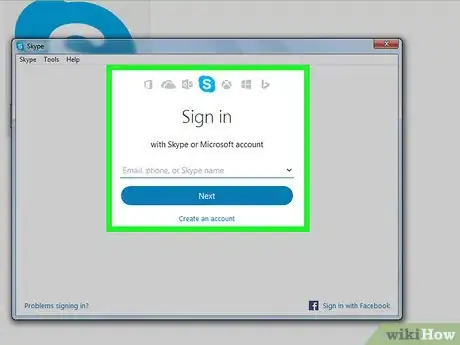
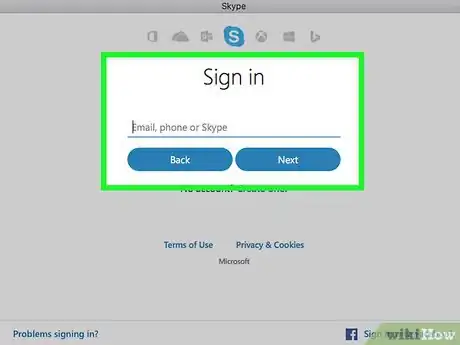
2Sign in to Skype. Type your Skype username, then click Next. Enter your password, then click Sign In.
- If it’s your first time using Skype for Web, you may see a pop-up message welcoming you to the product. Read the message and then click Continue to access Skype.
-
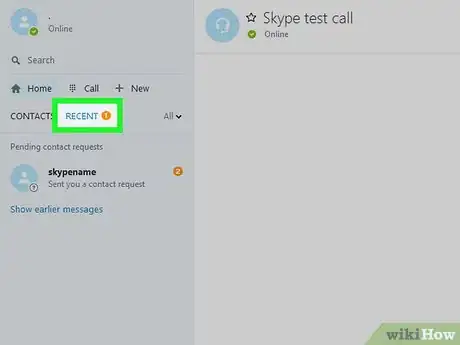
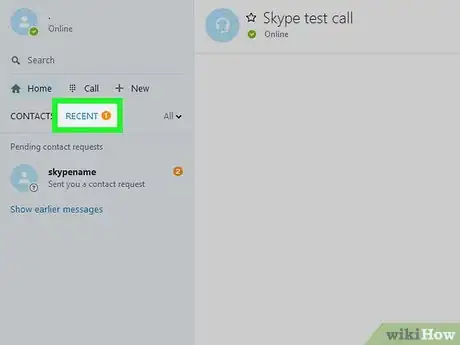
3Click Recent. It’s in the left panel, next to “Contacts.” People who’ve requested you as a contact will appear in this list.
-
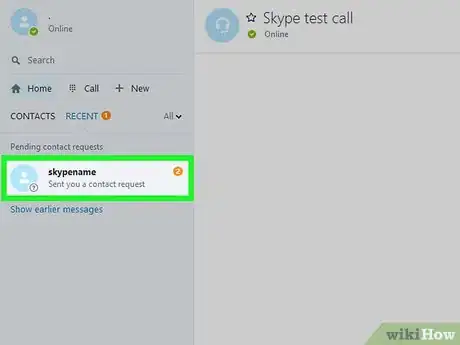
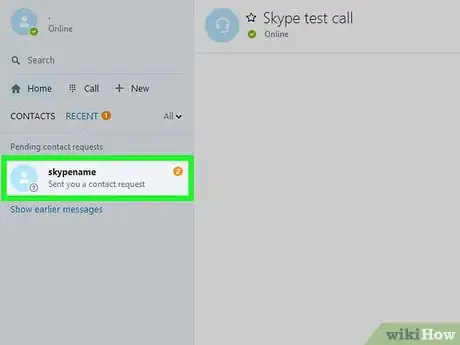
4Click the name of the person who sent the request. You’ll see it in the left panel.
-
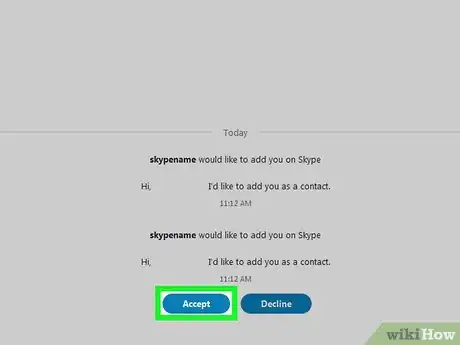
5Click Accept. It’s in the center panel. This action will add this person to your contacts list, and you’ll be added to theirs. You’ll be able to start messaging each other right away.
Advertisement
Method 3
Method 3 of 3:
On the Web
-
1Go to https://web.skype.com in a web browser. You can use this web-based version of Skype on any operating system, including macOS, Windows, and Linux.
-
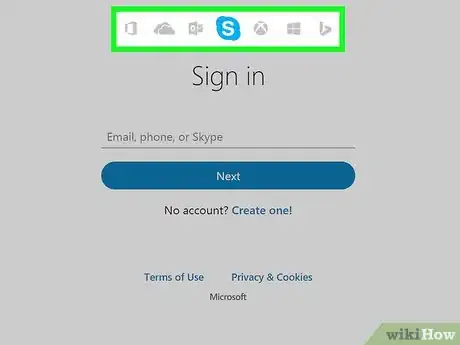
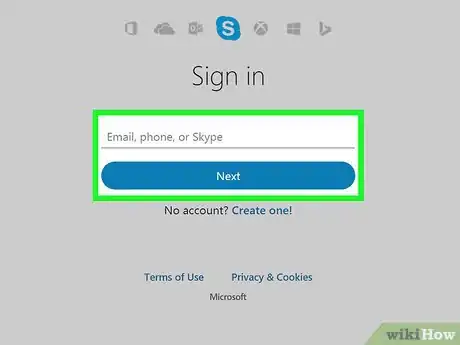
2Sign in to Skype. Type your Skype username, click Next, and then enter your password. Click Sign In to access Skype.
- If it’s your first time using Skype for Web, you may see a pop-up message welcoming you to the product. Read the message and then click Get Started to access Skype.
-
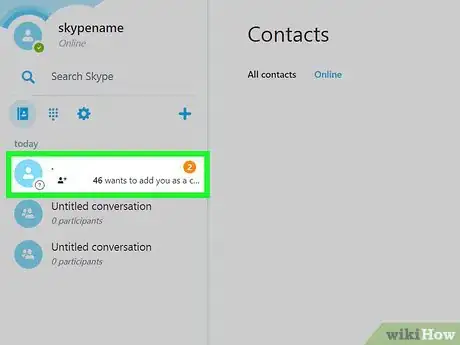
3Click the name of the person who sent you a request. This person will appear at the bottom of the contacts list on the left side of the screen. You’ll see the phrase “status unknown” beneath their name.
-
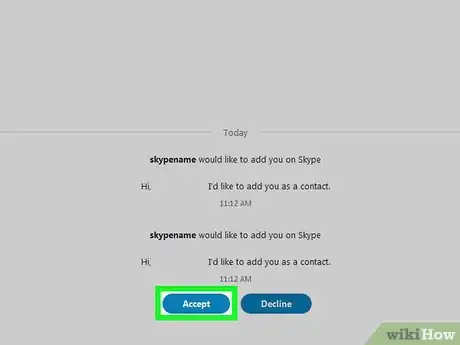
4Click Accept Request. It’s in the main (center) panel of Skype for Web. Once you accept the request, you’ll be added to this person’s contact list, and they’ll be added to yours.
Advertisement
About This Article
Advertisement
