This article was co-authored by Nine Morrison. Nine Morrison is the owner of WedLocks Bridal Hair & Makeup, the largest bridal beauty company in Colorado. Her work has been featured in Brides Magazine, The Knot, and by Moroccanoil, and her company replicates this standard across 400+ weddings per year. She has been in the beauty industry for over 10 years, and also travels as a beauty educator and business consultant.
This article has been viewed 25,712 times.
Sheer foundations look really effortless, but sometimes you need more coverage. Whether you want to mask acne, rosacea, or hyperpigmentation, a high-coverage foundation can help your skin look flawless. To apply full-coverage foundation that looks natural, start by preparing your skin with moisturizer and primer. Apply the foundation with a makeup sponge and blend well, then set your look with powder.
Steps
Moisturizing and Priming Your Skin
-
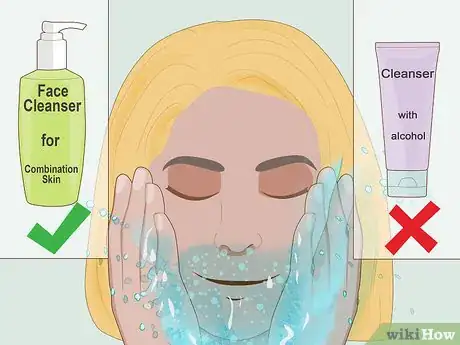
1Wash your face. Cleanse your skin to get rid of any dead skin cells and residual makeup. If you have dry skin, exfoliate any areas of flakiness, which can make full-coverage makeup look cakey. A shower will also make your skin warm and moist, so it absorbs moisturizer well.[1]
- Avoid cleansers with alcohol in them, which can dry out your skin.
- Choose a cleanser that is formulated for your skin type (oily, combination, dry) so you are preserving as much moisture as possible.
-
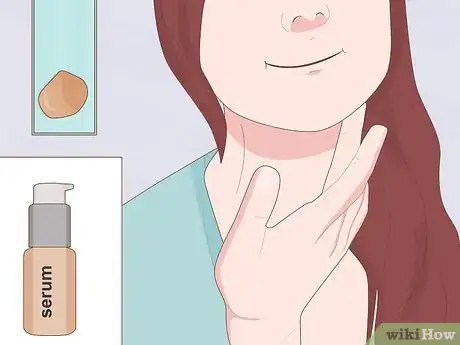
2Apply a dime-sized amount of serum. Pump the serum into your palm and rub it gently over your face and throat with your fingertips until it disappears. After cleansing, your moist skin is more permeable to the antioxidants and light moisturizing benefits a serum offers.[2]
- Serum hydrates and nourishes your skin, helping your full-coverage foundation wear better during the day.[3]
- Serum can help improve the quality and tone of your skin, reducing your need for full-coverage makeup over time.
Advertisement -
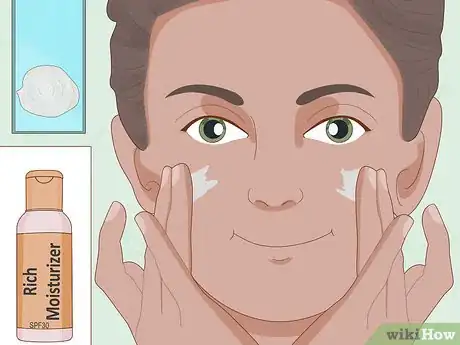
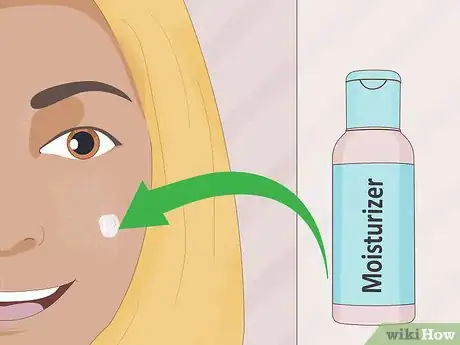
3Use a quarter-sized amount of a rich moisturizer. Apply the facial moisturizer, smoothing it over your face and throat with your fingers until it has absorbed fully. Focus on any areas prone to dryness, such as the delicate skin around your nose or lips for fully hydrated skin.[4]
- Always use a moisturizer with at least 30 SPF during the day to protect your skin from the sun.
- Moisturizer keeps full-coverage foundation from settling into your fine lines and creases or clinging to dry skin, which can make your application look obvious.
-
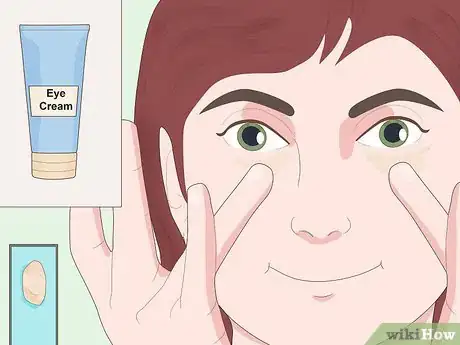
4Apply a pea-sized amount of eye cream. Dab your eye cream on the skin beneath each eye using your ring finger. Gently rub the eye cream in a sweeping motion around your orbital bone, from underneath each eye up onto your browbone.[5]
- Use your ring finger so you’re gentle with the delicate skin around your eyes. You’ll naturally use less pressure.[6]
- Eye cream is formulated for the delicate, dry skin around your eyes. Using an eye cream will keep your full-coverage foundation from settling into the fine lines around your eyes.
-
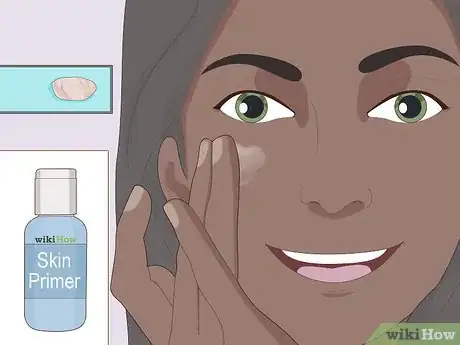
5Apply a pea-sized amount of skin primer. Apply the primer to your fingertips and rub it gently over your entire face. Pay particular attention to any areas with larger pores, such as your cheeks or around the base of your nose.[7]
- A primer provides a smooth base for your full-coverage foundation application. It will also help your makeup last longer than applying it directly to your skin.
- There are lots of different kinds of primers, from those that reduce redness to those for mature skin. Go to your local beauty supply store and ask a store associate to help you select a primer based on your skin’s needs.[8]
Putting on the Foundation
-
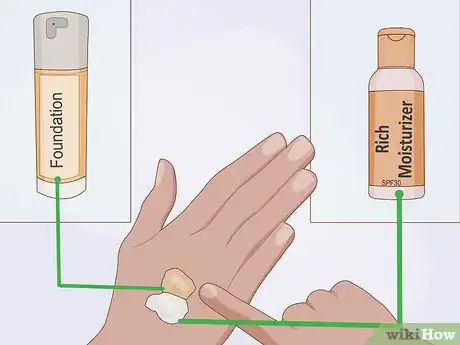
1Mix a dab of moisturizer into your foundation. Add half a pea-sized amount of your rich facial moisturizer to a quarter-sized amount of foundation in the palm of your hand. Use a fingertip to mix the moisturizer into your foundation until it is fully incorporated. An extra touch of moisture will help your foundation blend more seamlessly on your skin.[9]
-
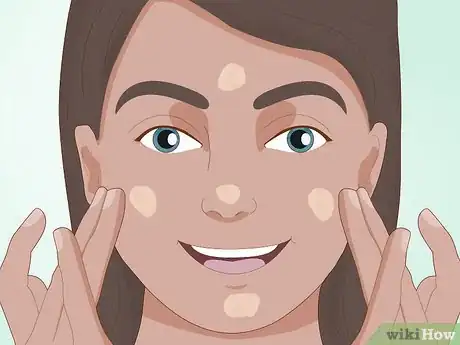
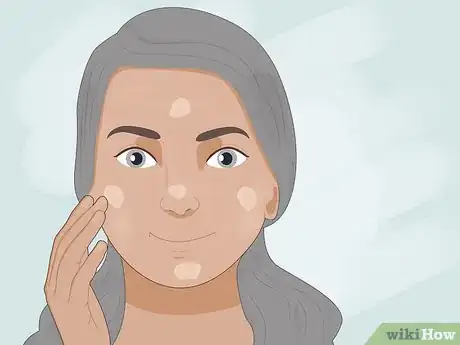
2Dot your foundation on your cheeks and nose. Use a fingertip to place one dot of your foundation mixture on your forehead, nose, each cheek, and your chin respectively. Avoid applying foundation to the edges of your face to start with.[10]
- Most people need less coverage as they reach their hairlines. Applying from the center outward will centralize coverage where you need it most.
-
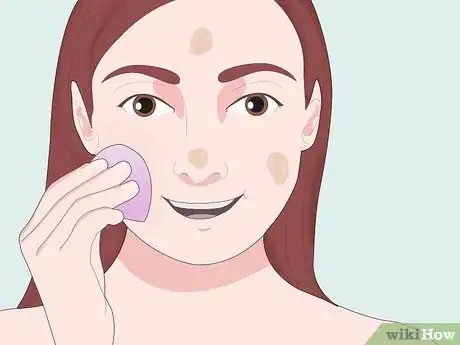
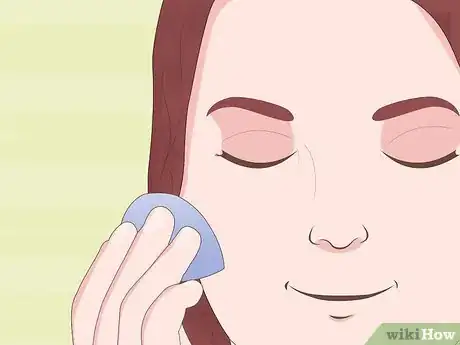
3Blend your foundation outwards with a makeup sponge. Use a makeup sponge or beauty blender to dab your dots of foundation outward, spreading a thin layer of coverage over your entire face. Once the mixture is distributed, use your fingertips to smooth away any lines created by the edge of your blender or sponge obvious in your application.[11]
-
4Repeat the dot-and-blend process to add coverage. If your first application is still too sheer for your taste, apply a second round of foundation dots. Blend outward to layer on additional coverage. Repeat this process as needed to reach your desired level of coverage.[12]
-
5Blend the outer edges of foundation at your jaw, hairline, and earlobes. Smooth a little residual foundation over your earlobes with your fingertips. Using your fingertips, rub away any lines of demarcation at your jawline, smoothing excess foundation down your neck. Use a clean piece of toilet paper to remove excess foundation that may have colored any hair around your face.[13]
-
6Add a little moisturizer to any flaky skin. Look over your foundation and notice if there are any areas of excess dryness. If yes, apply a pinhead-sized amount of rich moisturizer to the area using a fingertip.[14]
- A little extra moisture will hydrate your skin and blend flaky makeup.
Adding Finishing Touches
-
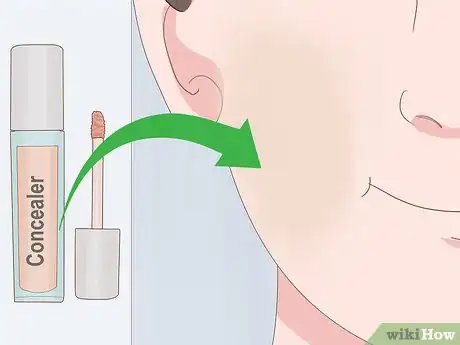
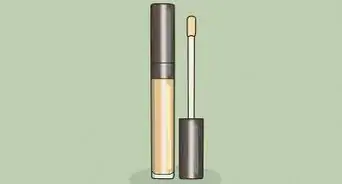
1Use a concealer 1 shade lighter than your skin. Buy a liquid concealer 1 shade lighter than your skin for the most natural look. This will help you cover any blemishes or trouble spots apparent through your full-coverage foundation.[15]
- Avoid choosing a concealer that matches your skin exactly, as it may darken rather than camouflage trouble spots.
- Your local beauty supply store or department store associate can help match you for a concealer of the appropriate lightness.
-
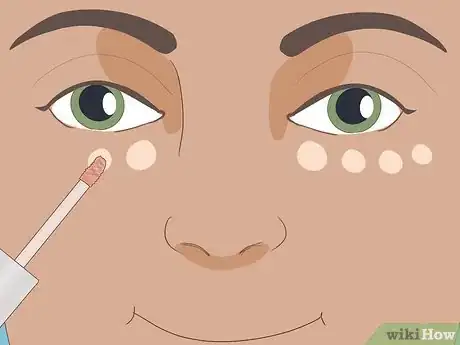
2Use your concealer to cover under-eye darkness. Use a small, pointy makeup brush to dab concealer on the darkest point of your under eye circles, typically right below the inner and outer eye corners. Avoid applying concealer to your lower eyelid, which can collect product in its many creases.[16]
- If you feel you need additional under-eye coverage, focus your application on the shadow your dark circle creates in your tear trough rather than on the puffiness below the eye itself.
-
3Use your fine concealer brush to touch up blemishes. Examine your skin to notice any blemishes still poking through your full-coverage foundation. Apply concealer to the head of the blemish and directly underneath it to mask the dark shadow that a raised pimples can create.[17]
- Avoid applying lighter concealer above a blemish to cover it. This may actually highlight the blemish, making it appear more prominent.
-
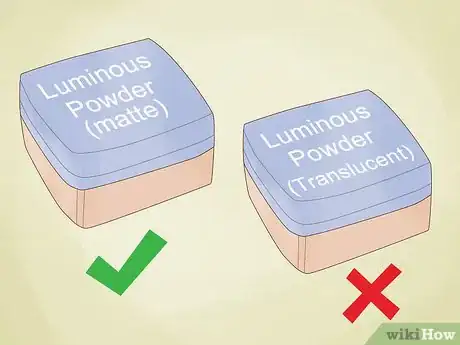
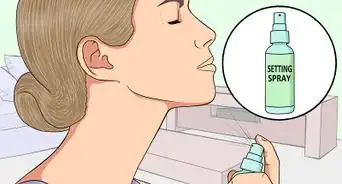
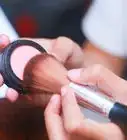
4Finish the look with a luminous powder. Using a kabuki brush, dust the powder on in a W shape. Start at your hairline on one side and move down your cheekbone to the apple of the cheek, up the bridge of your nose, down the bridge of your nose to the other cheek, then up the opposite cheekbone to your hairline on the other side.[18]
- Avoid matte finishing powders, which can make your makeup look cakey.
- Use a translucent powder with a little sheen to reflect the light and help your makeup look natural.
- If you don’t have a kabuki brush, use the puff that comes with your powder. Before applying the powder, tap any excess powder off the puff on the side of the compact. Puffs can hold a more concentrated amount of product than a brush, and doing this will prevent you from applying excess product.
Expert Q&A
-
QuestionIs it good to put moisturizer before makeup?
 Nine MorrisonNine Morrison is the owner of WedLocks Bridal Hair & Makeup, the largest bridal beauty company in Colorado. Her work has been featured in Brides Magazine, The Knot, and by Moroccanoil, and her company replicates this standard across 400+ weddings per year. She has been in the beauty industry for over 10 years, and also travels as a beauty educator and business consultant.
Beauty Consultant Yes! Moisturizer will help your foundation look more even. Moisturizing is an essential part of every skincare routine. Doing it regularly will trim down the amount of time it takes to prep for applying makeup and make whatever products you use look even better on your skin.
Things You'll Need
- Foundation
- Facial cleanser
- Serum
- Rich SPF 30 facial moisturizer
- Eye cream
- Skin primer
- Makeup sponge or beauty blender
- Concealer
- Fine makeup brush
- Luminous setting powder
- Kabuki brush
References
- ↑ http://www.redonline.co.uk/beauty/10-best/how-to-do-full-coverage-foundation-tips
- ↑ https://www.huffingtonpost.com/2015/03/03/what-is-face-serum_n_6761412.html
- ↑ http://www.redonline.co.uk/beauty/10-best/how-to-do-full-coverage-foundation-tips
- ↑ http://www.redonline.co.uk/beauty/10-best/how-to-do-full-coverage-foundation-tips
- ↑ http://www.redonline.co.uk/beauty/10-best/how-to-do-full-coverage-foundation-tips
- ↑ https://www.today.com/style/how-apply-eye-cream-sunscreen-moisturizer-right-way-t90411
- ↑ https://www.huffingtonpost.com/2015/01/16/what-is-makeup-primer_n_6463190.html
- ↑ https://www.realsimple.com/beauty-fashion/makeup/makeup-face/best-makeup-primer
- ↑ http://www.redonline.co.uk/beauty/10-best/how-to-do-full-coverage-foundation-tips
- ↑ http://www.redonline.co.uk/beauty/10-best/how-to-do-full-coverage-foundation-tips
- ↑ http://www.redonline.co.uk/beauty/10-best/how-to-do-full-coverage-foundation-tips
- ↑ http://www.redonline.co.uk/beauty/10-best/how-to-do-full-coverage-foundation-tips
- ↑ http://www.redonline.co.uk/beauty/10-best/how-to-do-full-coverage-foundation-tips
- ↑ http://www.redonline.co.uk/beauty/10-best/how-to-do-full-coverage-foundation-tips
- ↑ https://www.glamour.com/story/beauty-tips-how-to-do-foundation-like-a-pro-2011-02
- ↑ https://www.glamour.com/story/beauty-tips-how-to-do-foundation-like-a-pro-2011-02
- ↑ https://www.glamour.com/story/beauty-tips-how-to-do-foundation-like-a-pro-2011-02
- ↑ https://www.glamour.com/story/beauty-tips-how-to-do-foundation-like-a-pro-2011-02
