This article was co-authored by Sarah Stearns. Sarah Stearns is a DIY Specialist, Artist, Maker, Blogger, and the Founder of SarahMaker.com. With over ten years of experience, she specializes in fun, approachable crafts like crocheting, making polymer clay jewelry, quilting, and creating Cricut projects. Her work has been featured in several publications, such as Scientific American, Good Housekeeping, Vox, and Apartment Therapy. Sarah holds a BA in Psychology from Vanderbilt University.
There are 8 references cited in this article, which can be found at the bottom of the page.
This article has been viewed 66,715 times.
Blocking a finished crocheted blanket sets its shape and makes the stitches look more even. This is an important step for improving the look of your finished crocheted blanket, so don’t skip it! If your blanket is made of natural fibers, such as cotton or wool yarn, use a water-based method, such as washing and air drying or spraying the blanket with water. If your item is made from an acrylic or acrylic-blend yarn, then use an indirect heat method, such as by using the steam from an iron.
Steps
Washing and Air Drying
-
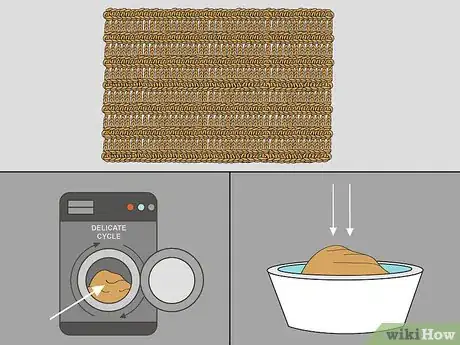
1Wash the blanket on the delicate cycle or soak it in a tub of cool water. When using water to block a natural-fiber crocheted blanket, the item needs to be completely soaked through. You can do this by washing the item on the delicate cycle in your washing machine or by soaking the item in a small tub of cool water.[1]
- You may use a small amount of detergent to wash or soak the blanket if desired, but plain water also works fine for blocking.
-
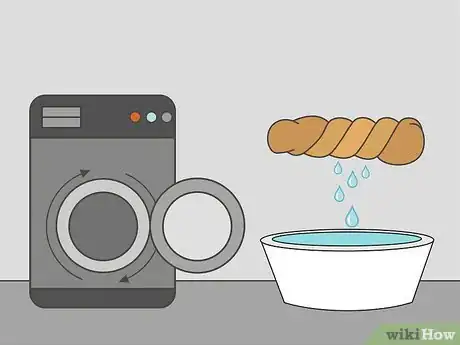
2Wring and press out the excess water. After you remove the item from the washer or tub of water, use your hands to gently squeeze out any extra water. Then, place the blanket on a towel and roll the towel up around the blanket to blot more water out of the blanket.[2]
- Use more than 1 towel to blot the excess water out of the blanket if needed.
- Do not twist or stretch the blanket as you wring out the excess water!
Advertisement -
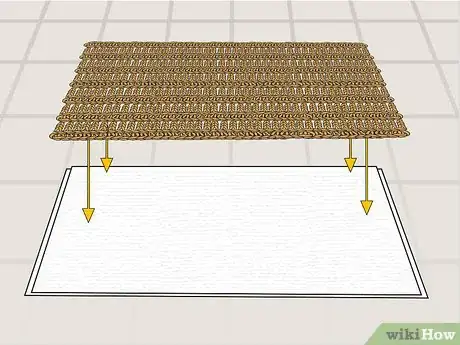
3Spread the blanket out on a few towels on a flat surface. Lay a few clean, dry towels on a flat surface such as your bed or the floor. Then, lay the blanket on top of the towels and smooth it out so that it is flat. Arrange the blanket how you want it to look when it is dry, but be careful not to stretch it out. Aim for straight edges and an overall even appearance.[3]
-
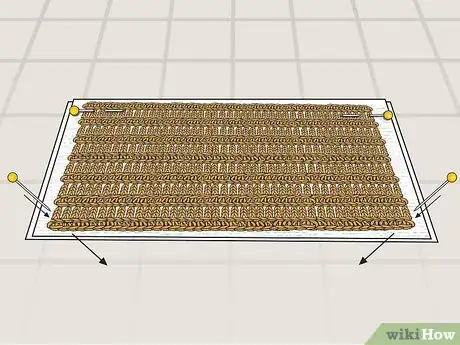
4Pin the blanket to the towels at the corners and sides. Insert 1 pin into each of the corners of the blanket and then insert a pin about every 2–3 in (5.1–7.6 cm) along each edge of the blanket. Push each of the pins all the way through the blanket and towel, and then back up again.[6] [7]
- Use rust-proof pins to prevent stains on your blanket.
- Special blocking clips are also available at craft supply stores if you prefer not to insert pins.
-
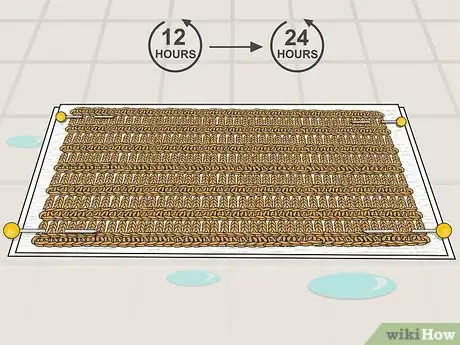
5Allow the blanket to dry for 12 to 24 hours. The total time your blanket needs to dry will depend on the size and density of your item as well as on the climate you are in. If you have a small blanket, then it might only take 12 hours to dry, whereas a large blanket will take longer. If you are in a hot, dry climate, then your item will also dry faster than if you are in a cold or humid climate.[8]
- Wait until the blanket is completely dry to remove the pins. Touch it in a few places to check.
Tip: Aim a fan at the blanket to help it dry faster!
Spraying the Blanket with Water
-
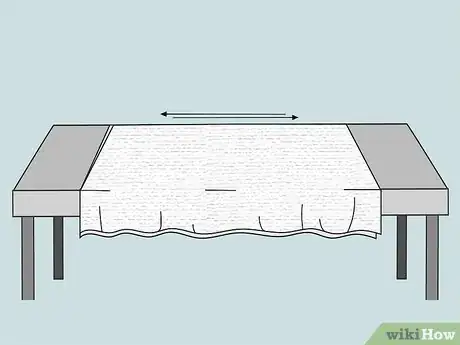
1Lay out enough towels to place the blanket on. You may need to use 2 or more towels depending on the size of your blanket. Place the towels on a flat surface, such as your bed or a clean patch of your floor. Make sure that the towels are flat and even.[9] [10]
- Only use clean, dry towels to block your blanket.
Tip: Keep in mind that spraying the blanket with water to block it will only work if it is made from natural fibers, such as cotton or wool. Water will not penetrate acrylic fibers, so this technique will not work on acrylic yarn.
-
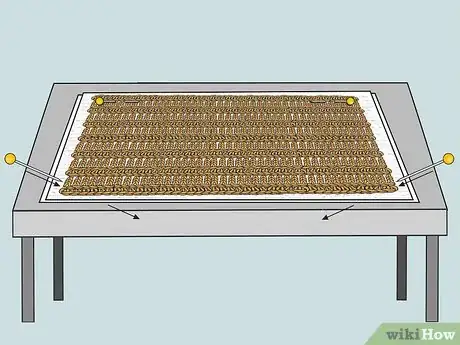
2Pin the blanket to the towels. Lay your blanket on top of the towels and arrange it how you want it to look. Make sure the edges are straight and there are no bumps in the blanket. Then, insert a pin into each corner of the blanket and 1 pin every 2–3 in (5.1–7.6 cm) along each edge of the blanket to hold it in place.[11] [12]
- If you don’t want to insert pins into your blanket, then binder clips or special blocking clips (available at craft supply stores) will also work.[13]
-
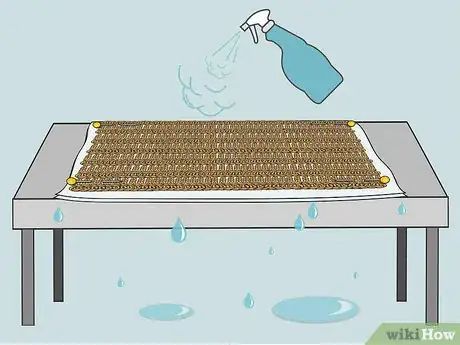
3Spray the blanket with water until it is just damp. Fill a spray bottle with plain tap water and then spritz the blanket all over so that it is damp. Making the blanket damp instead of soaking it through is enough to block the blanket. The blanket will also dry much faster if you only get it damp, so this is a good option if you are short on time.[14] [15]
-
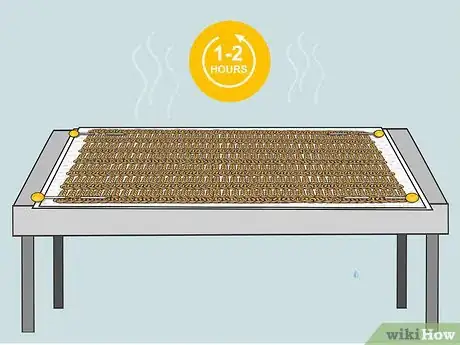
4Let the blanket air dry for 1 to 3 hours. Expect to wait about 1 to 3 hours depending on your climate and the amount of water you sprayed on the blanket. You can also aim a fan at the blanket to speed the drying process if you are in a hurry.[16]
- Remove the pins after the blanket has dried completely. Touch the blanket in a few spots to make sure it is dry.
- Whatever you do, make sure you let the blanket dry completely.[17]
Using Steam from an Iron
-
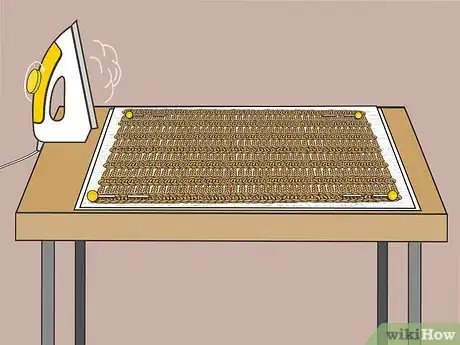
1Pin the blanket onto a large sheet or towels. Smooth out your blanket on top of the sheet or towels, and arrange the edges so that they are straight and even. Insert a pin into each corner of the blanket and then insert 1 pin every 2–3 in (5.1–7.6 cm) along each edge of the blanket to hold it in place [18]
- You can lay the sheet or towels on a bed or on the floor. Just make sure that the area is clean and dry.
-
2Turn on your iron and set it to steam. Switch on your iron to a medium setting with steam. Allow it about 10 minutes to warm up before you begin blocking the blanket.[19]
-
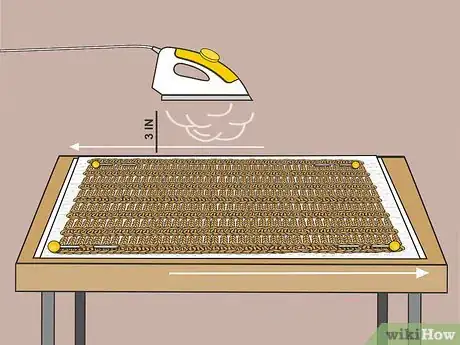
3Hover the iron over the blanket using the steam setting to make it damp. When the iron is hot, hold it about 3 in (7.6 cm) above the blanket and allow the steam to hit it. Move the iron over the entire blanket without touching it. Hover the iron over a 12 by 12 in (30 by 30 cm) section of the blanket for about 2 to 3 seconds and then move it to the next section.[20]
Warning: Never touch an acrylic item with a hot iron! The heat from the iron will melt or “kill” the crocheted item.[21]
-
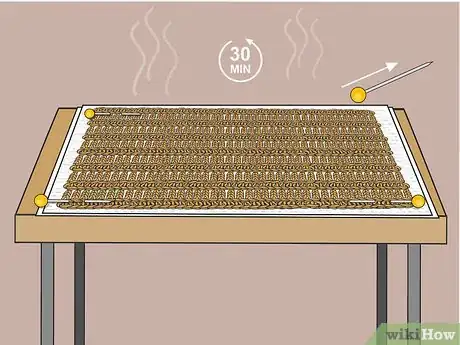
4Let the blanket cool off for about 30 minutes. After you have covered the entire surface of the blanket with steam from the iron, set the iron aside and shut it off. Then, let the blanket cool for 30 minutes before you remove the pins. Once the blanket is cool, it will be blocked and you can remove the pins.[22]
Community Q&A
-
QuestionCould I make a blocking for a doily with starch solution?
 T. ChinsenTop AnswererSmall items like doilies can be blocked with starch solution. A sugar solution has also been recommended for even smaller crocheted snowflakes. To prevent insect damage, add a little borax to the solution.
Things You’ll Need
Washing and Air Drying
- Washing machine or tub
- Towels
- Pins
Spraying the Blanket with Water
- Towels
- Pins
- Spray bottle
Using Steam from an Iron
- Sheet, blanket, or towels
- Pins
- Iron
References
- ↑ https://www.youtube.com/watch?v=lZuIiDHdpT8&feature=youtu.be&t=105
- ↑ https://www.youtube.com/watch?v=lZuIiDHdpT8&feature=youtu.be&t=295
- ↑ https://www.youtube.com/watch?v=lZuIiDHdpT8&feature=youtu.be&t=390
- ↑ https://dorischancrochet.com/blocking-is-your-friend/
- ↑ Sarah Stearns. DIY Specialist. Expert Interview. 4 October 2021.
- ↑ https://wilmade.com/blocking/
- ↑ Sarah Stearns. DIY Specialist. Expert Interview. 4 October 2021.
- ↑ https://www.youtube.com/watch?v=lZuIiDHdpT8&feature=youtu.be&t=576
- ↑ http://desertblossomcrafts.com/2018/04/02/how-to-block-your-crocheting/
- ↑ Sarah Stearns. DIY Specialist. Expert Interview. 4 October 2021.
- ↑ http://desertblossomcrafts.com/2018/04/02/how-to-block-your-crocheting/
- ↑ Sarah Stearns. DIY Specialist. Expert Interview. 4 October 2021.
- ↑ https://dorischancrochet.com/blocking-is-your-friend/
- ↑ https://wilmade.com/blocking/
- ↑ Sarah Stearns. DIY Specialist. Expert Interview. 4 October 2021.
- ↑ http://desertblossomcrafts.com/2018/04/02/how-to-block-your-crocheting/
- ↑ Sarah Stearns. DIY Specialist. Expert Interview. 4 October 2021.
- ↑ http://desertblossomcrafts.com/2018/04/02/how-to-block-your-crocheting/
- ↑ http://desertblossomcrafts.com/2018/04/02/how-to-block-your-crocheting/
- ↑ http://desertblossomcrafts.com/2018/04/02/how-to-block-your-crocheting/
- ↑ https://dorischancrochet.com/blocking-is-your-friend/
- ↑ https://wilmade.com/blocking/
