This article was co-authored by Eric Shipe. Eric Shipe is a Kitchen and Bath Designer and the Owner of Bath + Kitchen based in Washington DC. Eric and his team specialize in cabinetry, design, and remodels. They serve homeowners, interior designers, architects, and contractors with a refined process, creative ideas, 4K photo-realistic renderings, and 360 Panoramic views. Bath + Kitchen was featured in Best of Houzz 2017-2020. Eric holds a BA in Economics and Business Administration from Ursinus College.
There are 12 references cited in this article, which can be found at the bottom of the page.
This article has been viewed 363,989 times.
Cabinets are an often overlooked part of the kitchen, but they can really make or break the room. We've all seen kitchens that don't have enough storage space, but this is a problem that's easy to fix! Build custom cabinets that fit the space and watch how it transforms your kitchen. The room will look more put-together and you'll have vital storage for your dishes, pantry, and appliances. Ready to get started? We'll walk you through cutting the pieces and assembling them into a classic kitchen cabinet.
Steps
Cutting
-
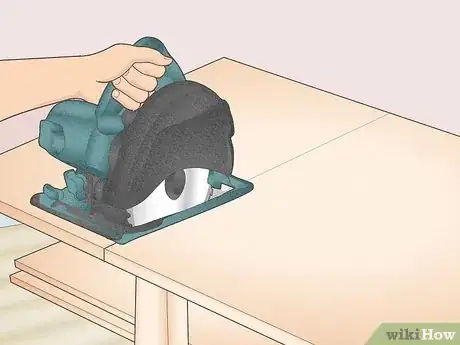
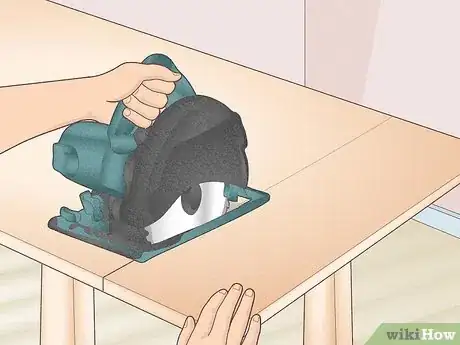
1Cut 2 side panels and 1 bottom panel from plywood. Lay a sheet of 3⁄4 in (1.9 cm) thick plywood flat on your work table. Run it through a table saw or use a hand saw to create 2 evenly sized pieces for the sides of your cabinet. Then, cut 1 bottom panel that's equal to the width you want for the whole cabinet, minus 1 1⁄2 inches (3.8 cm) for the combined widths of the 2 side panels.[1]
- For instance, if you want the kitchen cabinet to be 24 inches (61 cm) wide, subtract 1 1⁄2 inches (3.8 cm) for the side panels. Your bottom panel piece will be 22 1⁄2 inches (57 cm) wide. You can make the side panels as high as you'd like your cabinet—anywhere from 30 to 36 inches (76 to 91 cm) is common.
- You can use solid wood if you prefer sturdier cabinets. However, manufactured wood is inexpensive and easy to work with.[2]
- You might see cabinet instructions using medium-density fiberboard (MDF), but this isn't as strong as plywood so it may not be a good choice if you're looking to build strong kitchen cabinets.
-
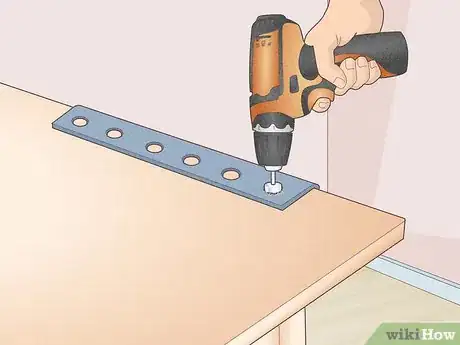
2Drill holes onto the side pieces if you want to attach adjustable shelves. Lay a side piece down and place a shelf pin drilling jig on the wood. This is essentially a template with holes that are evenly spaced down the side. With the jig in place, take a drill and make a hole that's at least 1 1⁄4 in (0.64 cm) wide. For adjustable shelves, make more holes above or below the one you just made. Repeat the process on the opposite edge of the side piece.[3]
- Repeat this step for the remaining side piece.
- If you don't want to make the shelves adjustable, it's fine to simply make a single line of holes for the shelf to sit on.
Advertisement -
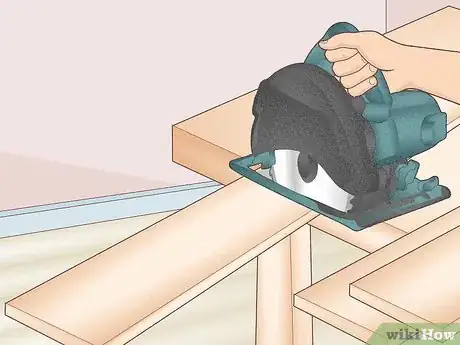
3Cut a total of 4 support panels that are all the same size. You won't see these, but they'll support your cabinet. Use the same plywood and cut the pieces so they're the same width as your bottom panel. You'll need 2 braces for the top of your cabinet and 2 support braces for behind the back of the cabinet.
- For example, if your bottom panel is 22 1⁄2 inches (57 cm) wide, your support panels should be 22 1⁄2 inches (57 cm) as well.
-
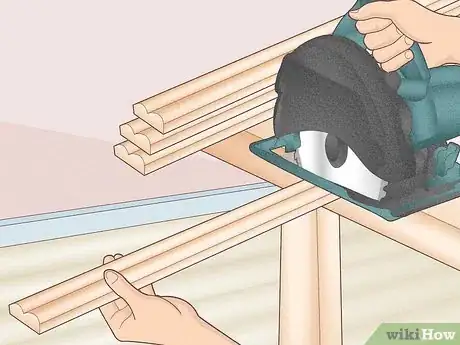
4Cut 4 face panels for a traditional-looking cabinet. You can use lumber in any size to make 4 panels that fit together like a picture frame. For instance, use 1x2s, 1x3s, or 1x4s. Keep in mind that the wider lumber makes more noticeable face frames. You'll be attaching the frame to the front of your cabinet box so they should match the height and width measurement for your cabinet.[4]
- For example, if your cabinet is 24 by 36 inches (61 cm × 91 cm), you should have 2 long frame pieces that are 36 inches (91 cm) long and 2 short pieces that are around 24 inches (61 cm) long—if you're using common measurements.
- If you prefer a more modern-looking cabinet, you can skip the face panels and install drawers or doors directly onto the cabinet. These are known as frameless cabinets.
-
5Cut 1 back panel piece using plywood. Use the same 3⁄4 in (1.9 cm) plywood and cut the piece to fit the back of your cabinet. It should be as wide as the cabinet and as high as the top of your side pieces.[5]
- So, if your cabinet is 24 by 36 inches (61 cm × 91 cm), you need a back panel piece that's 24 by 36 inches (61 cm × 91 cm).
- If you're making a wall cabinet, you can also cut 1 top piece to place on the top of your cabinet. Most people making floor cabinets skip the top piece since they'll be installing countertops instead.
Assembling
-
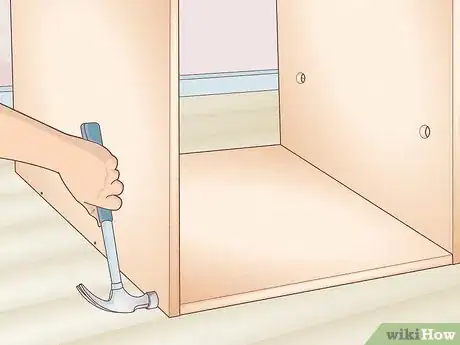
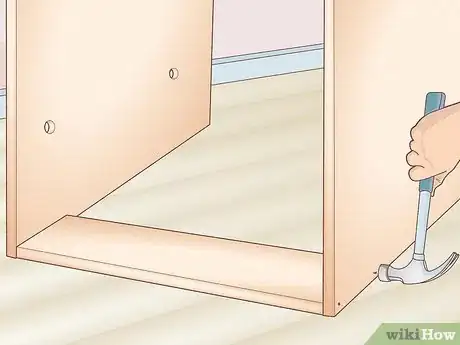
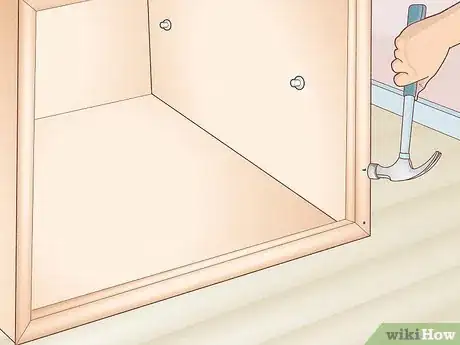
1Tack both side pieces to the bottom piece using nails or wood staples. Set 1 of your side pieces up on your work table and push the back edge of the bottom piece next to it so they form a 90-degree angle. Use a wood stapler or hammer in nails to temporarily tack the pieces together. Then, repeat this with the other side piece.[6]
- You can also ask a friend to help you keep the pieces in place as you tack them.
- To stop the cabinet box from moving while you assemble it, clamp a block of wood to your work table. You can push the cabinet frame against it to prevent it from sliding while you work.
-
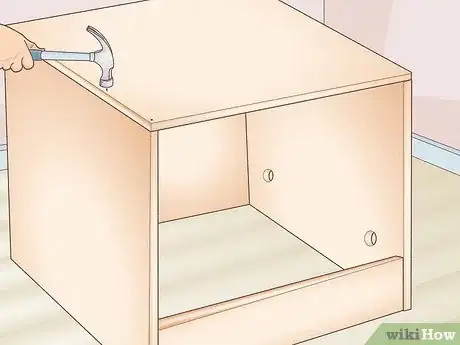
2Turn the cabinet onto its top and attach the top bracer to the sides. Carefully flip the cabinet over so the bottom panel faces up. Then, take 1 of your top brace pieces and slide it between the side pieces at the front so it lays flat. Staple or nail the sides to tack the front brace piece in place.
- The top brace piece is sometimes called the top stretcher. It gives support to the cabinet.
-
3Nail the back panel to the back of your cabinet. Flip the cabinet over so the front faces down on a flat surface. Then, place the back panel plywood piece on the cabinet so the edges line up perfectly. Nail the back piece to the edges of the cabinet to secure them.[7]
- If you've got a nail gun, you can quickly attach the back piece to the cabinet. Line up the nail gun so the nails go directly into the wood and not into the empty space of the cabinet.
-
4Attach the top back brace. Turn the cabinet so the back is flat on your work surface. Take your remaining top brace piece and slide it in between the 2 sides so the flat side of the bracer is flush with the back of the cabinet. Then, tack the ends of the bracer to the sides using a wood stapler or nails.[8]
-
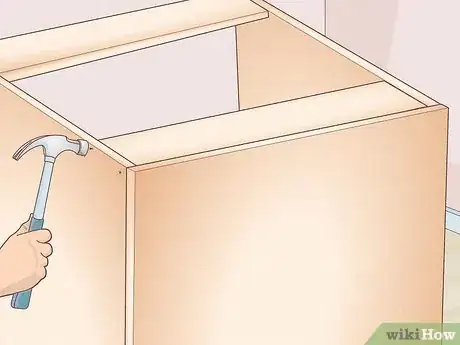
5Tack the support braces behind the back of the cabinet. Flip the cabinet over so the back panel faces up. Set 1 support brace on the back panel where it meets the bottom and put the other support brace at the top. Then, staple or nail the ends of the braces to the sides of the cabinet.[9]
- The support braces add stability so your cabinet doesn't warp. They're also really important if you plan on hanging the cabinet on the wall.
-
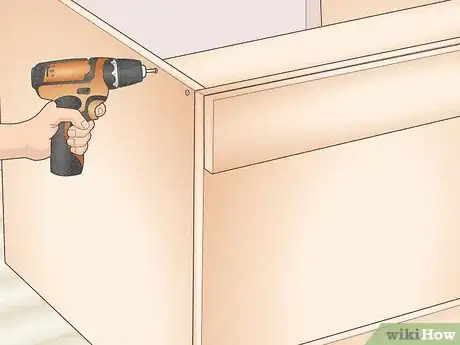
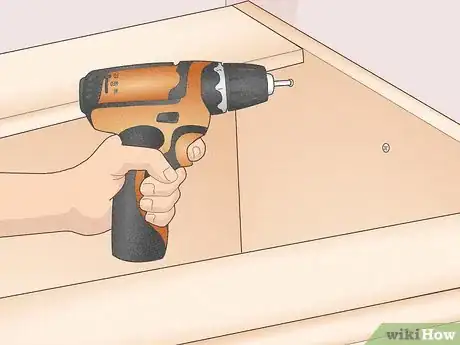
6Drill screws into the sides of the cabinet to secure the pieces together. Use a drill to pre-drill holes along the sides of your cabinet where pieces meet. Drill at least 1 hole about 1 inch (2.5 cm) from the end of each piece. Then, go back and drill 1 5⁄8 in (4.1 cm) wood screws into the holes you made.[10]
- Plan on drilling 2 screws onto the side of each brace and 5 screws along each side of the bottom piece.
Finishing
-
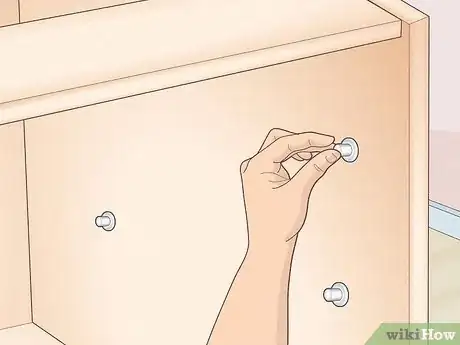
1Use pegs or corner brackets to support the shelves. You can either push pegs into the holes you drilled on the side of the cabinet and place a shelf directly onto the pegs, or you can put the shelf in place and screw in a corner bracket directly underneath the shelf. Repeat this for the opposite side of the shelf.[11]
- You can install purchased shelves or make your own by cutting a piece of plywood to the width of the cabinet bottom.
-
2Assemble the face panels if you're using them. Arrange the face pieces you cut with narrow lumber so they fit together like a picture frame—two long parallel strips of wood with 2 horizontal strips that fit between them at the top and bottom. Nail the corners of each piece together so they lay flat. You'll fit this simple wooden frame on the front of the cabinet.[12]
- For an elegant style, miter the pieces together instead of pushing them together with a standard butt joint.
-
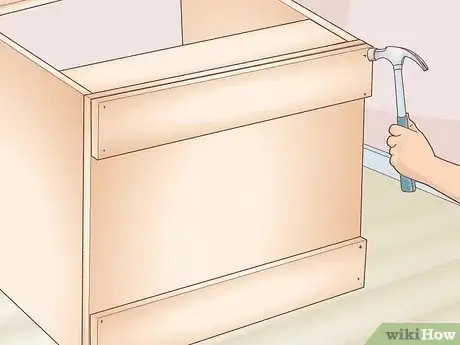
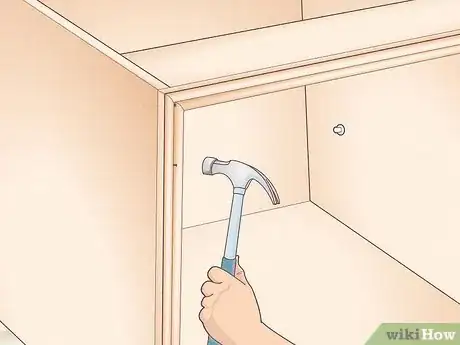
3Attach the optional face frame to the front of the cabinet. With the front of your cabinet facing up, squeeze wood glue onto the top sides of your cabinet to provide a little hold. Press the face frame onto it so the frame is even with the sides of the cabinet. Then, hammer in finish nails or use a nail gun to nail the face frame to the cabinet.[13]
- To give the frame a polished look, you can fill the nail holes with wood putty.
- Finish nails are slightly wider than standard brad nails. They're sturdier so they'll give the frame more stability.
-
4Fit and attach the cabinets in your kitchen. If you're installing the cabinet on the floor, get it in place and screw directly through the back of the cabinet into a stud in the wall. To install the cabinet on the wall, get a friend to help hold the cabinet up in place so you can drill through the back of the cabinet into the wall studs.[14]
- For extra wall support, install an L-bracket under the bottom of your cabinet. You can find decorative ones or hide them with a nice backsplash.
- To give your cabinets a professional look, go back and fill the screw holes with putty and let it dry before you stain or paint your cabinet.
-
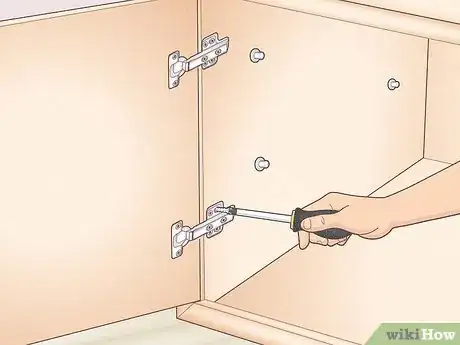
5Buy cabinet doors and screw them onto your cabinets. Sure, you can make your own cabinet doors, but it's usually more economical to buy high-quality, professional-looking doors and install them yourself.
- Doors are totally optional, especially if you're going for an open, airy look.
Expert Q&A
-
QuestionIs it cheaper to build your own cabinets?
 Eric ShipeEric Shipe is a Kitchen and Bath Designer and the Owner of Bath + Kitchen based in Washington DC. Eric and his team specialize in cabinetry, design, and remodels. They serve homeowners, interior designers, architects, and contractors with a refined process, creative ideas, 4K photo-realistic renderings, and 360 Panoramic views. Bath + Kitchen was featured in Best of Houzz 2017-2020. Eric holds a BA in Economics and Business Administration from Ursinus College.
Home Improvement Specialist It always depends on a lot of different factors such as materials, manufacturer, hardware, and installation.
 -
QuestionHow do I choose a kitchen cabinet layout?
 Eric ShipeEric Shipe is a Kitchen and Bath Designer and the Owner of Bath + Kitchen based in Washington DC. Eric and his team specialize in cabinetry, design, and remodels. They serve homeowners, interior designers, architects, and contractors with a refined process, creative ideas, 4K photo-realistic renderings, and 360 Panoramic views. Bath + Kitchen was featured in Best of Houzz 2017-2020. Eric holds a BA in Economics and Business Administration from Ursinus College.
Home Improvement Specialist Think of usability, ensuring access is comfortable, i.e., doors can be opened with ease/enough room. Also anticipate future requirements and provision space for them. If you plan to purchase some appliances or expand your crockery collection in the future, you’ll need free space for them.
Warnings
- Wear safety goggles and a dust mask when you cut and sand lumber.⧼thumbs_response⧽
- If you have children at home, consider adding childproof safety features like locks to your finished cabinets.[15]⧼thumbs_response⧽
Things You'll Need
- Blueprints
- 3⁄4 in (1.9 cm) thick plywood
- Lumber for face frames
- Table or circular saw
- Measuring tape
- Hammer and nails
- Drill
- Wood glue
- Cabinet doors and hinges
- Screwdriver
*Shelf pin drilling jig
- Jigsaw, optional
- Nail gun, optional
References
- ↑ https://youtu.be/89WeF52XwcI?t=105
- ↑ Eric Shipe. Home Improvement Specialist. Expert Interview. 12 July 2021.
- ↑ https://youtu.be/p1wzRSZ8PDg?t=331
- ↑ https://youtu.be/elwPFyR8q-8?t=98
- ↑ https://www.buildmykitchen.com/how-to-build-your-own-kitchen-cabinets/
- ↑ https://youtu.be/AzRdAXo2xpM?t=836
- ↑ https://youtu.be/p1wzRSZ8PDg?t=464
- ↑ https://youtu.be/AzRdAXo2xpM?t=921
- ↑ https://youtu.be/AzRdAXo2xpM?t=946
- ↑ https://www.doityourself.com/stry/building-cheap-kitchen-cabinets
- ↑ https://youtu.be/KWwkqtZdka8?t=91
- ↑ https://www.doityourself.com/stry/building-cheap-kitchen-cabinets
- ↑ https://www.diynetwork.com/how-to/skills-and-know-how/carpentry-and-woodworking/how-to-build-a-wall-cabinet
- ↑ https://www.diynetwork.com/how-to/skills-and-know-how/carpentry-and-woodworking/how-to-build-a-wall-cabinet
- ↑ Eric Shipe. Home Improvement Specialist. Expert Interview. 12 July 2021.
About This Article
To build a kitchen cabinet, start by cutting the side and bottom panels out of some MDF or plywood. Then, cut 4 panels out of 1 by 6 lumber for the base panels and top bracers, and cut 4 more panels for the face of the cabinet. Next, glue and screw the bottom panel to the base panels, and attach the side panels to the bottom. Once you've done that, secure the top braces, and nail the back panel onto the cabinet. Finally, install some shells before assembling the face panels and putting on the doors. To learn how to measure your kitchen cabinet, read on!
