wikiHow is a “wiki,” similar to Wikipedia, which means that many of our articles are co-written by multiple authors. To create this article, 14 people, some anonymous, worked to edit and improve it over time.
The wikiHow Culinary Team also followed the article's instructions and verified that they work.
This article has been viewed 50,583 times.
Learn more...
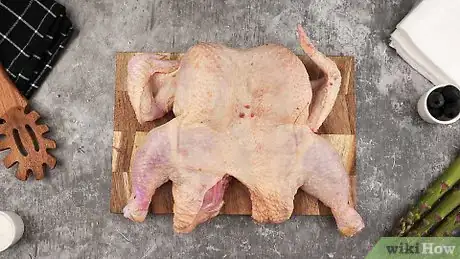
Cooking a chicken flat allows it to cook faster and retain more moisture. In order to flatten a whole bird, you will need to butterfly or spatchcock it. Here's how to correctly make the cuts and cook the chicken.
Ingredients
- 1 whole chicken
- 1 tsp (5 ml) salt
- 1 tsp (5 ml) pepper
- 3 Tbsp (45 ml) butter, melted
Steps
Cutting the Chicken
-
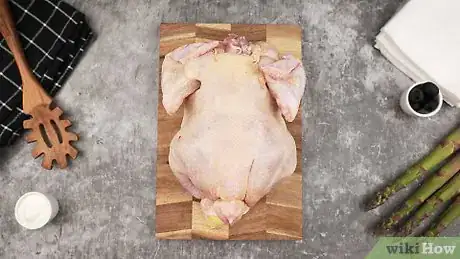
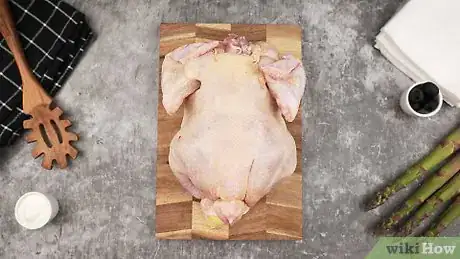
1Place the chicken on your cutting board. The chicken should be breast-side down, with the backbone facing up.
-
2Cut along both sides of the backbone. Start on one side at the bottom cavity and cut a straight path to the top cavity. Make the same cut on the other side of the backbone.
- Stay as close to the backbone as possible. The closer the cut is to the backbone, the less meat you'll lose.
- Use sharp, durable kitchen shears. Sawing the backbone away with a knife will be much more difficult and may increase your chances of accidentally getting cut.
-
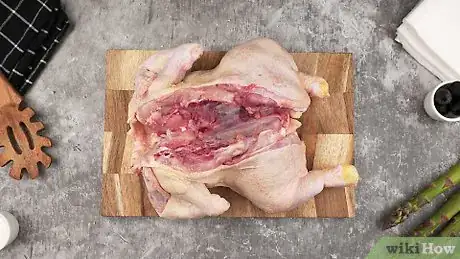
3Remove the backbone. You should be able to lift the backbone out using your fingers and without needing to do any additional cutting.
- Freeze the backbone, if desired. Chicken backbones can be used to create stock or soup.
-
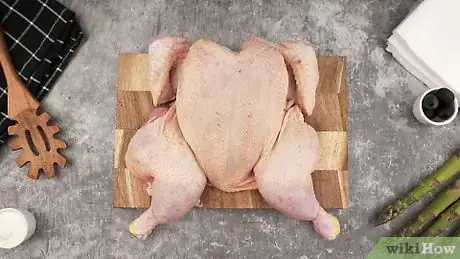
4Flip the chicken over. The bird should now be breast-side up, with the opened back facing your cutting board.
-
5Flatten the bird. Press down on the wing and leg joints using the heels of your hands. Use your body weight to apply as much pressure as possible.
Dressing and Cooking the Chicken
-
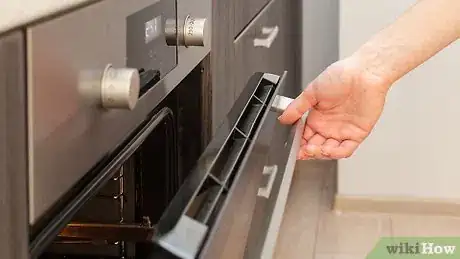
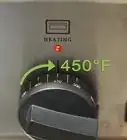
1Preheat the oven to 450 degrees Fahrenheit (232 degrees Celsius). Adjust the oven rack to the middle position so that there is enough room to fit your roasting pan.
-
2Pat the chicken dry. Use a gentle patting motion to dry the outside of the chicken Do not scrub the skin dry and do not dry the inside of the chicken.
- Use paper towels. Avoid using cloth dish towels. Salmonella and other bacteria could be lurking on the surface of the bird, making disposable paper towels a much healthier option.
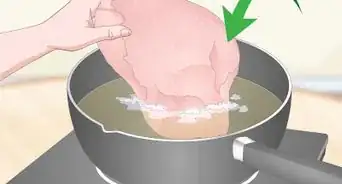
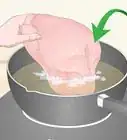
- Think twice before rinsing the chicken. Home cooks have been rinsing chicken for years, but the USDA actually warns against doing so since bacteria on the raw chicken spreads more easily through water and could contaminate other surfaces. If you do decide to rinse the chicken to remove blood, only use cold water.
-
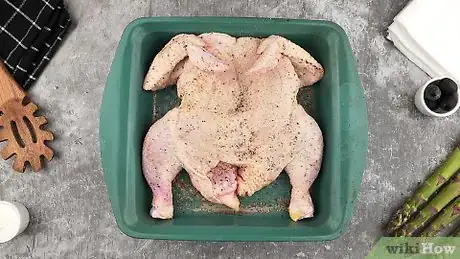
3Season the bird. Use your hands to evenly rub 1 teaspoon (5 ml) of salt and 1 teaspoon (5 ml) of pepper over the skin of the chicken.
- You can use more or less salt and pepper, if desired. The correct amount is mostly a matter of personal taste.
- Add thyme, rosemary, and basil for a more aromatic blend. Mix about 1 tsp (5 ml) of each herb to create a blend before spreading it over the chicken. Salt and pepper to taste. [1]
- Create a spicier blend with paprika, chili, garlic, parsley, and oregano. Mix together 1 tsp (5 ml) paprika, 1/4 tsp (1.25 ml) chili powder, 1/4 tsp (1.25 ml) garlic powder, 1/2 cup (118 ml) fresh chopped parsley, and 1/4 cup (60 ml) fresh chopped oregano. Also salt and pepper the chicken to taste.
- Rub some of the seasoning blend beneath the skin. Doing so gets the flavor of the seasonings onto the meat, preventing the flavor from sticking to the skin alone. This is especially important if using spices other than salt and pepper.
-
4Place the chicken in your roasting pan. Center the chicken in the pan, open-side down and breast-side up.
- Point the wings inward. Since there is less meat on the wings, they should be pointed in toward the legs to prevent them from cooking too quickly. You can also leave them flat in the roasting pan, but the meat is more likely to dry out if left flat.
-
5Add vegetables, if desired. Many cooks prefer to roast vegetables alongside the chicken in order to add another dimension of flavor to both the vegetables and the chicken.
- Peel and cut four potatoes. You can cut the potatoes into wedges or 1/2-inch (1.25-mm) slices. Slide the potatoes in between the chicken and the sides of the pan.
- Create a vegetable medley. Cut 1 red onion, 2 zucchini, and 2 yellow squash into 1/2-inch (1.25-mm) slices. Surround the chicken with the vegetables, distributing each vegetable evenly around the chicken.[2]
-
6Butter the chicken. Melt 3 Tbsp (45 ml) of unsalted butter and spread the butter over the top of the chicken with a pastry brush. Only use as much of the butter as necessary to lightly coat the skin.
- Pour the remaining butter over the vegetables in the pan, if you added them. Give the vegetables a quick toss with a fork to coat them evenly with the butter.
- Substitute olive oil in place of the melted butter for a healthier alternative. Olive oil will add enough moisture and flavor to the meat, but it tends to have a lighter taste and less cholesterol.
-
7Roast for 30 minutes. After the first 30 minutes, rotate the pan 180 degrees.
-
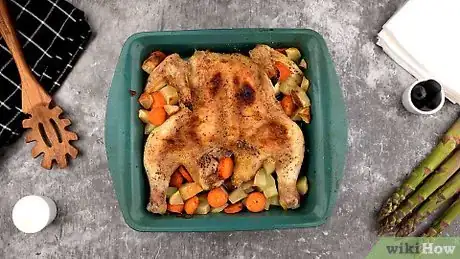
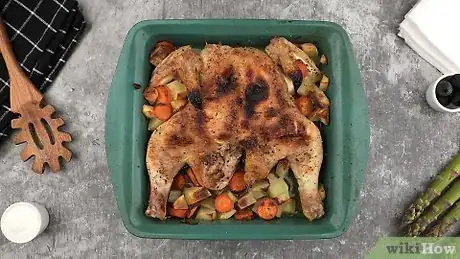
8Roast another 25 minutes. The skin should be golden-brown and slightly crispy. Turn off the oven and remove the chicken.
- Check to make sure its done using a meat thermometer. Insert the thermometer into the thickest part of the meat, but do not allow the thermometer to touch the bone since the bone will be hotter than the meat itself. The internal temperature of the meat must reach 160 degrees Fahrenheit (70 degrees Celsius).
-
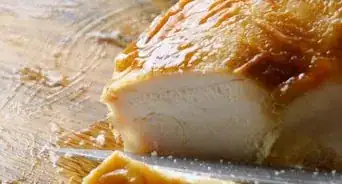
9Carve the chicken. Allow the chicken to rest for 15 minutes before carving to let the juices redistribute.
Spatchcocking
-
1Place the chicken on your cutting board. The chicken should be breast-side down, with the backbone facing up.
- Spatchcocking is slightly different from butterflying because the breast bone is removed along with the backbone, allowing the bird to become even flatter than it would be if butterflied. It is primarily used for smaller fowl, such as Cornish game hens and pheasants. It can also be used with chickens, however.
-
2Cut along both sides of the backbone. Start on one side of the backbone and cut a straight line from one cavity the other. Repeat the cut on the other side of the backbone.
- Use sharp, sturdy kitchen shears. Shears will allow you to safely make clean cuts, but sawing out the backbone with a knife will increase your odds of accidentally cutting yourself.
- Make the cuts as close to the backbone as possible. Cutting too far away from the backbone will cause you to lose more meat.
-
3Remove the backbone. You should be able to lift it out with your fingers.
- Save the backbone for later use. Chicken backbones can be frozen and used later for stock or soup.
-
4Open the chicken and find the breast bone. Spread the chicken open as wide as possible to make it easier to find and remove the breast bone.
- The breast bone will be diamond-shaped.
-
5Cut along both sides of the breast bone. Trace the perimeter of the bone with your knife, but do not cut through the breast meat beneath. Slide your fingers beneath one side of the bone and pry it out.
- Use a paring knife to make the initial cut. Since you don't want to make a clean cut through the meat, you should avoid using kitchen shears. A paring knife will allow you to cut into the meat without cutting through it.
- Use kitchen shears to separate the bone from the meat. The breast bone may stick to the breast meat beneath the bone, making it difficult to pull the bone out. If this happens, use your kitchen shears to snip away at the meat directly beneath the bone in order to detach it.
-
6Flip the chicken over and flatten. The breast-side should face up and the opening should be flat on the carving board. The legs should face inward, touching slightly.
Community Q&A
-
QuestionDo I have remove the wishbone also?
 Community AnswerYou will need to follow the instructions in the article that is listed above, and you will likely need to remove the wishbone as well.
Things You'll Need
- Cutting board
- Kitchen shears
- Paring knife
- Paper towels
- Roasting pan
References
About This Article
If you want to butterfly a chicken, place the chicken on your cutting board with the breast-side down and the backbone facing up. Use kitchen shears to cut along both sides of the backbone, from the bottom to the top. Remove the backbone and flip the chicken over, and use your hands to press down on the wing and leg joints of the bird. You should feel it flatten out beneath your hands. For tips on cooking your chicken, read on!
