This article was co-authored by Tony Hoang. Tony Hoang is a Landscaper and the Principal at H&J Landscaping & Concrete Contractor in Newark, CA. With over six years of experience, he specializes in designing the perfect concrete driveways & backyard patios for homes. H&J Landscaping & Concrete Contractor is a 4.5-star business on Yelp.
There are 8 references cited in this article, which can be found at the bottom of the page.
This article has been viewed 170,195 times.
If you have sprinkler heads that are too close together or want to prevent overwatering in a certain area, you may want to cap a specific sprinkler head. To cap a sprinkler head, you'll have to remove the existing sprinkler cap and replace it with a flat cap that will prevent water from flowing into that head. You can also completely remove the sprinkler head and cap it with a PVC pipe cap.
Steps
Installing a Flat Sprinkler Cap
-
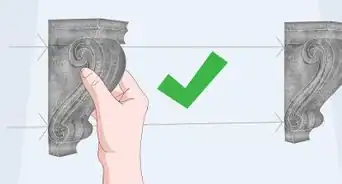
1Find or purchase a sprinkler cap or plug that is compatible with your system. Your sprinkler system should have originally come with the flat plastic caps or plugs that fit over your sprinkler head. These caps plug up the water and prevent it from being dispersed on your lawn or garden. If you can’t find the cap that came with your system, you may be able to purchase it on the manufacturer's website or at a hardware store.[1]
- Each sprinkler system will use a different sized cap, so it's best to find one made specifically for your system.
-
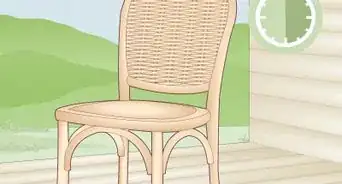
2Turn off the water to the sprinkler system. Locate the valve that controls the water that pumps through your sprinkler system and turn the valve clockwise to turn off the water. This will prevent water from flowing out of the system while you cap the sprinkler head.[2]
- The shut-off valve for your sprinkler system is typically on the side of your house.
- Shut-off valves on sprinkler systems are usually blue.
Advertisement -
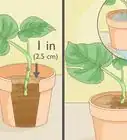
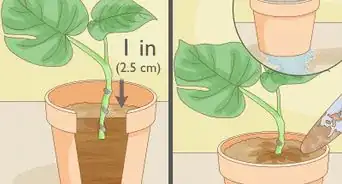
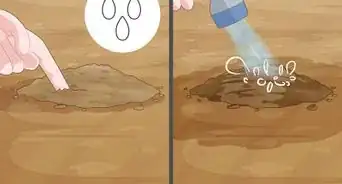
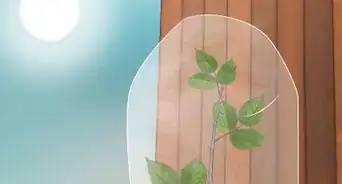
3Clear the dirt around the sprinkler head. Use a gardening shovel to dig a 1–2 in (2.5–5.1 cm) hole around the sprinkler head. Set the dirt on the side so that you can use it later to refill the hole.[3]
- Clearing the dirt from the top of the sprinkler head will ensure that it doesn’t enter your system when you unscrew the head’s cap.
-
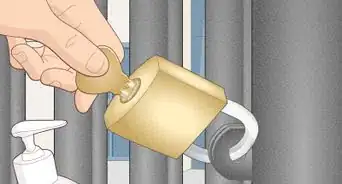
4Remove the cap from the sprinkler head. Turn the top of the head counterclockwise to remove the cap. If you can’t remove the cap, use a pair of pliers to loosen it. Continue unthreading the top of the sprinkler head until it’s removed.[4]
-
5Screw the new cap onto the sprinkler head. Place the flat plastic cap made for your system over the threads on the top of your sprinkler head. Turn the cap clockwise to tighten it.[5]
-
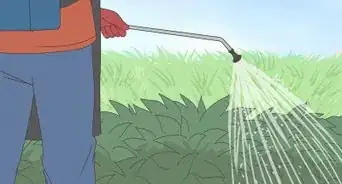
6Refill the hole and turn on the system. Turn the water supply valve counterclockwise to turn the water back on. Turn on your irrigation or sprinkler system and examine the sprinkler head you capped. No water should be coming out of it.[6]


Capping with PVC Pipe
-
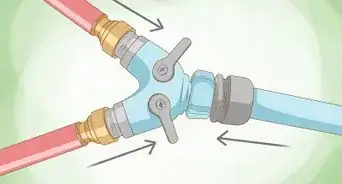
1Turn off the valve to the system's water source. Turn the water valve connected to your sprinkler system clockwise to turn it off and cut off water flow. Typically, this valve will be blue and located on the side or back of your home.[7]
- If you don’t turn off your water, it may spray out of the system when you remove the sprinkler head.
-
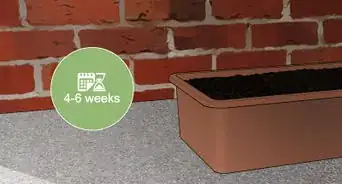
2Dig a 5–6 in (13–15 cm) deep hole around the sprinkler head. Use a gardening shovel to create a hole around the sprinkler head. Set the dirt on the side so that you can use it later to refill the hole.[8]
- Removing the dirt around the head allows you to access and remove the sprinkler head easier.[9]
-
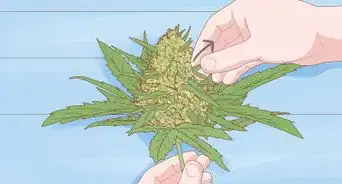
3Unscrew the sprinkler head. Make sure your hole is deep enough so that you can see the base of the sprinkler head. Grab the long stem of the sprinkler head and turn it counterclockwise to loosen it from your sprinkler system tubing.[10]
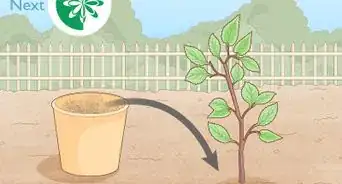
- You can use the extra sprinkler head to replace a broken sprinkler head or use it in another location along your system.
-
4Screw a PVC pipe cap directly onto the system. Purchase a PVC pipe cap that is the same size as the pipe in your sprinkler system. Place the cap on the threads that the sprinkler head was screwed into. Rotate the PVC pipe cap counterclockwise to secure it onto the system.[11]
- Screwing a PVC pipe cap onto your sprinkler system will turn off that specific sprinkler head.
- Typically, sprinkler systems use 1⁄2–3⁄4 in (1.3–1.9 cm) pipe.
-
5Fill the hole with dirt and turn on the system. Go back to the valve and rotate it counterclockwise to turn the water supply back on. Access your sprinkler system controller to turn the system. No water should be coming out of the sprinkler head that you capped.[12]


Things You’ll Need
- Gardening shovel
- Sprinkler head cap or 1⁄2–3⁄4 in (1.3–1.9 cm) PVC pipe cap
- Wrench (optional)

Expert Interview
Thanks for reading our article! If you'd like to learn more about sprinkler heads, check out our in-depth interview with Tony Hoang.
References
- ↑ https://youtu.be/k0pPswt69Uw?t=31
- ↑ http://www.gardenstylesanantonio.com/garden-tips-blog/2014/01/10/2014/01/capping-sprinkler-heads/
- ↑ https://youtu.be/YumNPVjxgY0?t=7
- ↑ https://youtu.be/vwwEEkyFhOU?t=73
- ↑ https://youtu.be/k0pPswt69Uw?t=31
- ↑ https://youtu.be/ZDryrV1Ftu8?t=144
- ↑ http://www.gardenstylesanantonio.com/garden-tips-blog/2014/01/10/2014/01/capping-sprinkler-heads/
- ↑ https://youtu.be/YumNPVjxgY0?t=7
- ↑ https://youtu.be/k0pPswt69Uw?t=24
About This Article

If you have sprinkler heads that are too close together and want to prevent overwatering in a certain area, cap off the head by replacing the existing cap with a flat one. First, get a sprinkler cap or plug that is compatible with your system. Once you have the right cap, turn off the water to the sprinkler system and dig a 1 to 2-inch hole around the existing sprinkler head. Turn the top of the sprinkler head counterclockwise to remove the cap, then screw the new, flat cap onto the head. Refill the hole with dirt, and turn the water system back on. To learn how to cap your sprinkler head with PVC pipe, keep reading!