This article was co-authored by wikiHow staff writer, Megaera Lorenz, PhD. Megaera Lorenz is an Egyptologist and Writer with over 20 years of experience in public education. In 2017, she graduated with her PhD in Egyptology from The University of Chicago, where she served for several years as a content advisor and program facilitator for the Oriental Institute Museum’s Public Education office. She has also developed and taught Egyptology courses at The University of Chicago and Loyola University Chicago.
This article has been viewed 1,674 times.
Learn more...
If you want to change or update the sender name associated with your Gmail account, you can easily do it from your Android device. In this article, we’ll talk you through the simplest ways to do it, either from your phone’s settings or directly through the Gmail app.
Steps
From the Settings App
-
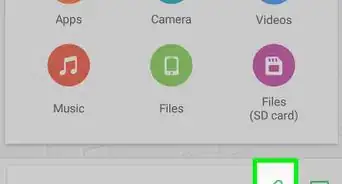
1Open the Settings app. On your Android phone or tablet, go to the home screen and tap the Settings app. From there, you’ll be able to change the name associated with Gmail and other Google Account services.[1]
-
2Tap Google. In the Settings menu, locate Google and tap on it. This will open up a new menu screen.[2]Advertisement
-
3Select Manage your Google Account. This button is located directly under your name and email address at the top of the screen. When you press the button, a window will pop up displaying your Google account information.[3]
-
4Choose the Personal info tab. Locate Personal info in the list of tabs at the top of the screen, then tap on it.[4]
-
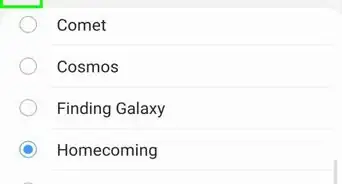
5Tap Name. Scroll down to the Basic info section and tap on the Name line.[5] This line displays the name currently associated with your account. Tapping on it will open a new window.
-
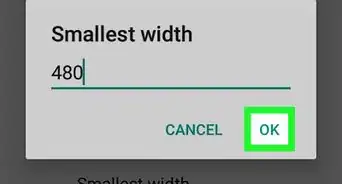
6Enter your new name. In the Name window, fill in your new first and last name in the text fields under Change Name.
-
7Tap Save. When you’ve chosen the name you want for your account, tap the blue Save button at the bottom of the screen. Your new name should show up in your Gmail account and across other Google services.[6]
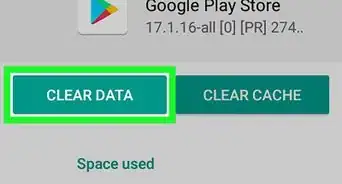
- If you old name still shows up when you look at your Gmail account, you may need to clear your cache and cookies to get rid of the old data.[7]


From the Gmail App
-
1Open the Gmail app on your phone. As of May 2022, Google’s support website claims that you can’t change your account name from within the Gmail app.[8] However, we’ve tested it out and found that it is possible to do this using the latest version of the app for Android. To get started, open your Gmail app.
- Before you start, make sure your Gmail app is up to date.
-
2Tap the ☰ menu button. Locate the menu button in the top left corner of the app screen. Tap on it to open a dropdown menu.
-
3Select the account you want to update. In the Gmail app, it’s possible to be logged into more than one Gmail account at once. If you have multiple accounts listed, choose the one you want to edit from the menu.
-
4Open Manage your Google Account. Once you’ve selected your account, tap the Manage your Google Account button to open a new window. This window will display all your Google account information.
-
5Tap the Personal info tab. This tab is located at the top of the screen.
-
6Select your current name to update it. Scroll down in the Personal info tab until you find your name in the Basic info section. Tap your name to edit it.
- When you’ve filled in the names you want in the text fields, tap Save to apply the changes.


References
- ↑ https://support.google.com/accounts/answer/27442?hl=en&co=GENIE.Platform%3DAndroid
- ↑ https://support.google.com/accounts/answer/27442?hl=en&co=GENIE.Platform%3DAndroid
- ↑ https://support.google.com/accounts/answer/27442?hl=en&co=GENIE.Platform%3DAndroid
- ↑ https://support.google.com/accounts/answer/27442?hl=en&co=GENIE.Platform%3DAndroid
- ↑ https://support.google.com/accounts/answer/27442?hl=en&co=GENIE.Platform%3DAndroid
- ↑ https://support.google.com/accounts/answer/6304920?co=GENIE.Platform%3DAndroid&oco=1#zippy=%2Cwhat-info-can-be-shown
- ↑ https://support.google.com/accounts/answer/27442?hl=en&co=GENIE.Platform%3DAndroid
- ↑ https://support.google.com/mail/answer/8158?hl=en
- ↑ https://support.google.com/accounts/answer/19870?hl=en&co=GENIE.Platform%3DAndroid#zippy=%2Cget-help-changing-your-email-address
About This Article