This article was co-authored by Kevin Schlosser. Kevin Schlosser is a Home Improvement Specialist and the Owner of Home Tech Handyman Ltd. With over 20 years of experience, Kevin specializes in age-in-place installations, flooring, roofing, and general remodeling handyman services. Kevin holds a blend of construction and in-home technology-related certifications including NAHB Certified Age-in-Place Specialist, CEDIA membership and certifications, and a Certification from the Association of Certified Handyman Professionals. Also, he is in training to receive certifications in Construction, Project Management, and other CEDIA qualified system integrator certifications. He is fully-insured in the state of Colorado.
There are 8 references cited in this article, which can be found at the bottom of the page.
This article has been viewed 46,635 times.
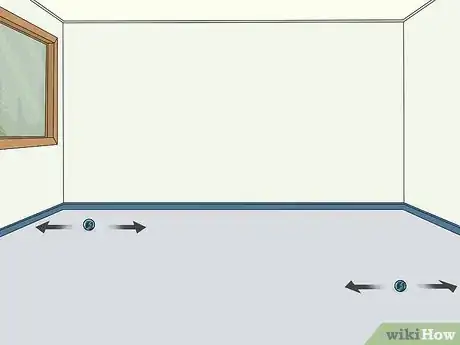
Whether you’re installing new flooring or want to check if a floor has warped over time, there are several ways you can check whether a floor is level. The most precise way to do so is by using a bubble level or a laser level, which are tools specifically designed for this task. This will allow you to identify whether any type of floor is sloping or uneven. In a pinch, you can use a round object to see whether a floor is sloping, but this only works on a hard, smooth floor.
Steps
Using a Bubble Level
-
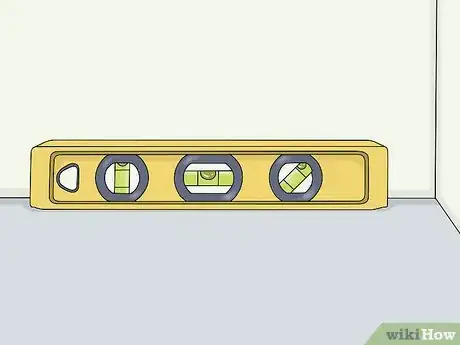
1Set a 4–8 ft (1.2–2.4 m) carpenter’s level horizontally on the floor. Pick a spot in the middle of the floor or near one of the edges. Lay the carpenter’s level on the floor so the bubble is at the top of the level.[1]
- The longer the level is, the better you will be able to tell if the floor is level. Try not to use anything shorter than 4 ft (1.2 m).
- This method will work on any type of floor.
Tip: If you only have a short level, you can lay a 4–8 ft (1.2–2.4 m) long 2x4 on the floor and set the level on top of it. This will give you a more accurate measurement of how level the floor is.
-
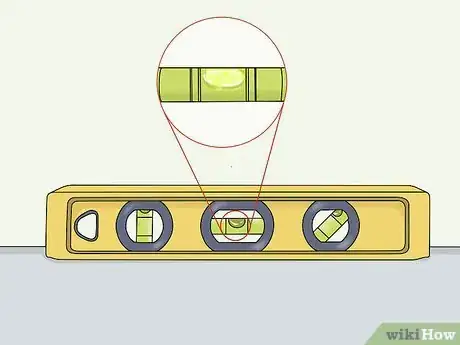
2Look at where the bubble is resting to see if the floor is sloping. The floor is level if the bubble is between the 2 lines. The floor is sloping in the opposite direction of the bubble if the bubble is to the side of 1 of the lines.[2]
- The further the bubble is to the side of 1 of the lines, the more sloped the floor is. For example, if 3/4 of the bubble is in between the 2 lines and the other 1/4 is outside of 1 of the lines, the floor has a minor slope. If the bubble is all the way to 1 side, the floor has a major slope.
Advertisement -
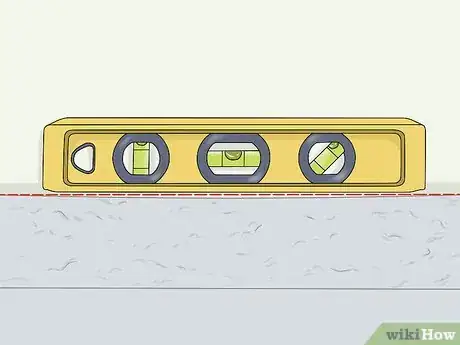
3Check for gaps underneath the level to see if the floor is uneven. Get down at eye level with the level and peer at the bottom edge to see if it is resting completely flatly on the floor. Gaps under the level mean that there are dips in the floor.[3]
-
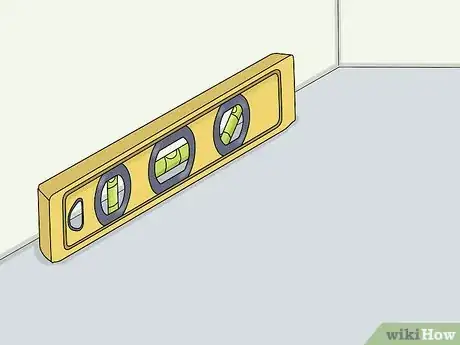
4Move around to different spots on the floor and repeat the process. Place the level near each edge of the floor and in the middle. Read the bubble and look for gaps to make sure the floor is level all over.[4]
- The shorter your level, the more spots you should check with it. For instance, if you are using just a 4 ft (1.2 m) level, it might be a good idea to check 2 different spots near each edge of the floor and at least 2 spots in the middle.
Checking with a Laser Level
-
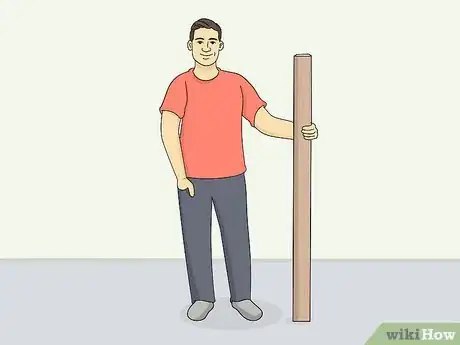
1Get a tall piece of wood with a straight-cut short end to make markings on. Use a long piece of wood, such as a 2 in (5.1 cm) by 4 in (10 cm) piece of lumber, of any length that is comfortable for you to hold standing up. This will be what you make markings on as you check the floor in different spots to see if it is level.[5] [6]
- You can use this method for any type of floor.
-
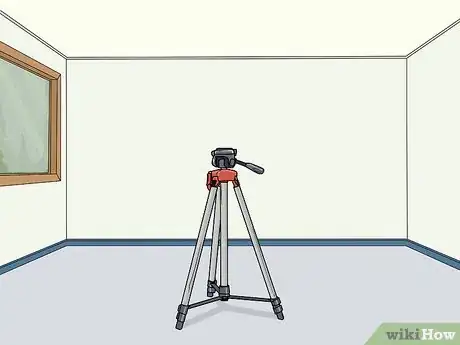
2Place a laser level in the middle of the floor and turn it on. Set a tripod-mounted laser level approximately in the center of the floor, but don’t worry about being exact. Press the laser level’s ON button to project the laser beam.[7] [8]
- You can get a laser level at a home improvement center or online for a starting price of about $40 USD.
- You can use any kind of tripod to mount your laser level on. A standard camera mount tripod works well, which you can get online for about $12 USD.
- Many laser levels project the laser beam 360 degrees, so you don’t have to move the laser at all to check levelness all over the floor. Others might require you to turn the laser to project it in different directions as you work.
-
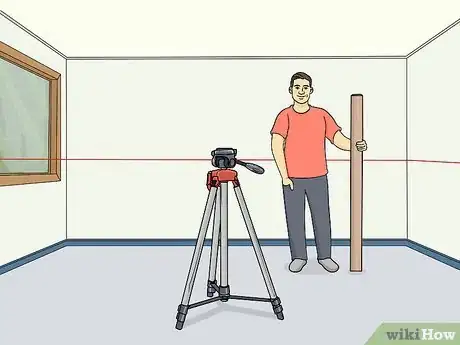
3
-
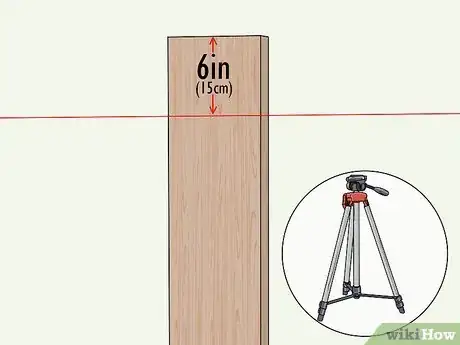
4Set the laser level to 6 in (15 cm) lower than the height of the wood. Adjust the height so the laser is approximately 6 in (15 cm) lower than the piece of wood you are going to make markings on. This will give you plenty of room to make markings higher than the laser if the floor is uneven in places.[11]
-
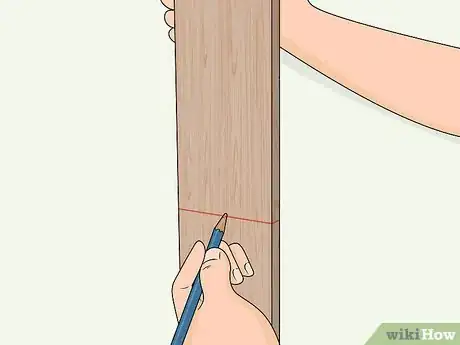
5Make a mark where the laser hits on the wood using a pencil. Look at the front of the piece of wood for the red line from the laser. Carefully trace over it with a pencil to make a straight mark on the piece of wood.[12]
- This shows you the distance between the floor in that spot and where the laser hits.
-
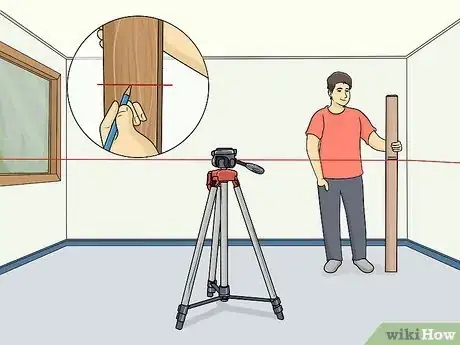
6Mark the laser’s height on the wood all the way around the room. Move to each side of the room and make a mark where the laser beam hits the face of the wood. This will show you whether other parts of the room are higher or lower than the first spot you marked.[13] [14]
- Laser levels are self-leveling, meaning the laser will be at the same height all around the room, so you don’t need to worry about adjusting the laser at all.
Tip: If you’re working on an unfinished floor, such as a concrete floor, and certain spots turn out to be higher or lower, you can write “high” or “low” on the floor in those spots to keep track of them and level the floor later on.
Using a Round Object
-
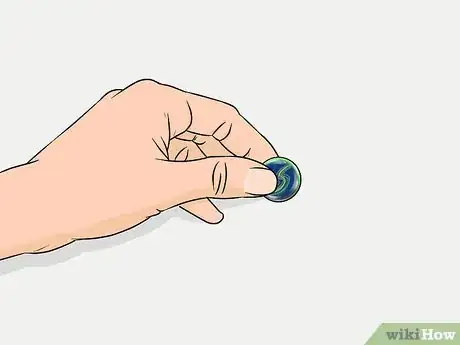
1Acquire a perfectly round object. Use something like a golf ball, a marble, or a metal bearing. The object must be perfectly round so it rolls accurately to demonstrate whether the floor is level or not.[15]
- This method won’t work with carpeted or tiled floors. The floor must be hard and smooth so that the object can roll, such as a concrete, hardwood floor, or linoleum floor.
-
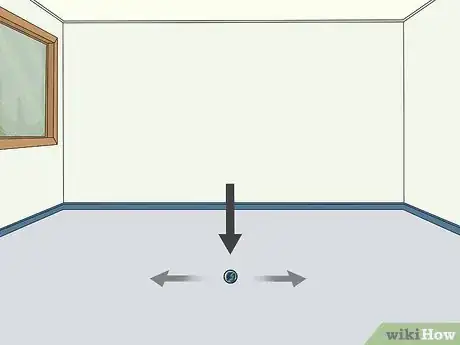
2Set the object down in the middle of the floor and watch to see if it rolls. Stand in the middle of the room and gently set down your round object. Stand back and watch which direction it rolls in or whether it stays still.[16]
- If the object does roll, the speed at which it rolls indicates how great the slope of the floor is and in which direction the floor slopes. For example, if it rolls slowly to the left, it indicates that the floor slopes slightly to the left.
-
3Check different spots around the room for sloping. Move around to the different edges of the room and set the round object down. Watch to see if it rolls and take note of the direction it rolls in and how fast it rolls.[17]
- This is a very basic way to find general directions of slopes and estimate how serious they are. However, if you find that the floor is not level, check it using a bubble level or laser level to get more precise indications of where the slopes are.
Expert Q&A
-
QuestionHow do I fix a floor that is really unlevel?
 Kevin SchlosserKevin Schlosser is a Home Improvement Specialist and the Owner of Home Tech Handyman Ltd. With over 20 years of experience, Kevin specializes in age-in-place installations, flooring, roofing, and general remodeling handyman services. Kevin holds a blend of construction and in-home technology-related certifications including NAHB Certified Age-in-Place Specialist, CEDIA membership and certifications, and a Certification from the Association of Certified Handyman Professionals. Also, he is in training to receive certifications in Construction, Project Management, and other CEDIA qualified system integrator certifications. He is fully-insured in the state of Colorado.
Home Improvement Specialist If anything is extremely unlevel, I'd suggest more serious repairs to the foundation, the structural framing, and any other potential issues.
Things You’ll Need
Using a Bubble Level
- 4–8 ft (1.2–2.4 m) carpenter’s level
Checking with a Laser Level
- Long piece of wood with straight-cut short end
- Laser level
- Tripod
- Pencil
Testing with Something Round
- Round object
References
- ↑ https://buyersask.com/interior/floors/how-to-check-if-your-floor-is-sloping-level-or-sagging-when-serious/
- ↑ https://www.bobvila.com/articles/leveling-a-floor/
- ↑ https://www.bobvila.com/articles/leveling-a-floor/
- ↑ https://www.bobvila.com/articles/leveling-a-floor/
- ↑ https://www.youtube.com/watch?v=xLgEvniafpM&feature=youtu.be&t=25
- ↑ Kevin Schlosser. Home Improvement Specialist. Expert Interview. 19 February 2021.
- ↑ https://www.youtube.com/watch?v=xLgEvniafpM&feature=youtu.be&t=15
- ↑ Kevin Schlosser. Home Improvement Specialist. Expert Interview. 19 February 2021.
- ↑ https://www.youtube.com/watch?v=xLgEvniafpM&feature=youtu.be&t=27
- ↑ Kevin Schlosser. Home Improvement Specialist. Expert Interview. 19 February 2021.
- ↑ http://www.ultimatehandyman.co.uk/how-to/diy/floor-level
- ↑ Kevin Schlosser. Home Improvement Specialist. Expert Interview. 19 February 2021.
- ↑ https://www.youtube.com/watch?v=xLgEvniafpM&feature=youtu.be&t=35
- ↑ Kevin Schlosser. Home Improvement Specialist. Expert Interview. 19 February 2021.
- ↑ https://buyersask.com/interior/floors/how-to-check-if-your-floor-is-sloping-level-or-sagging-when-serious/
- ↑ https://www.bobvila.com/articles/leveling-a-floor/
- ↑ https://www.bobvila.com/articles/leveling-a-floor/
