This article was co-authored by Mia Rubie. Mia Rubie is a Nail Artist and the Owner of Sparkle San Francisco, a nail studio based in San Francisco, California. She has over eight years of nail artist and management experience and is known for her push-the-envelope designs and artistic eye for colors. Her clients include Sephora, Target, and Vogue. Her work has been featured in the San Francisco Chronicle and StyleCaster. She holds a BBA focusing on Entrepreneurial and Small Business Operations from San Francisco State University. You can find her work on her Instagram account @superflynails.
There are 8 references cited in this article, which can be found at the bottom of the page.
This article has been viewed 158,966 times.
Your new gel nails sparkle and gleam, and you just can't help staring at them. That is, until they get a bit grimy or discolored. Don't worry! Cleaning them up is simple, and with just a few common nail care products we can get your nails like-new again. We'll show you how to brighten and renew your nails, fix spots or scuffs, remove the gel for a fresh start, and keep your nails healthy and strong through the whole process.
Things Your Should Know
- Soak gel nails in a mixture of lemon juice and baking soda to remove any discoloration.
- Buff your nails, then add more topcoat to renew a dingy top layer.
- Rub the nails with a cotton ball soaked in nail polish remover or rubbing alcohol to wipe away any fresh scuffs or marks.
- Spray gel nails with hairspray to remove stubborn stains, or soak them in tea tree oil for more natural and delicate stain removal.
Steps
Brightening Your Gel Nails
-
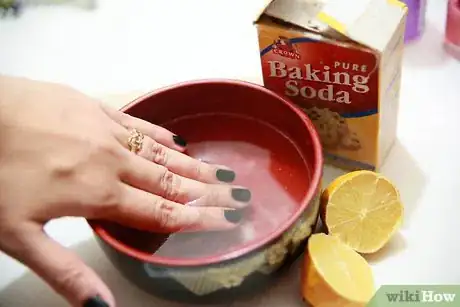
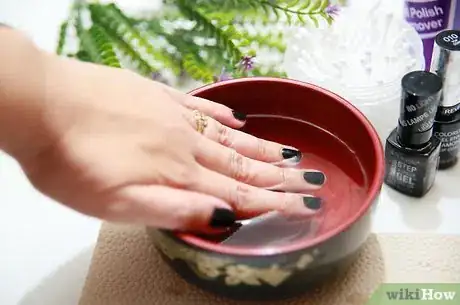
1Soak your nails in lemon juice and baking soda to remove discoloration. Fill a bowl with 1 cup (240 mL) of water. Add the juice from half a lemon and 1 tbsp (8 g) of baking soda. Stir to create a soaking solution. Soak your nails for 15-20 minutes, then rinse with fresh water.[1]
- Lemon is a natural stain remover and can remove yellow stains. It's often used as a whitener!
- Baking soda is also a stain remover.
-
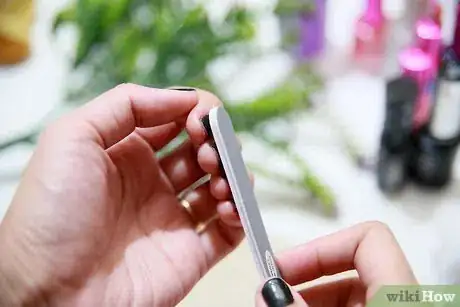
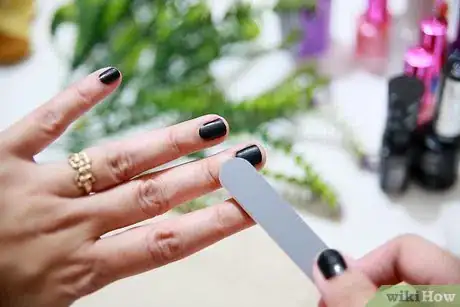
2Buff the top of your gel manicure to remove the dingy layer. Use a high-grit buffer, such as a 220 or greater. Lightly rub the buffer over the surface of the gel until the dingy layer is gone. You should see the original color of the gel return.[2]
Note: If you've already buffed your manicure once, this might not work. Removing too many layers of the manicure could erode away the gel.
Advertisement -
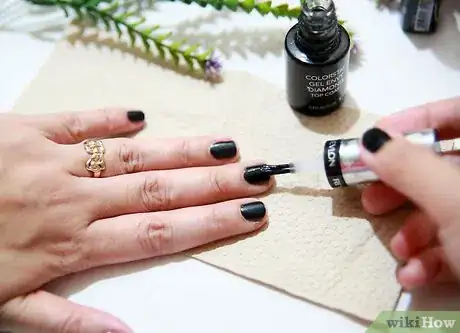
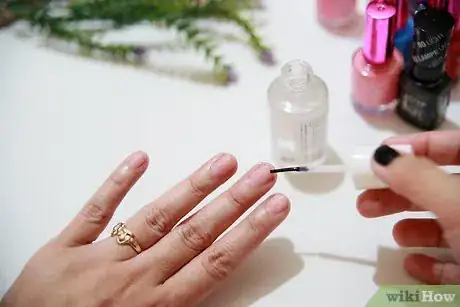
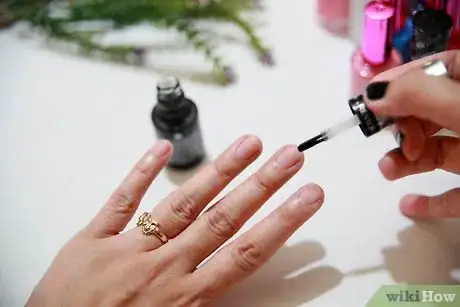
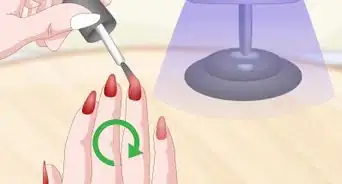
3Apply a layer of topcoat over your manicure after you buff it. Lightly brush a thin layer of top coat over your nails, then let it completely dry.[3] This will protect the manicure and help prevent it from getting dingy again. It will also restore the shine to your nails.[4]
- You can use your normal top coat over the gel polish.
- Continue to add a layer of topcoat every few days to keep your manicure looking fresh!
Cleaning Spots or Marks
-
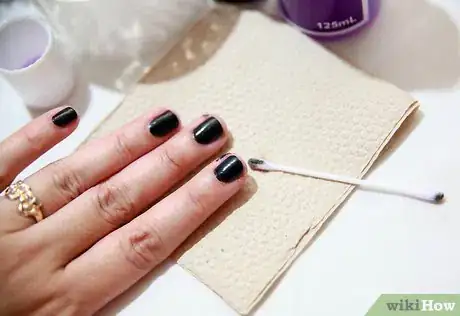
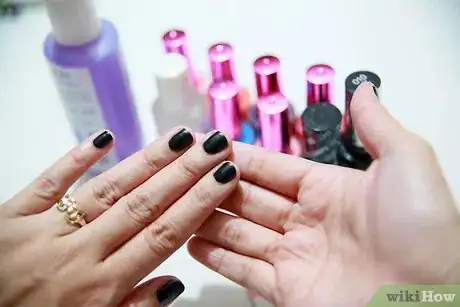
1Use nail polish remover or rubbing alcohol to wipe away fresh marks. Dip a cotton ball in nail polish remover or rubbing alcohol. Then, lightly dab at the stain or mark on the gel nail.[5] However, don't rub too vigorously, so that you don’t remove the gel color.[6]
- This works best if you use the nail polish remover or rubbing alcohol very soon after the stain appears on your nail.
Tip: If the stain doesn’t come off after you’ve gently dabbed at it, try spraying it with hairspray to avoid using too much nail polish remover or rubbing alcohol.
-
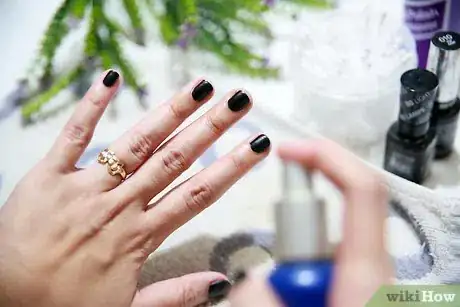
2Spray your gel nail with hairspray to remove stubborn stains. Lay a towel down on a table and place your hand on top. Spray hairspray over the nail with the stain until the nail looks wet. Use a Q-tip to remove the hairspray, which should remove the stain as well. Wash your hands well with soap and water to get the hairspray off of your hand.[7]
- You shouldn’t need to rub the gel nail harshly to get the marking off of it.
-
3Soak your nail in water and tea tree oil for a natural fix. Fill a regular-sized bowl with water and add 3-4 drops of tea tree oil to it. Place the gel nail that needs to be cleaned in the bowl, letting it soak for at least 5 minutes. Wash your hands after removing the nail from the mixture.[8]
- If the stain is still there, do the same process over again once a day for several days.
-
4Visit your nail salon if you can’t remove the stain yourself. Sometimes a mark or stain on your gel nail just won’t come out using at-home remedies, which is when it’s time to turn to professionals. See if your nail salon will redo the one nail that was damaged so that your nail will look good as new.[9]
- Some nail salons will do this for free while others will charge a small fee, so ask your nail salon before committing to redoing the nail.
Removing the Gel
-
1Use a nail file to remove the glossy sheen from your nails. Rub your nail file against the surface of the gel, filing it until the surface is a bit rough and no longer shiny. This ensures the acetone will reach past the glossy outer coat to remove the gel.[10]
-
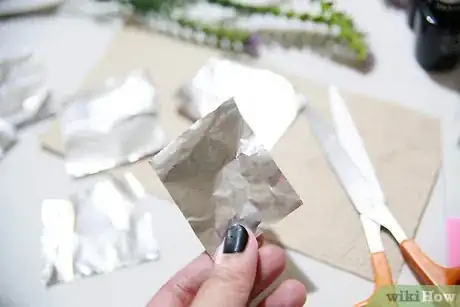
2Cut pieces of aluminum foil to fit around each nail. You’ll need 10 pieces of foil, cut just large enough to wrap around each nail separately. Use scissors to cut the foil and put the foil to the side once you’re done.[11]
- A piece of foil that’s roughly 2 by 4 inches (5.1 by 10.2 cm) should work well.
-
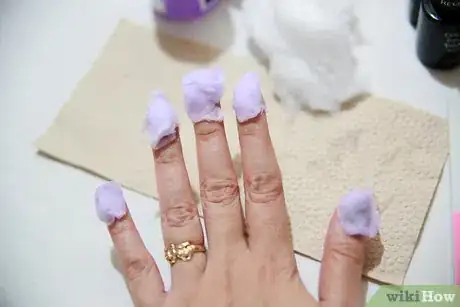
3Place cotton balls soaked in acetone on each nail. The cotton balls don’t need to be soaking wet, but they should be damp. Place the acetone-soaked side of the cotton ball on the gel to ensure it gets the best treatment.[12]
Tip: If you don’t have cotton balls, you can try using paper towels.
-
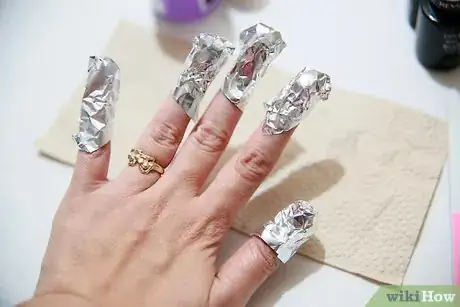
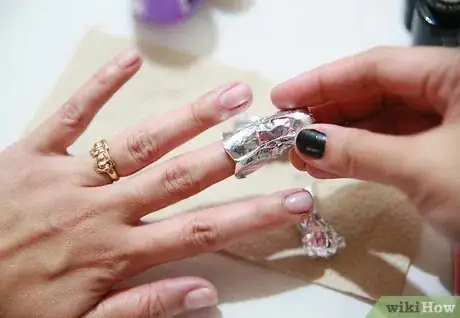
4Wrap a piece of foil around each nail to keep the cotton ball in place. Use the pieces of aluminum foil you cut to wrap the cotton balls securely on your nails. If the piece of foil is big enough, you should only have to squeeze each piece around your finger for it to stay in place.[13]
- Make sure all of the cotton ball is covered up with foil for the best hold.
-
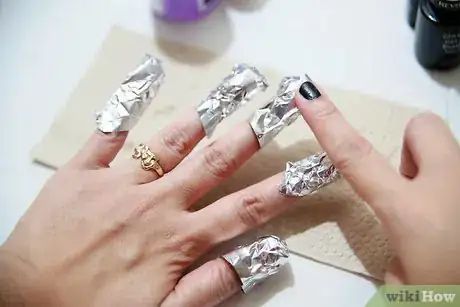
5Let the cotton sit for 10-15 minutes before removing the foil. Set a timer so that you remember when to remove the foil from your nails. When you do remove the foil, look to see if the gel is peeling off of your nails.[14]
-
6Push the leftover gel off of your nails gently. You can do this using a gel remover tool, or another tool you have around the house that will safely remove the gel without harming your nails. If you’re not able to push the gel off easily, your nails aren’t ready and should be soaked in acetone a little while longer.[15]
Keeping Your Gel Nails Healthy
-
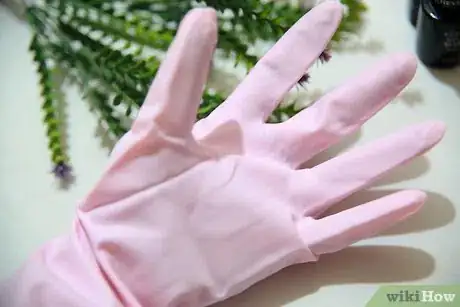
1Wear rubber gloves when doing housework. This includes doing the dishes or whenever you’re using harsh chemicals. The chemicals, as well as hot water, can damage the gel and cause your manicure to last a shorter amount of time.[16]
- Pick up rubber gloves at a grocery store or big box store.
-
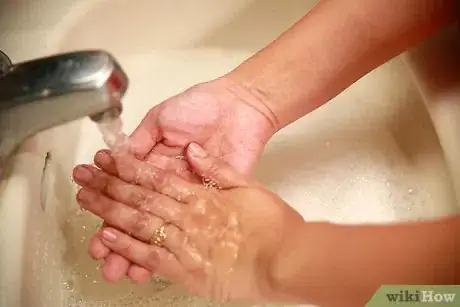
2Wash your hands quickly after you apply makeup or facial creams. Your nails can soak up your makeup or the chemicals in your facial creams, especially alpha hydroxy acids (AHAs). If these products sit on your hands, they can damage your gel or make it look dirty.
Tip: Use sponges or brushes to apply your makeup so you can minimize how much of it gets on your hands.
-
3Coat your cuticles in cuticle oil to keep them healthy. Cuticle oil often comes in a bottle that resembles a regular nail polish bottle, making it easy to brush the oil onto your cuticles. Rub the oil around on your cuticles once you’ve applied it to ensure it’s covering your whole nail.[17]
- Look for cuticle oil at a drugstore, big box store, or beauty store.
-
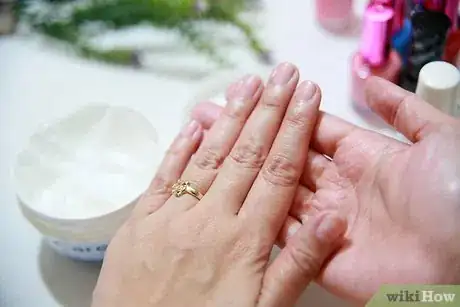
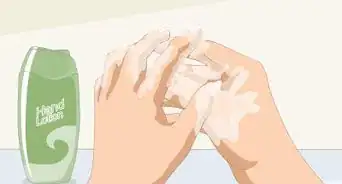
4Use lotion to nourish your nails and hands. This will keep your cuticles and the skin around your nails hydrated and healthy, which is important since the gel process is very drying. Use a regular hand lotion or a lotion designed specifically for nails.[18]
-
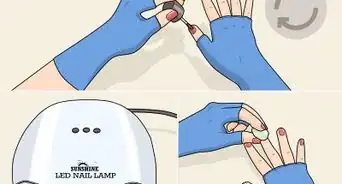
5Apply a top coat to your nails to keep them from chipping. You don’t need to do this super often, just once or twice a week if you notice your nails losing their shine or starting to chip. Apply it in a thin, even layer to every nail for the best results.[19]
- Look for a nail top coat at a drugstore, beauty store, big box store, or grocery store.
Expert Q&A
Did you know you can get expert answers for this article?
Unlock expert answers by supporting wikiHow
-
QuestionHow can I brighten my nails if they start to look dull?
 Mia RubieMia Rubie is a Nail Artist and the Owner of Sparkle San Francisco, a nail studio based in San Francisco, California. She has over eight years of nail artist and management experience and is known for her push-the-envelope designs and artistic eye for colors. Her clients include Sephora, Target, and Vogue. Her work has been featured in the San Francisco Chronicle and StyleCaster. She holds a BBA focusing on Entrepreneurial and Small Business Operations from San Francisco State University. You can find her work on her Instagram account @superflynails.
Nail Artist
References
- ↑ http://stylecaster.com/diy-nail-soaks/
- ↑ Mia Rubie. Nail Artist. Expert Interview. 23 April 2020.
- ↑ https://www.popsugar.com/beauty/How-Keep-Pale-Manicures-Looking-Clean-40544548
- ↑ Mia Rubie. Nail Artist. Expert Interview. 23 April 2020.
- ↑ Mia Rubie. Nail Artist. Expert Interview. 23 April 2020.
- ↑ https://www.youtube.com/watch?v=iO_FQiiZB7M#t=14s
- ↑ https://www.pedicure.com/remove-shellac-stains/
- ↑ https://www.pedicure.com/remove-shellac-stains/
- ↑ https://www.pedicure.com/remove-shellac-stains/
- ↑ http://fashionisers.com/hands-nails/gel-nails/
- ↑ http://fashionisers.com/hands-nails/gel-nails/
- ↑ http://fashionisers.com/hands-nails/gel-nails/
- ↑ http://fashionisers.com/hands-nails/gel-nails/
- ↑ http://fashionisers.com/hands-nails/gel-nails/
- ↑ http://fashionisers.com/hands-nails/gel-nails/
- ↑ http://fashionisers.com/hands-nails/gel-nails/
- ↑ https://www.youtube.com/watch?v=K9WoI7dwy30#t=1m44s
- ↑ https://www.youtube.com/watch?v=K9WoI7dwy30#t=3m
- ↑ http://fashionisers.com/hands-nails/gel-nails/
About This Article
To clean your gel nails, start by dipping a Q-tip in nail polish remover or rubbing alcohol. Once you’ve soaked the Q-tip, lightly dab at the stain or mark so you don’t remove the gel color with it. If your nails are still dirty, lay a towel down on a table and place your hand on top. Then, spray hairspray over your nail until it looks wet and use a Q-tip to rub the stain off. Alternatively, use a buffer of at least 220 grit to lightly rub the top layer off. After you've buffed off the dirt, apply a thin layer of top coat to protect your manicure. For more tips from our Beauty co-author, including how to remove the gel from your nails, read on!
