This article was co-authored by Rio Jongsae Kim. Rio Jongsae Kim is a Designer Shoe and Bag Repair Specialist and the Owner of Kim’s Shoe & Bag Repair in Vancouver, BC, Canada. With over 40 years of experience, Rio and Kim’s Shoe & Bag Repair specialize in the repair and reconstruction of leather and luxury goods including shoes, handbags, and accessories. Rio’s experience and dedication to quality repair and restoration have led to his work being featured on Yahoo, Insider, and MSN.
This article has been viewed 119,887 times.
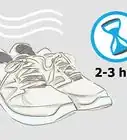
Icy soles are a specialized blue tinted shoe sole that is more resistant to yellowing over time. Normal, clear sneaker soles can yellow quickly and become unsightly, but icy soles can lengthen the lifetime of your sneakers and maintain their look for a long time. They aren't completely immune to yellowing, though, and can still degrade over time in other ways without maintenance. With some household products, a little elbow grease, and a re-icing agent, your icy soles will look as icy as the day you got them.
Steps
Restoring Yellowed Soles Using an Agent
-
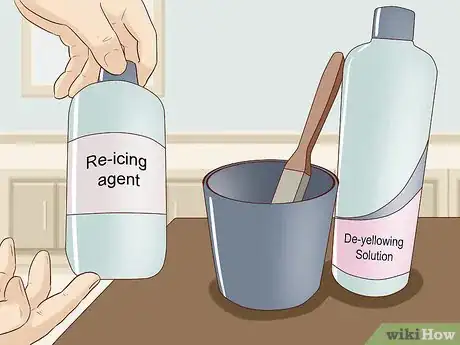
1Buy a re-icing agent or de-yellowing solution. Island Girl Pink or SeaGlow are two commonly used re-icing agents that effectively clean yellowing from your icy soles. Sole Bright and Ice Cream Sole Sauce are two other popular options.[1]
- Check the label of the product to make sure it is compatible with your shoe brand. Most of the time there wont be any problems, but it's better to be careful than to accidentally cause more damage to your shoe.
-
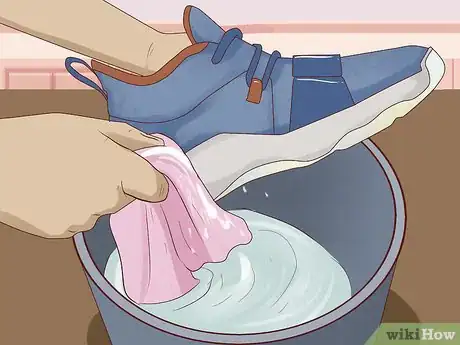
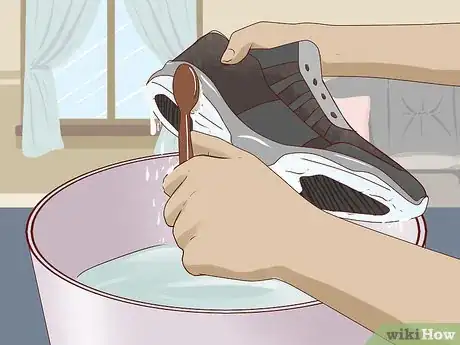
2Wash the sole with a wet soapy cloth. Wash away the surface dirt and grime on the outer areas, then try to get deeper into the sole and clean the grooves. You want it to be as spotless as possible before applying the re-icing agent, as the water will make the agent work its magic.
- You may find that wrapping a soapy cloth around a pen can give you better leverage over dirt that is particularly stuck in there.
Advertisement -
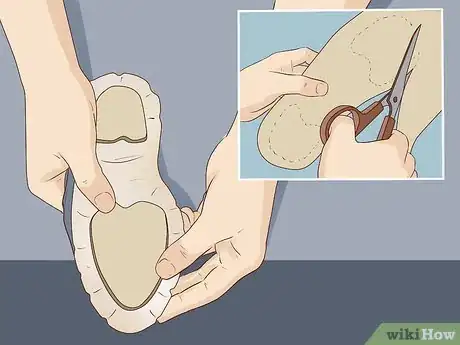
3Cover areas of the shoe that you do not want to de-yellow. Rubber traction pads and other features of the sole should not touch the re-icing agent, and should be protected from high temperatures in the later steps of this guide. Using thick paper or cardboard, cover up these areas of the sole.
- Do not let any of the re-icing agent touch the fabric of the shoe. It will stain the fabric which can be nearly impossible to remove.
- If you accidentally get some on parts of the sole that do not need it, wipe it away quickly so as to reduce accidental damage as much as possible.
-
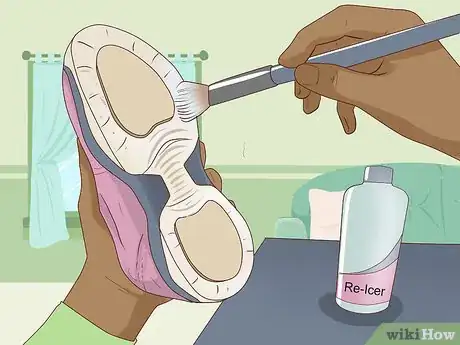
4Apply the re-icing agent to the bottom of the sole. Using a soft brush, apply the de-yellowing agent to the sole in an even layer. You should cover the sole in a thin layer at first, then apply more re-icing agent evenly until there is about a medium-sized layer.
- Using a small disposable container for the agent can help to prevent dripping it on the floor and spillages.
-
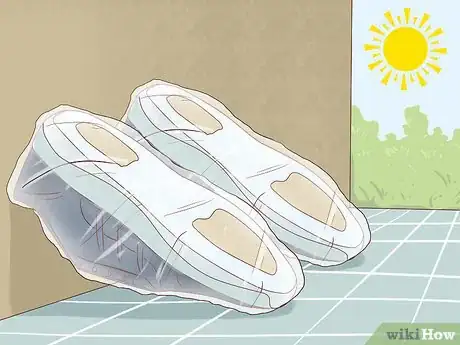
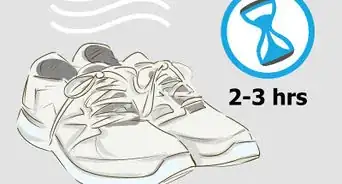
5Expose the shoe to sunlight for half an hour. Full, direct sunlight is key to making re-icing agents such as Island Girl Pink and SeaGlow work correctly. Don't leave it out in the sun for longer than half an hour or it can be damaged by UV rays. The temperature outside should not exceed 90 °F (32 °C) degrees. If you do not have a lot of sunlight available, you can use a UVB light source instead.
- Wrap the shoe in plastic wrap a few times to help control the temperature, or cover the sides and top of the shoe with cardboard before exposing the sole to the sun.
- Being exposed to too high a heat, about 120 °F (49 °C) or above, can cause traction damage and, in even hotter temperatures, can cause the sole to separate from the shoe.[2]
-
6Wash the agent from the sole, and repeat if necessary. Most de-yellowing agents recommend continuously exposing the sole to sunlight every couple of days, to increase its effectiveness.[3] Then, dry the sole with a microfiber cloth.
- Microfibers are more abrasive than other materials and can pick up more dirt and grime. Make sure to get into the cracks and the traction of the sole to further reduce the amount of moisture it is exposed to.
Cleaning Using Household Supplies
-
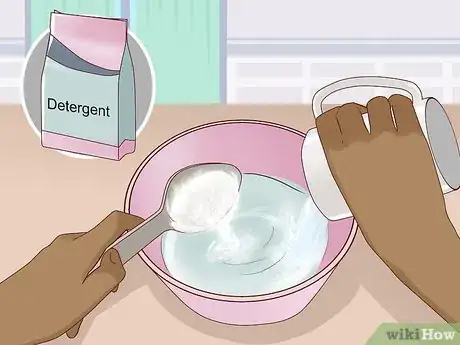
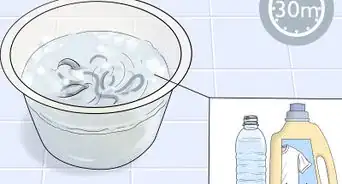
1Mix water and detergent for a deep cleaning solution. Combine a teaspoon of laundry detergent and a cup of water to make an effective cleaning solution that is easy to wipe off the side of the sole.[4] This will remove grime and oils from your shoe more effectively than water alone.
- Dip a soft brush, such as a toothbrush, into this solution and brush away small splashes and other grime that gathers on the outside of your sole.
-
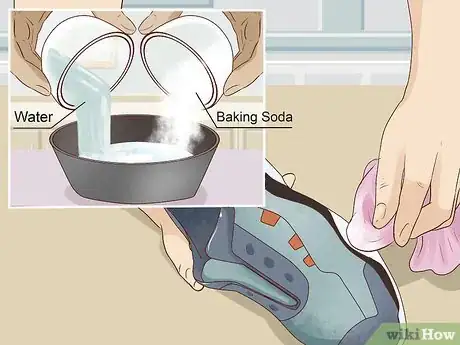
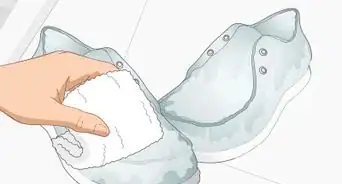
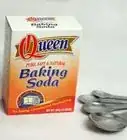
2Combine baking soda and water into a risk-free paste. Apply this paste onto the sole using the edge of a microfiber cloth, making an even layer, and allow the paste to rest on the sole for about 10 minutes. Use another damp microfiber cloth to wipe away the paste, and then dry with a soft towel. This paste will not leave any stains on your shoe's fabric, and it won't spill easily.
- It's important to make sure you dry as much moisture as you can, as if you leave any on the sole it can actually advance the yellowing process.[5]
- Using baking soda is very low-risk, so don't worry if you get a little on the other parts of the shoe. Simply wipe it away quickly with a damp cloth and you won't notice any damage.
-
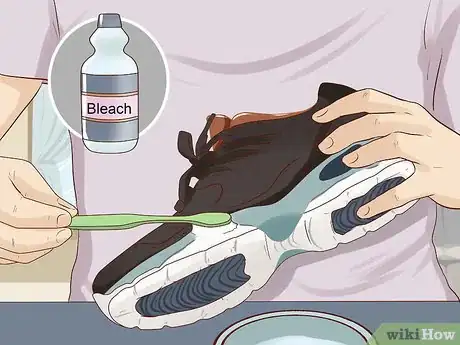
3Scrub the sole with bleach if other cleaning methods don't work. Being very careful not to get bleach on your shoe fabric, apply bleach with a toothbrush to the outside of the sole. Allow this to dry before applying bleach to the bottom of the sole as well. allow to dry with the toe pointing towards the floor, so that any extra bleach drips onto the floor instead of onto the sides.
- Use soft and slow brushstrokes with the toothbrush to reduce the amount of bleach you flick around, and prevent damage to other parts of the shoe.
- Cleaning your soles with bleach is especially effective on white shoes, whereas it can be hazardous to use on colorful shoes. Try a detergent or baking soda mix before resorting to bleaching non-white shoes.
Preventing Further Damage
-
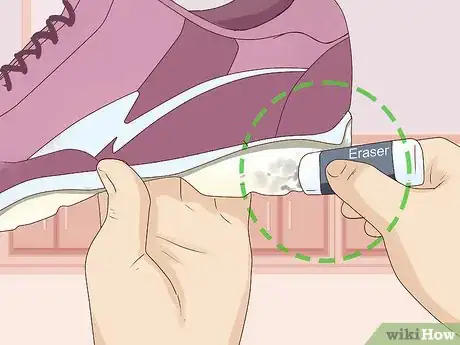
1Spot clean the soles with a pencil eraser regularly. Dirt spots, small stains, and other small dirtying factors should be dealt with on a daily basis. Purchase a white art eraser and keep it on you at all times to quickly stop a dirt smudge from becoming a stain, which can cause the shoe to degrade quicker.[6]
- Using a Mr Clean Magic Eraser can clean the soles of your shoes effectively, but their abrasiveness will cause damage to some materials.
- Dig out stuck dirt and rocks with a toothpick. Sometimes washing the sole or using an eraser isn't enough to get chunks out of the grooves. Using a toothpick to dig these out will both allow you to dig to the very base of the crack
-
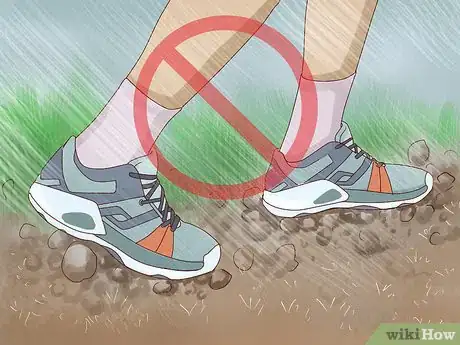
2Avoid wearing the shoes in bad conditions or dirty areas. Dirty, grass, rocks, and rain can cause major damage to icy soles you want to keep pristine. If you have other shoes to wear that you don't mind getting a little rough around the edges, consider wearing those on a daily basis instead.
- You can slow oxidation, the process by which most materials degrade naturally, by reducing the amount of moisture you expose them to by avoiding puddles, rain, and snow.
-
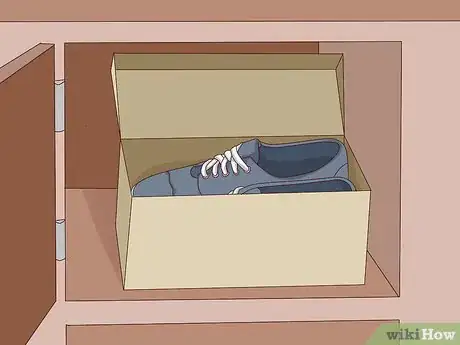
3Keep the shoe in a cool, dry place in the original box. Keeping shoes pristine involves safe and controlled storage. Maintain their aesthetic by storing them in their original box away from the sun inside a closet, drawer, or other dark and cool area, not in a shoe rack or by the front door.
- Remove the original paper, as the dye contains chemicals that can advance the yellowing process over time. Opt for a non-acidic paper to store the shoes with instead, such as untreated brown paper.[7]
-
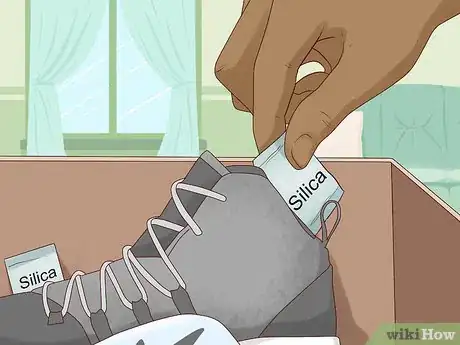
4Use silica packets to reduce moisture in storage. Silica packets are one of the most useful things in drying out a small space, which is why you see them commonly in tortilla chip bags, for example. Drop a silica pack into each shoe before you put them away in storage, and when you bring them back out again they will look and smell fresher than without them.
- Silica packets will help to slow down yellowing of the soles while in storage.[8]
- You can put up to four silica packs into a shoebox to further prevent moisture from accumulating, but more than that is not recommended.
Warnings
- Only apply re-icing agent or de-yellowing solution to the soles of your shoe. These products can cause severe stains and damage to the fabric and other parts of the shoe, so be very careful with the application process.⧼thumbs_response⧽
References
- ↑ Rio Jongsae Kim. Designer Shoe & Bag Care Specialist. Expert Interview. 15 April 2021.
- ↑ https://www.zillarules.com/articles/understanding-uva-uvb-uvc-reptile-lighting
- ↑ https://www.kicksonfire.com/prevent-your-icy-sole-from-yellowing/
- ↑ https://cleanmyspace.com/cleaning-secrets-running-shoes/
- ↑ https://oureverydaylife.com/how-to-clean-scuff-marks-on-an-icy-sole-12609635.html
- ↑ https://cleanmyspace.com/cleaning-secrets-running-shoes/
- ↑ https://www.kicksonfire.com/prevent-your-icy-sole-from-yellowing/
- ↑ https://www.kicksonfire.com/prevent-your-icy-sole-from-yellowing/
About This Article
To clean your icy soles, try using baking soda. Start by mixing baking soda and water into a paste. Then, use a cloth to apply the paste to your soles in an even layer. Leave it for 10 minutes before you wipe it off. To clean the sides of your soles, try using laundry detergent. First, combine 1 teaspoon of laundry detergent and 1 cup of water. Then, brush it onto the sides of your shoes with an old toothbrush to get rid of any dirt and grime. If your soles are still stained, scrub them with bleach. Just be careful not to get any bleach on your shoes’ fabric. For more tips, including how to prevent damage to your icy soles in the future, read on!
