This article was co-authored by Lydia Shedlofsky, DO and by wikiHow staff writer, Eric McClure. Dr. Lydia Shedlofsky is a Resident Dermatologist who joined Affiliated Dermatology in July of 2019 after completing a traditional rotating internship at Larkin Community Hospital in Miami, Florida. She earned a Bachelor of Science in Biology at Guilford College in Greensboro, North Carolina. After graduation, she moved to Beira, Mozambique, and worked as a research assistant and intern at a free clinic. She completed a Post-Baccalaureate program and subsequently earned a Master's Degree in Medical Education and a Doctorate of Osteopathic Medicine (DO) from the Lake Erie College of Osteopathic Medicine.
There are 15 references cited in this article, which can be found at the bottom of the page.
This article has been viewed 27,932 times.
Face cleansing brushes are the electric scrubbing brushes that make it easy to work cleanser into your skin and exfoliate. Every time you use your face cleansing brush, rinse the bristles under water for a few seconds to remove any larger dirt or debris it picked up from your skin. When the bristles get too dirty for a standard rinse, it’s time for a deep cleaning. You always need to disconnect the bristles before cleaning the brush, but you can clean the head of the brush by either hand-washing it or soaking it in rubbing alcohol.
Steps
Disconnecting the Bristles for Cleaning
-
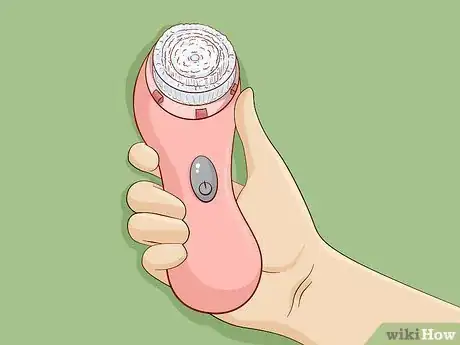
1Clean your brush every 1-2 weeks based on how often you use it. Over time, the bristles on your brush get caked in bacteria and dead skin cells. Disconnecting the bristles and-deep cleaning your brush will remove all of the junk that builds up in the brush. Do this every 1-2 weeks to keep your brush and skin clean and safe.[1]
- If the bristles on the head of the brush are discolored, the brush definitely need a good deep cleaning.
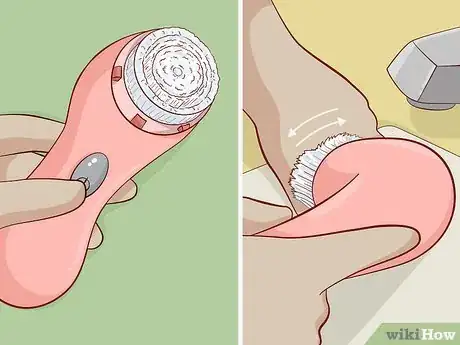
Tip: Rinse the brush under water after every use. This will reduce how often you need to actually clean the brush. Just hold the bristles under a stream of warm water for 15-20 seconds and let it air dry before you put it back on the charger.
-
2Brace the back of the brush with your nondominant hand. Take the brush off of the charger and take it to your sink. Lift it up and wrap your nondominant hand around the back of the brush’s head. Hold it firmly to brace it.[2]
- Face cleansing brushes are always waterproof, but the charger is not. Never clean the brush when it’s still on the charger.
Advertisement -
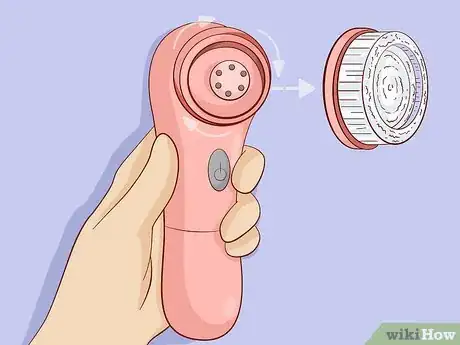
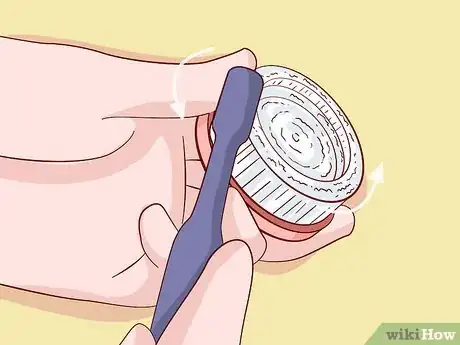
3Twist the disc attached to the bristles counterclockwise to remove it. The bristles are connected to a small disc that twists into the head of the brush. Wrap your free hand around this disc and hold it firmly. Rotate the disc counterclockwise until the bristles and the disc pop off of the brush.[3]
- This process is the same on every brand of cleansing brush.
- You cannot thoroughly clean your face cleansing brush without removing the disc.
Washing the Brush by Hand
-
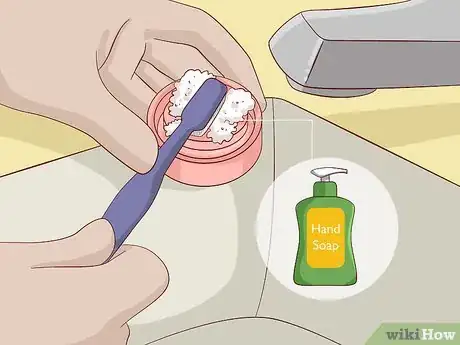
1Scrub the back of the disc with hand soap and a toothbrush. Set the body of the brush aside to clean it later. Take the bristles and flip them upside down. Squirt a small dollop of hand soap into the back of the disc and run it under water for 1-2 seconds. Scrub the back of the disc with a clean toothbrush. Use back-and-forth strokes to work the soap into the crevices of the disc.[4]
- You can use a cotton swab to get into the nooks and crannies if you’d like. The toothbrush usually does a good job on its own, though.
- The back of the disc often gets dirty because junk slips through the sides of the disc where it attaches to the brush.
-
2Brush around the sides of the disc with the same toothbrush. Take your toothbrush and run the bristles around the sides of the disc. Scrub each portion of the disc 1-2 times to remove any dirt or junk that’s sticking to the sides of the disc.[5]
- The sides of the disc get dirty for the same reason the underside does—dirt and dead skin get trapped in the seam where the bristles attach to the brush.
-
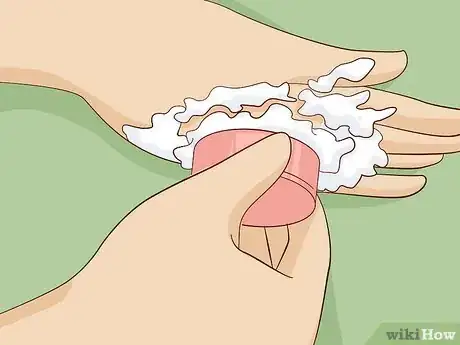
3Massage the bristles by hand using standard hand soap. Flip the disc over so the bristles are facing up and squirt a dollop of hand soap directly into the bristles. Hold the bristles under a steady stream of warm water and gently run your thumbs over them. Work your fingers through the bristles over and over to spread the soap out and clean your bristles.[6] Do this for 1-2 minutes to remove any junk, dirt, or dead skin cells. Set the disc aside when you’re done.[7]
- The bristles tend to be pretty strong, but you don’t want to massage them so hard that you bend them. Use a gentle motion to clean this part of the face cleansing brush.
Tip: The bristles capture all of the dead skin and makeup trapped in your skin. If you’re limited on time, this is the most important part of the cleaning process. You can put the other stuff off until later if you have to, but dirty bristles will just clog your pores.
-
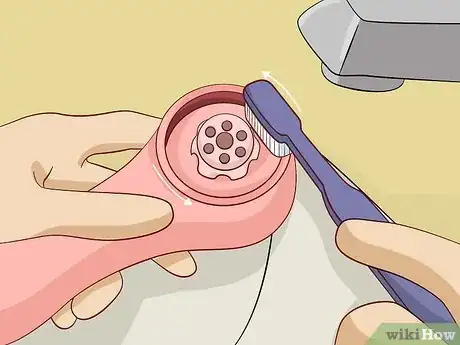
4Clean the head of the brush using your toothbrush and soap. Pick up the body of the brush and squirt a dollop of hand soap into the opening where the disc attaches to the brush. Run the brush under water for 1-2 seconds to get it wet. Then, scrub the inside of the brush’s head with your toothbrush. Work the toothbrush’s bristles around the head 2-3 times to clean the inside of the brush.[8]
- Again, you can use a cotton swab to really get into the corners if you’d like. The toothbrush on its own is probably fine, though.[9]
-
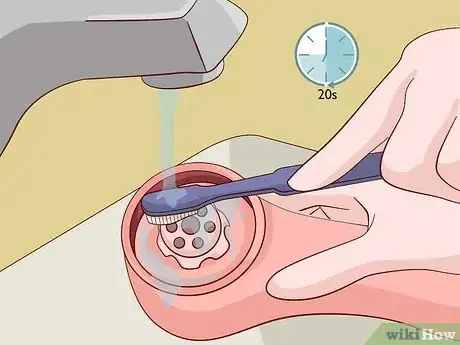
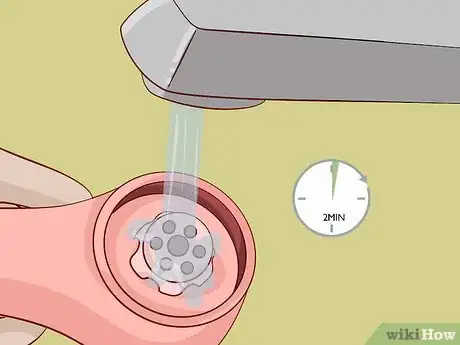
5Run the brush under warm water and set it aside to air dry. Turn the warm water on and set the head of the brush underneath it. Let the water run for 15-20 seconds to rinse out all the soap. Set the brush aside and let it air dry.[10]
-
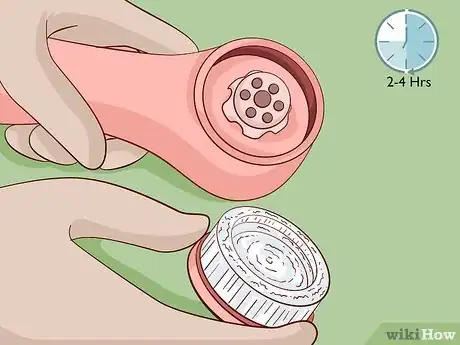
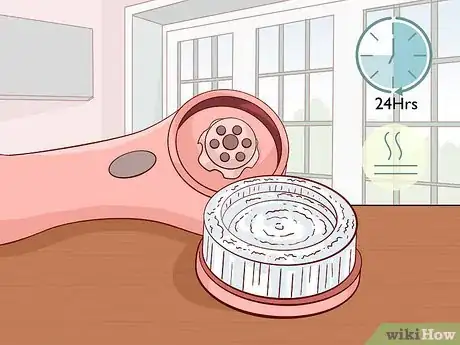
6Rinse the bristles and disc under warm water and let it air out to dry. Once the bristles are clean, turn the disc around under the warm water. Rinse the brush for 30-45 seconds until the water runs clear and you don’t see any soap on the disc. Set the disc down with the bristles facing up and wait 2-4 hours for the disc and bristles to air dry.[11]
- You can wipe the handle of the brush with a dry or damp cloth to remove any oils from your skin. The handle doesn’t tend to get very dirty though, so you don’t really need to do this every time you clean the brush.
Soaking the Bristles in Alcohol
-
1Submerge the bristles in rubbing alcohol if they’re really dirty. In most cases, hand-washing is fine for a normal cleaning. However, if your bristles are really dirty or they’re still discolored after you hand-washed them, soaking the bristles in rubbing alcohol is a great way to refresh and clean them.[12]
- If you use the brush every day, you may want to do this every 1-2 weeks just to sanitize the bristles.
-
2Fill a small container with rubbing alcohol. Grab a plastic or glass container big enough to completely submerge the disc and bristles. Set it down in your sink and fill it with enough rubbing alcohol to completely cover the brush.[13]
- You can use white vinegar instead of rubbing alcohol if you prefer.[14]
-
3Let the bristles soak for 10 minutes to 24 hours until the bristles are clean. Take the disc and drop it into the container. It doesn’t matter if the bristles face up or down. You can soak the disc and bristles for anywhere from 5 minutes to 24 hours. It’s really up to how discolored the bristles are and how much time you have on your hands.[15]
Tip: If the bristles are totally clean after 10 minutes of soaking, you really don’t need to soak it overnight. The bristles are a very good indication of whether the brush is safe for use or not since the bristles are the only part that come in contact with your skin.
-
4Remove the disc and rinse it off under warm water for 2-3 minutes. Put some nitrile gloves on to protect your hands from the rubbing alcohol. Lift the disc and bristles out of the rubbing alcohol by hand. Turn the sink on and rinse the bristles and disc under warm water. Rotate it under the steady stream of water to rinse off all of the rubbing alcohol.[16]
-
5Let the bristles air dry for 2-4 hours before reassembling the brush. Set the bristles down on a dry cloth with the bristles facing up. Let the disc air dry for a few hours before reattaching it to your brush.
Expert Q&A
-
QuestionWhat can I clean face brushes with?
 Lydia Shedlofsky, DODr. Lydia Shedlofsky is a Resident Dermatologist who joined Affiliated Dermatology in July of 2019 after completing a traditional rotating internship at Larkin Community Hospital in Miami, Florida. She earned a Bachelor of Science in Biology at Guilford College in Greensboro, North Carolina. After graduation, she moved to Beira, Mozambique, and worked as a research assistant and intern at a free clinic. She completed a Post-Baccalaureate program and subsequently earned a Master's Degree in Medical Education and a Doctorate of Osteopathic Medicine (DO) from the Lake Erie College of Osteopathic Medicine.
Dermatologist All you need to use is some soap and water. Work the soap in between the bristles all the way down to the base.
Things You’ll Need
Disconnecting the Bristles
- Hand soap
- Water
Washing the Brush by Hand
- Hand soap
- Toothbrush
- Water
- Cotton swab (optional)
Soaking the Bristles in Alcohol
- Plastic or glass container
- Rubbing alcohol
- Nitrile gloves
- Water
- White vinegar (optional)
References
- ↑ https://www.clinique.com/media/export/cms/pdf/English_NA_SonicBrush_Enclosure.pdf
- ↑ https://www.clarisonic.com/on/demandware.static/-/Sites-Clarisonic-US-Library/default/UserGuides/United%20States/310226_07339_US_Mia2_UserGuide.pdf
- ↑ https://youtu.be/uhgOIa2i9cw?t=75
- ↑ https://youtu.be/uhgOIa2i9cw?t=78
- ↑ https://youtu.be/8lc6Oaz8M98?t=140
- ↑ Lydia Shedlofsky, DO. Dermatologist. Expert Interview. 3 May 2021.
- ↑ https://www.clarisonic.com/on/demandware.static/-/Sites-Clarisonic-US-Library/default/UserGuides/United%20States/310226_07339_US_Mia2_UserGuide.pdf
- ↑ https://www.clarisonic.com/on/demandware.static/-/Sites-Clarisonic-US-Library/default/UserGuides/United%20States/310226_07339_US_Mia2_UserGuide.pdf
- ↑ https://youtu.be/dT918lyluvQ?t=46
- ↑ https://youtu.be/dT918lyluvQ?t=28
- ↑ https://youtu.be/dT918lyluvQ?t=44
- ↑ https://www.beautylish.com/a/vmymi/3-ways-to-keep-your-skin-care-brush-bacteria-free
- ↑ https://youtu.be/dT918lyluvQ?t=83
- ↑ https://youtu.be/mB6o3FA6hnA?t=294
- ↑ https://youtu.be/uhgOIa2i9cw?t=47
- ↑ https://youtu.be/mB6o3FA6hnA?t=306
- ↑ https://youtu.be/uhgOIa2i9cw?t=106
- ↑ https://www.clinique.com/media/export/cms/pdf/English_NA_SonicBrush_Enclosure.pdf
