X
This article was co-authored by Fabricio Ferraz. Fabricio Ferraz is the Co-Owner and Operator of Hire a Cleaning. Hire a Cleaning is a family owned and operated business that has been serving San Francisco, California homes for over 10 years.
This article has been viewed 153,130 times.
Mineral deposits are the scourge of water fixtures, and eventually faucets and shower heads will succumb. Cleaning your clogged shower head is easy, but the process may take an overnight soaking.
Steps
Method 1
Method 1 of 2:
Soaking in Vinegar
-
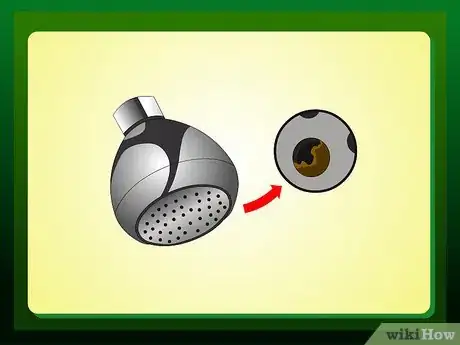
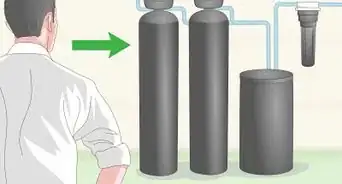
1Understand why the clogging has happened. Mineral deposits in hard water collect in the fine mesh and holes of the shower head's screening material and disk, disrupting water flow. This usually consists of hardened lime and particulate matter.[1]
-
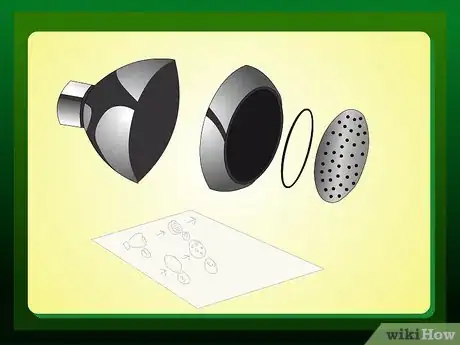
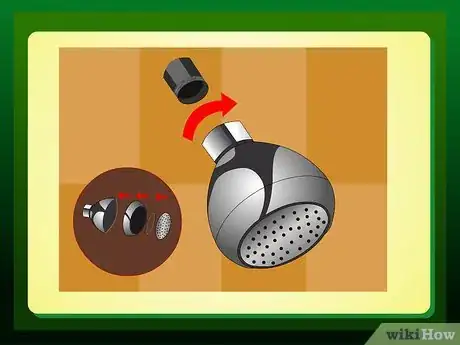
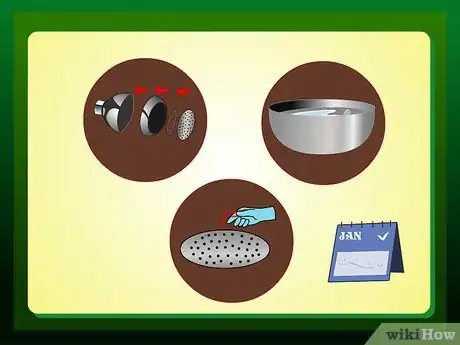
2Unscrew the swivel ball nut that holds the shower head to the mounting collar. Then remove it. The internal parts will come apart easily, but getting the shower head off the pipe may require a wrench.[4]Advertisement
-
3Before you disassemble the shower head, make a note of how it went together. This will let you know how to reassemble it once the parts have been cleaned. The washer will seat with a specific orientation, so be sure to note which way it was turned. Draw a diagram of the parts and where they go, to ensure you don't forget (take a digital photo of this diagram and you'll always be able to find it for each subsequent clean).[5]
-
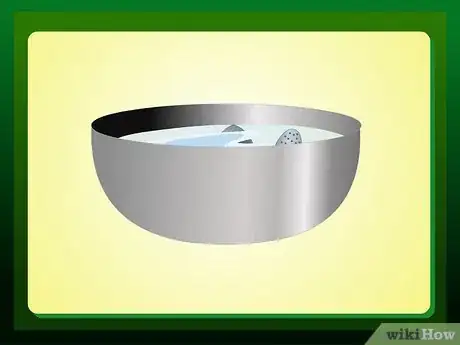
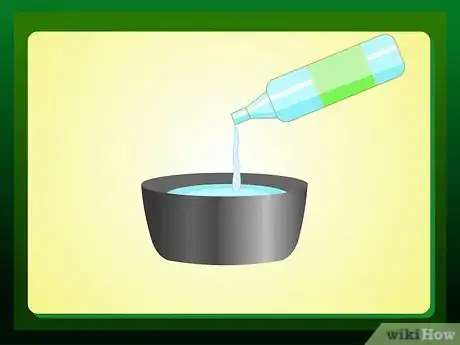
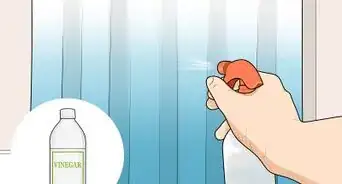
4Completely immerse the disassembled parts in white vinegar or a lime cleaning solution. If you see a large buildup of lime, heat the vinegar in the microwave beforehand until it's hot to the touch. The cleaning process will probably take five or six hours, so plan on performing the repair when the shower won't be needed. Most of the lime will dissolve in the vinegar.[6] But there may be residue caught in the screen's mesh, embedded in the threads, and in the small holes around the disk.[7]
-
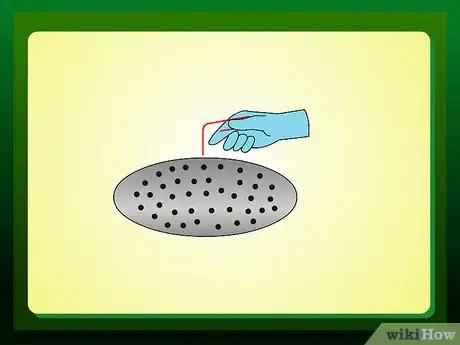
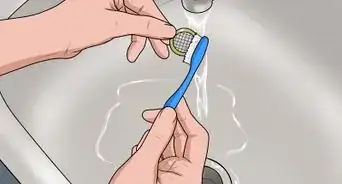
5If, after soaking, you discover that some areas still need some attention, scrub stubborn deposits with a small wire brush or the straightened end of a paper clip. Soak the parts again for a few minutes and rinse.
-
6Use the diagram to reassemble the shower head. Apply silicone grease to the threads. Turn the water on and inspect for leaks. In order to keep the shower head flowing freely, plan on making this a yearly chore. This procedure will also work on faucets, toilets, and your refrigerator's water dispenser. If you can't immerse an object in vinegar, saturate a cloth and wrap it around the area you want to clean.
Advertisement
Method 2
Method 2 of 2:
Boiling in Vinegar
-
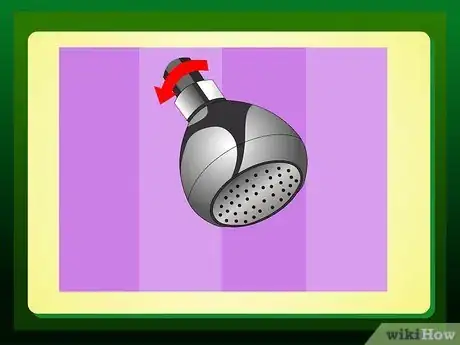
1Remove the shower head from the shower hose. In those cases where it can be easily disassembled, the shower head can be removed from the construction together with the hose. (Refer to the removal process outlined in Method 1 above for more details.)[8]
-
2
-
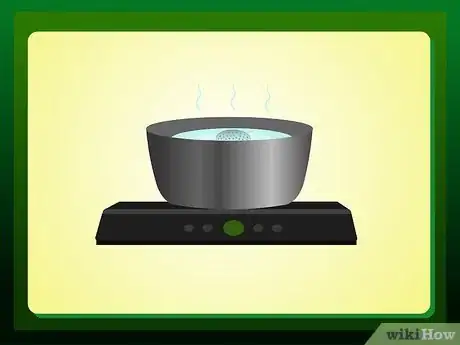
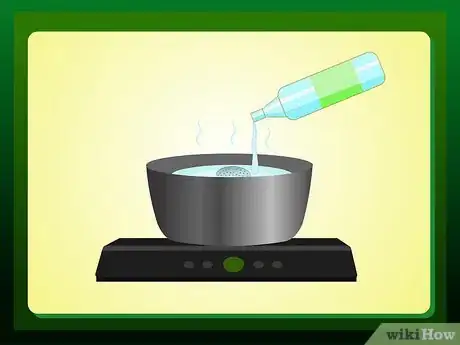
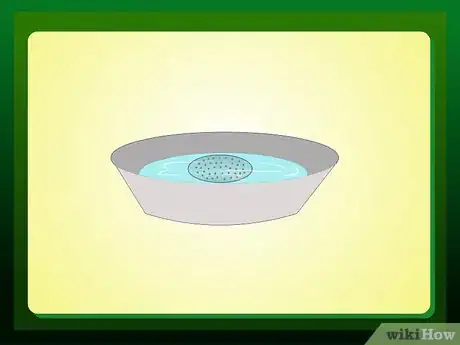
3Bring the mixture to the boil and immerse the shower head. Make sure all the parts with mineral deposits are fully immersed.[11]
-
4Boil 10-15 minutes. For stubborn cases you may have to boil the shower head longer, however as far as plastic parts are concerned, it is better to add more vinegar and boil no more than 20 minutes, or take out the shower head to cool down every now and then.[12]
-
5Rinse the shower head with tepid water and re-assemble.
-
6
Advertisement
Expert Q&A
Did you know you can get expert answers for this article?
Unlock expert answers by supporting wikiHow
-
QuestionHow often should I clean my shower head?
 Fabricio FerrazFabricio Ferraz is the Co-Owner and Operator of Hire a Cleaning. Hire a Cleaning is a family owned and operated business that has been serving San Francisco, California homes for over 10 years.
House Cleaning Professional
-
QuestionWhat should I use to routinely clean my shower head?
 Fabricio FerrazFabricio Ferraz is the Co-Owner and Operator of Hire a Cleaning. Hire a Cleaning is a family owned and operated business that has been serving San Francisco, California homes for over 10 years.
House Cleaning Professional
-
QuestionI tried to clear my shower head with vinegar but only about 20% of the small holes where cleared. Is there a way to clear them all?
 Community AnswerThis is unlikely, as the tiny rubber holes have probably worn out because of hot water or too much water. Replace the head with a new one, which you can pick up at almost any large supermarket or hardware store.
Advertisement
Things You'll Need
- For this job, it will be useful to have a:
- small wire brush or old toothbrush
- a wrench
- screwdriver
- cleaning solution like white vinegar or lime remover
- a cotton cloth
- silicone grease
- a pencil
- notepad
References
- ↑ https://womenyoushouldknow.net/fix-it-friday-how-to-get-rid-of-nasty-showerhead-buildup/
- ↑ Andrii Gurskyi. House Cleaning Professional. Expert Interview. 11 April 2019.
- ↑ Andrii Gurskyi. House Cleaning Professional. Expert Interview. 11 April 2019.
- ↑ https://www.directenergy.com/blog/unclog-your-showerhead/
- ↑ https://www.directenergy.com/blog/unclog-your-showerhead/
- ↑ Fabricio Ferraz. House Cleaning Professional. Expert Interview. 16 August 2019.
- ↑ https://www.directenergy.com/blog/unclog-your-showerhead/
- ↑ https://www.mollymaid.com/practically-spotless/2017/february/how-to-clean-your-showerhead-with-vinegar/
- ↑ https://www.mollymaid.com/practically-spotless/2017/february/how-to-clean-your-showerhead-with-vinegar/
- ↑ Andrii Gurskyi. House Cleaning Professional. Expert Interview. 11 April 2019.
- ↑ https://www.mollymaid.com/practically-spotless/2017/february/how-to-clean-your-showerhead-with-vinegar/
- ↑ https://www.mollymaid.com/practically-spotless/2017/february/how-to-clean-your-showerhead-with-vinegar/
- ↑ Fabricio Ferraz. House Cleaning Professional. Expert Interview. 16 August 2019.
- ↑ Fabricio Ferraz. House Cleaning Professional. Expert Interview. 16 August 2019.
About This Article
Advertisement
