This article was co-authored by David Balkan. David Balkan is a Professional Plumber, CEO of Balkan Sewer and Water Main Service, and President of Balkan Sewer and Drain Cleaning. As a hands-on owner of these companies for over 40 years, David is knowledgeable about water service lines, sewers, and drain line issues. David is a Committee Chairman of the Master Plumbers Council and has sat on the Executive Committee of the Sub Surface Plumbers Association of New York for over 30 years. His knowledge and solution-oriented approach contributed to Balkan Sewer and Water Main Service being the largest and most trusted service in New York City and the recipient of the 2017 Angie’s List Super Service Award.
There are 9 references cited in this article, which can be found at the bottom of the page.
wikiHow marks an article as reader-approved once it receives enough positive feedback. In this case, 90% of readers who voted found the article helpful, earning it our reader-approved status.
This article has been viewed 92,713 times.
Getting ready to have your tank pumped? We’re here to help you with the cleaning process! When a septic tank is neglected, it can clog with sludge and scum that cannot be broken down by bacteria, which can lead to costly systemic collapse. This is it’s so important to keep your tank clean, and it’s why your tank requires regular inspections and pumps.[1] In this article, we’ll show you how to uncover and clean your tank, although you will need a professional to pump the waste out.
Steps
Readying the Tank
-
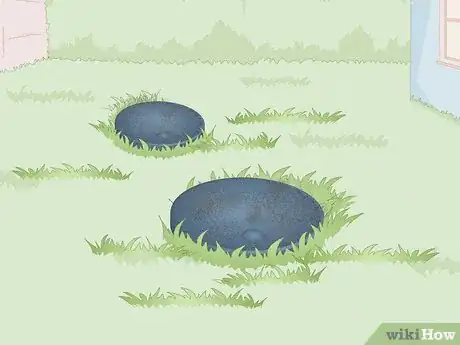
1Find your tank. Start from the sewer pipe in the lower level of your house, if possible. Follow the direction it takes as it exits the house. Your tank may be out there and buried. Locating the tank now saves time and money later regardless if you or an inspector clean the tank.[2]
-
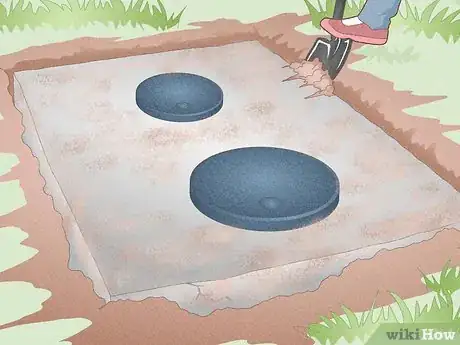
2Dig out the top of the tank. Your tank may be buried underground. Before inspection, take a shovel and remove the dirt around the top of the tank. Your tank will have an access port lid which should be strong and on tight.
- Risers can be added on top of the tank. These help you locate and access the tank without digging. Septic system pumpers can add these.[3]
Advertisement -
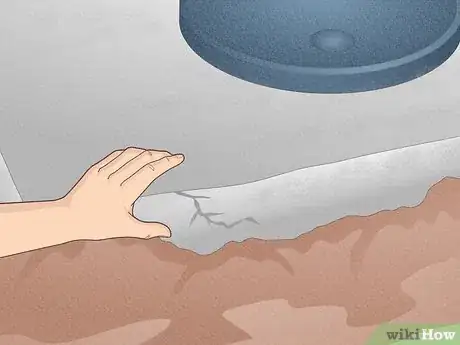
3Inspect the tank for cracks. Look along the tank, including the inside, for damaged areas. Cracks need to be repaired by a professional once the tank is pumped so the system doesn’t fail. Look for any rusted or broken pieces on the inlet and outlet pipes required for drainage. Check any distribution boxes or pump chambers, if your tank has one attached.
- It is useful to run some water from your house, such as from the toilet or washing machine, to see if the water makes it to the tank and then drains properly.
Finding out the Scum Depth
-
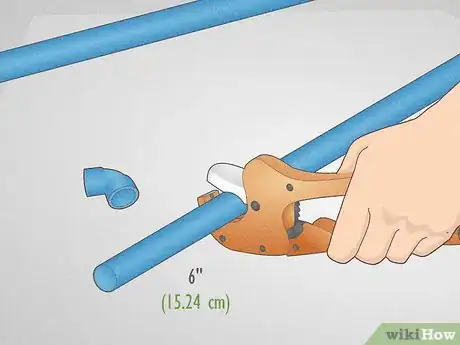
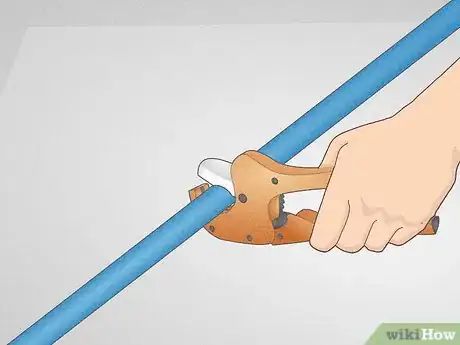
1Cut a pipe. Start with a ten foot (3 m) PVC pipe. Using a saw or PVC cutter, separate it into a six inch (15.24 cm) section and a nine and a half foot (2.9 m) section.[4]
-
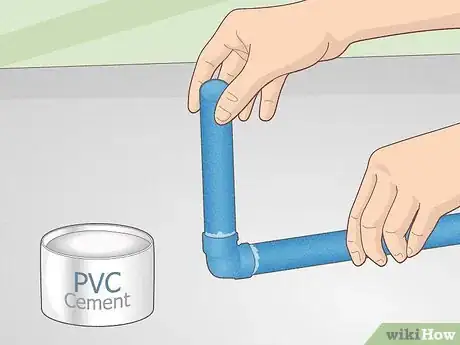
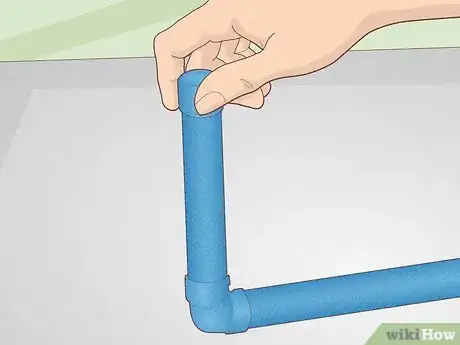
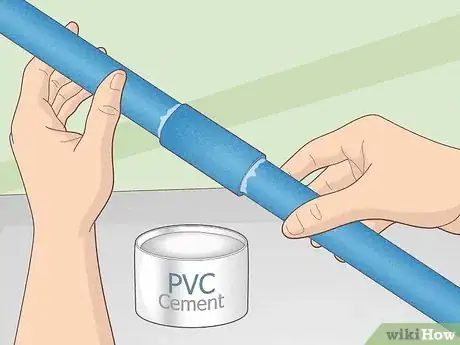
2Glue the pipes together. Pour PVC cement into an elbow joint. Attach the smaller pipe to the top of the larger pipe using the cement and joint. The pipe will stick out straight to the right or left in an “L” shape.
-
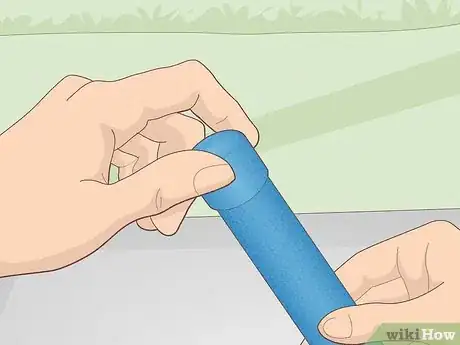
3Cap each end. PVC caps can be found at the hardware store where you got the pipes, cement, and cutters. Push the caps onto the pipes so they’re tight and resist water flow.
-
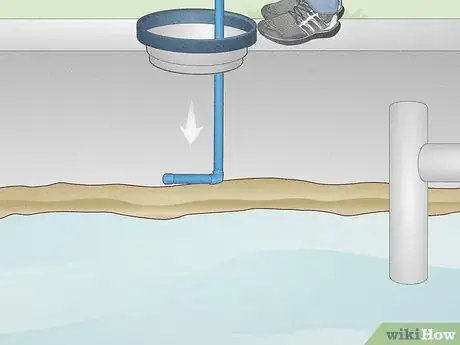
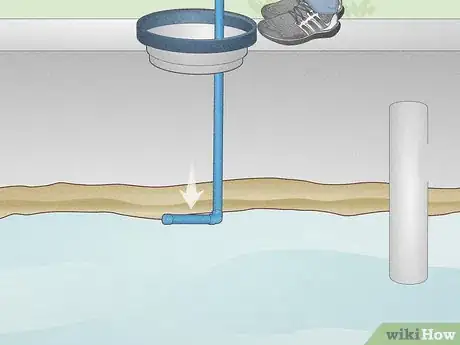
4Lower the stick into the hole. Hold the scum stick with the smaller pipe at the bottom and facing out to the side in the “L” shape. Lower the pipe until you are holding it against the top layer of the septic tank waste without breaking through.
-
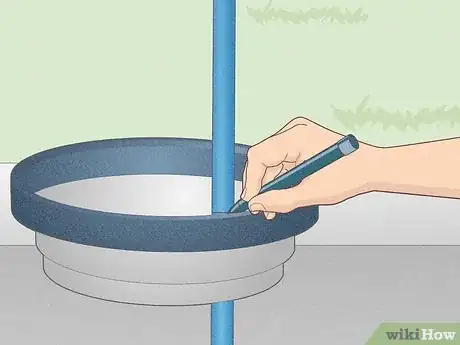
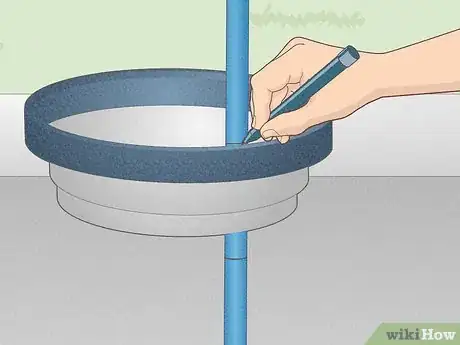
5Mark the stick. Use a marker or piece of tape to indicate the scum’s upper point. When the pipe rests on top of the scum layer, place your mark where the pipe crosses from the ground to the very top of your tank.[5]
-
6Push through the scum layer. Force the stick down through the scum. You may need to turn the stick so that the pointed part breaks through. When you reach the bottom of the scum layer, you’ll feel the stick moving through water instead of the resistant fat and oil. Hold the stick against the bottom of the scum as you did the top of the scum, keeping the smaller pipe flat and to the side so the stick takes on the “L” shape.
-
7Mark the stick again. Again, use a marker or tape to indicate where the scum layer ends. Add your mark to where the pipe crosses the ground into the very top of the tank.[6]
-
8Measure the marks. Carefully remove the stick and rest it on a tarp. Use tape measure to figure out the distance between the two marks you made. This is the depth of the scum level. When this fat and oil layer is only three inches (7.62 cm) above the bottom of the outlet pipe, the tank must be pumped.[7]
Testing the Sludge Depth
-
1Cut a pipe. Cut a ten foot (3 m) PVC pipe into five foot (1.5 m) subsections. This allows you to make a stable two-part stick.[8]
-
2Glue the pipes together. Connect the two pipes with a straight adapter or threaded coupler from the hardware store. Fasten the ends in the connector using PVC cement.
-
3Cap each end. PVC caps can also be found at the hardware store. Apply one to each end of your stick. Push it on tight so that no sewage can get into the pipe.
-
4Wrap white material around one end. A white rag, towel, sock, or Velcro are useful for capturing a mark to show you the sludge depth. Wrap the material around one end, up to three feet (.91 m) along the length of the pipe. Secure the material with the Velcro backing, tape, or string.[9]
-
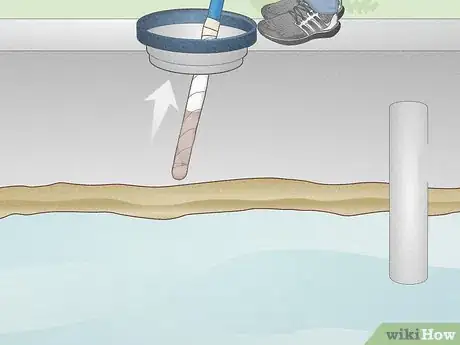
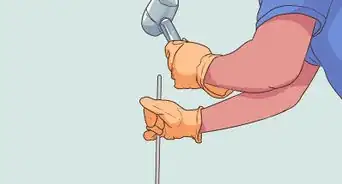
5Push the stick through the scum hole. If you haven’t already, use a stick made for testing scum depth to poke a hole through the top layer in the tank. Once this is done, lower the sludge stick through the hole until you feel it reach the bottom of the tank.
-
6Hold the stick in place for three minutes. Leave the stick to rest for no less than three minutes. The longer you hold the stick, the better able you are to ensure that the sludge stains your white material.
-
7Remove the stick. Now pull the stick back up, holding it steady as you pull it up through the hole you made originally. As long as you don’t move it, you won’t stain the stick. Lay it out on a tarp where you won’t ruin the stain and will be able to clean the stick later.
-
8Measure the stain. Use tape measure to note the length of the stain up from the bottom of the stick. When the sludge or sludge plus scum occupies a third of the tank’s depth (about 12 inches or 30.48 cm high), it needs to be pumped. If the sludge layer is within six inches (15.24 cm) of the bottom of the outlet pipes, the tank needs to be pumped.[10]
Cleaning the Baffle Filter
-
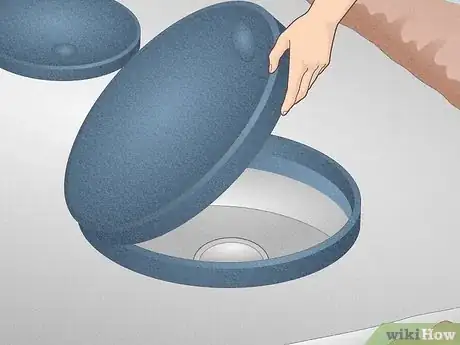
1Open the tank. Pull up the cover of the tank during your yearly inspection. Place the cover aside and locate the pipes leading waste into the tank and water out of the tank. The baffles are inside these, holding scum and sludge in place.
- Not all tanks come installed with filters.
-
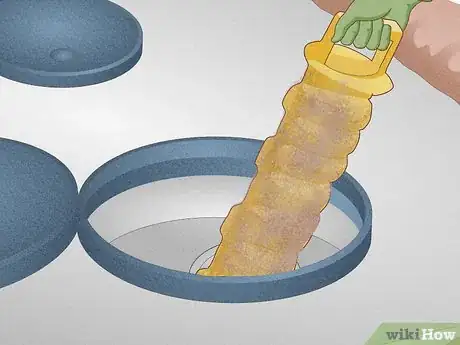
2Pull up the filters. Put on some protective rubber gloves. Reach into the outlet baffle using your hands, a rake, or a hoe. Pull out the filter. It may be brightly colored and have a handle on the end, but if your tank has one it will be inside the outlet baffle.
-
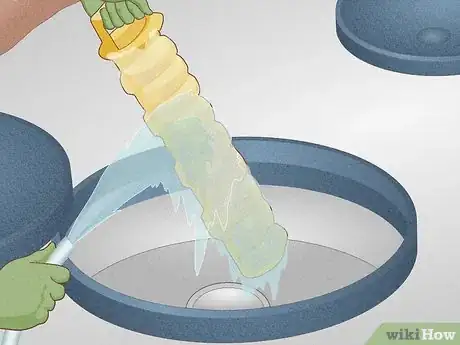
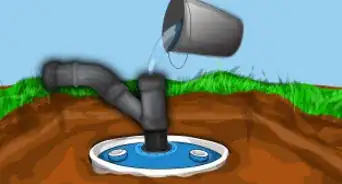
3Rinse the filter. Either hold the filter over the inlet side of the septic tank and spray it with a hose or dip it in a bucket of water. Make sure all the solids fall back into the tank or bucket. When you are finished rinsing, pour any waste back into the tank.[11]
-
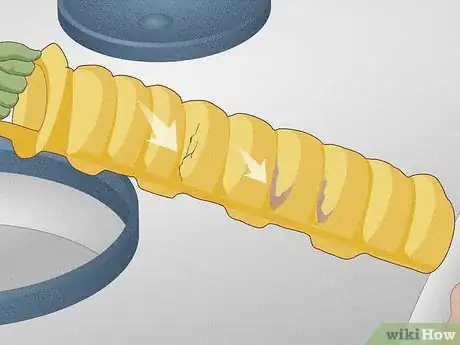
4Inspect the filter for damage. Look for any cracks or solids clogging up the filter. When the filter isn’t cleaned regularly, it fills up and stops working. If you are unable to clean it or it appears damaged, replace it with a new filter.
-
5Replace the filter. Whether putting back the old filter or installing a new one, look along the sides of the filter. The filter may have an arrow on it. When you install the filter properly, the arrow will point downwards to the drainage system. When the filter is secure in the baffle, screw the tank’s lid back on tightly.
Pumping the Tank
-
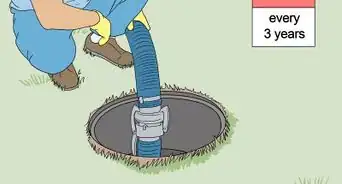
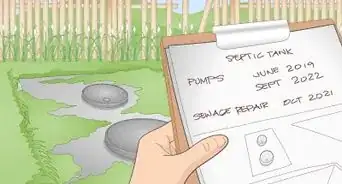
1Pump the tank every few years. Many people make the mistake in thinking that the tank doesn’t need to be treated as long as the plumbing appears to be functioning. By maintaining the tank before it clogs with sludge and liquid stops draining, you will end up saving thousands of dollars in costly repairs. This should be done every one to three years or whenever you measure that the sludge and scum levels occupy about a third of the tank or are approaching the outlet pipe.[12]
- The smaller the tank, or the more people the tank services, the more frequently it will need to be treated. A 750 gallon tank, standard in a two-bedroom home, will last two residents about four years without pumping. For four residents, it will last less then two years without pumping.[13]
- Annual treatment will, at the cost of a couple hundred dollars, keep the tank clean and allow any problems to be detected before they turn into serious septic failures.
-
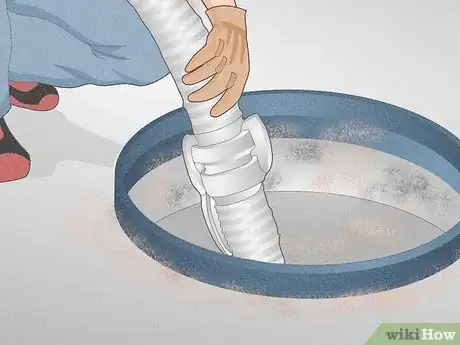
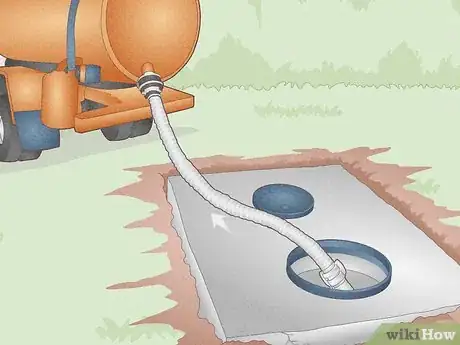
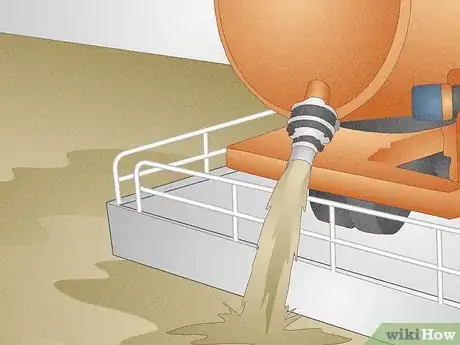
2Pump out waste. Pumping involves using a cast-iron pump that can be switched on. The pump sucks out the solids that can’t be broken down by bacteria and removes them to a container such as the inside of a tanker. Once the sludge and scum are removed, you don’t need to reintroduce bacteria or water.[14]
-
3Dispose of septic waste. Even if you attempt to pump out the tank yourself, you need to dispose of the waste in a legal manner. The waste has to be transported by a tanker to a government-chosen location away from water and areas where people gather. For this reason, it is better to let a professional handle it.[15]
Expert Q&A
-
QuestionWhy is cleaning a septic tank dangerous?
 David BalkanDavid Balkan is a Professional Plumber, CEO of Balkan Sewer and Water Main Service, and President of Balkan Sewer and Drain Cleaning. As a hands-on owner of these companies for over 40 years, David is knowledgeable about water service lines, sewers, and drain line issues. David is a Committee Chairman of the Master Plumbers Council and has sat on the Executive Committee of the Sub Surface Plumbers Association of New York for over 30 years. His knowledge and solution-oriented approach contributed to Balkan Sewer and Water Main Service being the largest and most trusted service in New York City and the recipient of the 2017 Angie’s List Super Service Award.
Professional Plumber The sewer gas that's present in septic systems can be fatal. It's a quick and silent killer, so I advise homeowners to never ever try to work on their own septic system. Hire a professional to stay safe.
Warnings
- Children can fall into tanks. Make sure lids are strong and on tight.⧼thumbs_response⧽
- Opening a septic tank is highly dangerous. The tank contains very strong fumes from the wastes. Work with a partner and stay back from the opening.⧼thumbs_response⧽
Things You’ll Need
- Shovel
- Two ten foot (3 m) PVC pipes
- PVC cutter or saw
- PVC cement
- PVC elbow joint
- PVC connector
- Four PVC end caps
- White rag, sock, or Velcro
- Tarp
- Measuring tape
- Hose and bucket
- Baffle filter
References
- ↑ David Balkan. Professional Plumber & CEO of Balkan Sewer & Water Main. Expert Interview. 30 March 2021.
- ↑ David Balkan. Professional Plumber & CEO of Balkan Sewer & Water Main. Expert Interview. 30 March 2021.
- ↑ http://www.kingcounty.gov/depts/health/environmental-health/piping/onsite-sewage-systems/maintenance/pumping.aspx
- ↑ http://www.co.thurston.wa.us/health/ehoss/pdf/StickTestBrochure.pdf
- ↑ http://www.doh.wa.gov/Portals/1/Documents/Pubs/337-122.pdf
- ↑ http://www.doh.wa.gov/Portals/1/Documents/Pubs/337-122.pdf
- ↑ http://inspectapedia.com/septic/Septic_Tank_Cleaning_Mistakes.php
- ↑ http://www.doh.wa.gov/Portals/1/Documents/Pubs/337-122.pdf
- ↑ http://www.co.thurston.wa.us/health/ehoss/pdf/StickTestBrochure.pdf
- ↑ http://inspectapedia.com/septic/Septic_Tank_Cleaning_Mistakes.php
- ↑ http://www.doh.wa.gov/Portals/1/Documents/Pubs/337-122.pdf
- ↑ http://www.mass.gov/eea/agencies/massdep/water/wastewater/how-often-should-i-pump-out-my-septic-tank.html
- ↑ http://inspectapedia.com/septic/Septic_Tank_Pumping_Schedule.php
- ↑ https://www.sumppumpsdirect.com/stories/316-How-to-Pick-the-Perfect-Sewage-Pump.html
- ↑ http://www.health.gov.au/internet/publications/publishing.nsf/Content/ohp-enhealth-manual-atsi-cnt-l~ohp-enhealth-manual-atsi-cnt-l-ch2~ohp-enhealth-manual-atsi-cnt-l-ch2.9
- ↑ David Balkan. Professional Plumber & CEO of Balkan Sewer & Water Main. Expert Interview. 30 March 2021.
About This Article
Keeping your septic tank clean will save you from costly repairs down the road. To clean your septic tank, you'll need to clean the filter annually and pump the tank every few years. Your filter should be located in the tank’s outlet baffle and is often brightly colored. To clean it, all you need to do is spray it with a hose over the tank or dip it in a bucket of clean water. If you use a bucket, pour the dirty water into the tank when you're finished. You’ll need to pump your tank every 1 to 3 years or whenever the sludge and scum levels reach a third of the tank. This needs to be done with a cast-iron pump and the waste will need to be disposed of in a government-chosen location, so it’s best to get this done professionally. For more tips, including how to test the sludge and scum depth of your septic tank, read on!

