This article was co-authored by Ollie George Cigliano and by wikiHow staff writer, Amy Bobinger. Ollie George Cigliano is a Private Chef, Food Educator, and Owner of Ollie George Cooks, based in Long Beach, California. With over 20 years of experience, she specializes in utilizing fresh, fun ingredients and mixing traditional and innovative cooking techniques. Ollie George holds a BA in Comparative Literature from The University of California, Berkeley, and a Nutrition and Healthy Living Certificate from eCornell University.
There are 7 references cited in this article, which can be found at the bottom of the page.
This article has been viewed 113,300 times.
Dry aged steak is created when a butcher allows steaks to age in a temperature and humidity-controlled environment for at least 3 weeks. Dry aging creates a tender steak with a complex flavor profile, and it cooks beautifully in either a skillet or on the grill.[1]
Ingredients
For One Serving of Either Method
- Thick cut of dry aged steak (Ribeye or similar)
- Salt
- Pepper
- 4 tablespoons (59 ml) Butter
- 3 cloves garlic
- 1 shallot
- 1 sprig thyme
Steps
Searing Your Steak Using a Cast Iron Skillet
-
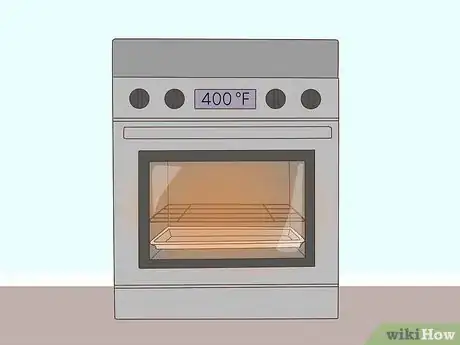
1Preheat your oven to 400 °F (204 °C). You’ll start off cooking your steak on the stovetop, but you’ll need to transfer it into the oven to finish it, so get your oven preheated before you start.[2]
-
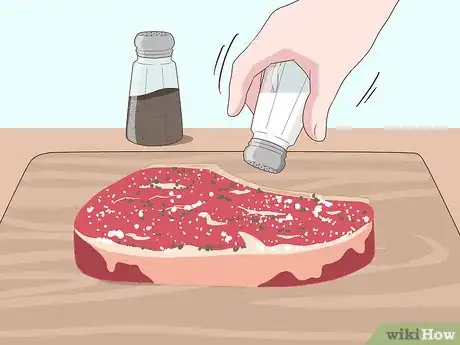
2Season your steak with salt and pepper. You’ll want to use plenty of salt when you’re seasoning your steak, but the amount depends on your taste. You don’t want to create a salt crust, but do make sure you season both sides liberally. Add pepper to taste as well.[3]Advertisement
-
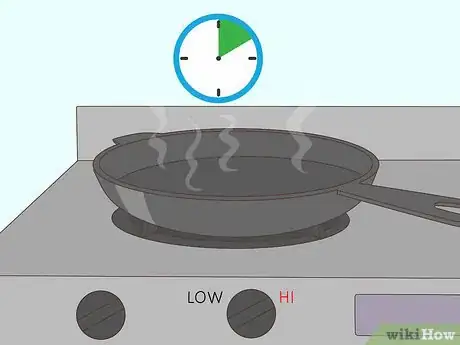
3Heat your cast iron skillet to high heat. Turn your stove to high heat and place the cast iron skillet on the burner for about 10 minutes. You’ll be searing your steak in the skillet, so get it as hot as you possibly can.[4]
- To test if your skillet is hot enough, flick a few drops of water onto the bottom of the pan. The droplets of water should sizzle and dance, then evaporate.[5]
- Remember that the handle of a cast iron skillet often heats along with the rest of the pan, so use pot holders to grab the handle.
-
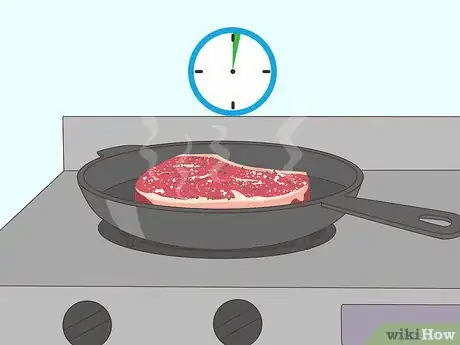
4Place your steak in the skillet and sear it for 2 minutes. Don’t move your steak while it’s searing or it will stick to the pan. When it’s ready to flip, it should release from the pan easily. You should see a golden brown crust on the steak. If it’s not ready, allow it to sear a little longer.[6]
-
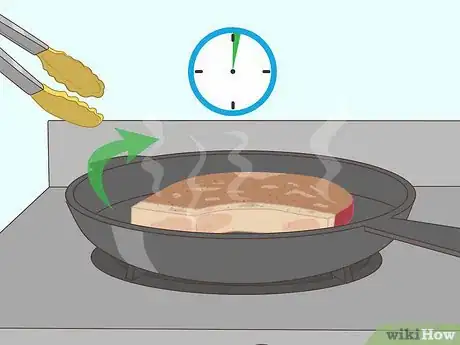
5Flip your steak and sear the other side for 2 minutes. Follow the same guidelines as searing the first side. Searing both sides of the steak will produce more of the flavorful brown crust that characterizes a properly-cooked steak. Use tongs to easily flip your steak.[7]
-
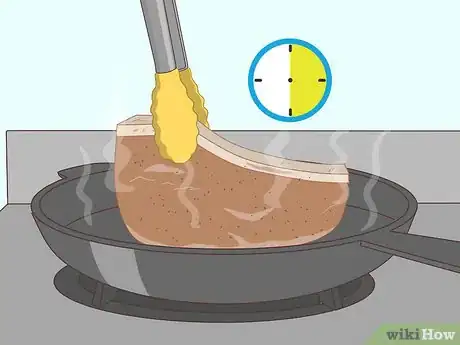
6Sear the fatty edge of the steak for 30 seconds. This should be the edge opposite of the bone. Use tongs to hold the steak upright and let the fat sear for about 30 seconds.
-
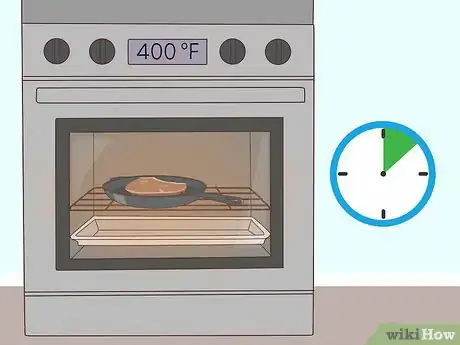
7Place the skillet into the oven for 8 minutes. Turn the steak back to the side you seared first, then carefully transfer the skillet into the oven. This will allow the steak to finish cooking to about medium-rare. Remember, the skillet and oven are both very hot, so use an oven mitt when you're transferring the pan.[8]
- If you want to check the temperature with a meat thermometer, your steak should be about 130–135 °F (54–57 °C) for a medium-rare when you take it out of the oven. The steak will continue to heat up after you remove it from the oven.
-
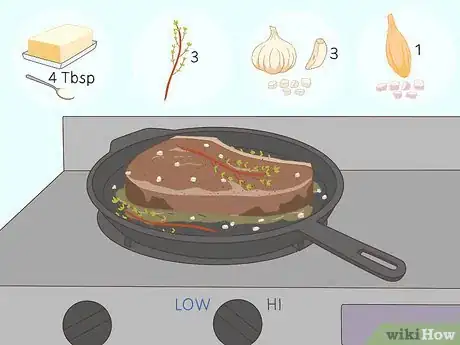
8Move the skillet back to the stovetop to make your sauce. With the steak still in the skillet, move the pan to the stovetop over low heat. Add 4 tablespoons (59 ml) of butter, 3 sprigs of thyme, 3 diced cloves of garlic, and 1 diced shallot to the pan.
-
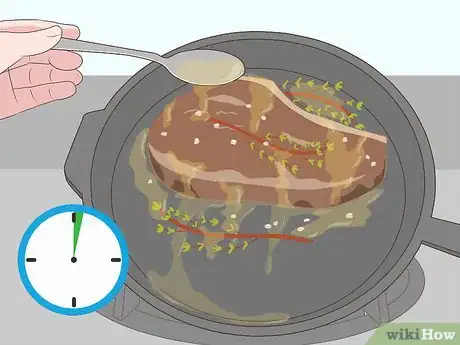
9Baste the steak with the melted butter for 2 minutes. Once the butter has melted, gently tilt the skillet towards you using a pot holder. Rapidly spoon the butter over the steak for 2 minutes.[9]
-
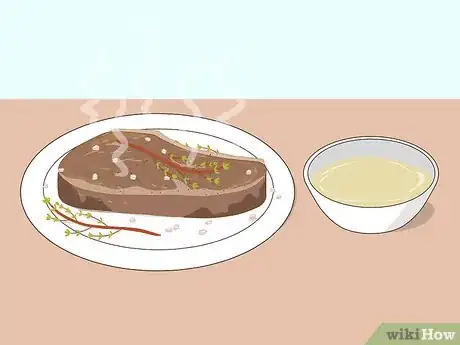
10Remove the steak from the pan and reserve the sauce. Pour the butter sauce into a bowl or other serving dish. You will serve this alongside your steak and sides.[10]
-
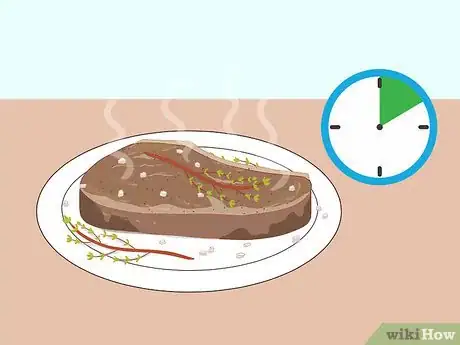
11Let the steak rest for 10 minutes. You should never cut into a steak as soon as it finishes cooking. Instead, remove it from the pan and allow it to rest on a cutting board or other surface for about 10 minutes. This causes the juices in the steak to redistribute throughout the meat, making your steak more juicy.[11]
-
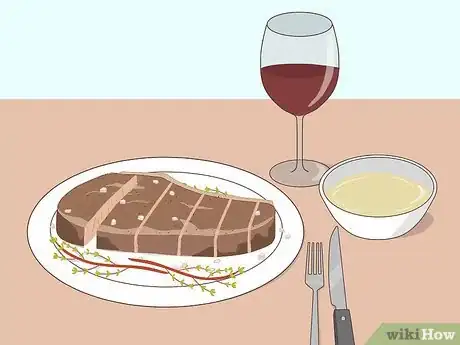
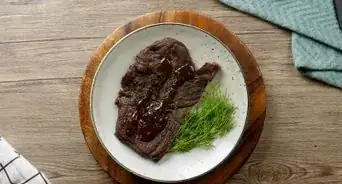
12Slice the steak and serve. This is what you’ve been waiting for! Slice the steak into even pieces and serve it with the butter sauce and your favorite sides. Having dry aged steak is a special occasion, so accompany the meal with a glass of good wine if you like.[12]
- Serve the steak with your favorite side dishes. Potatoes are a popular accompaniment to a steak dinner. You can cook potatoes in a number of ways, including roasted, baked, or mashed.
- Make a Caesar salad to go along with your steak and potatoes.
- It helps to slice against the grain when you serve your steak.
Grilling Your Steak
-
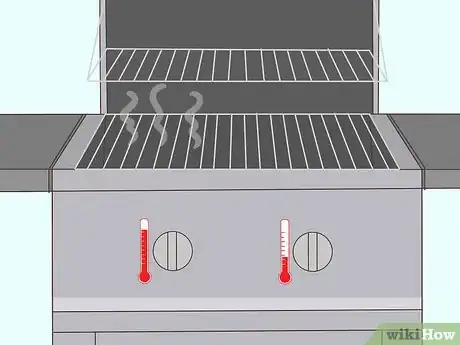
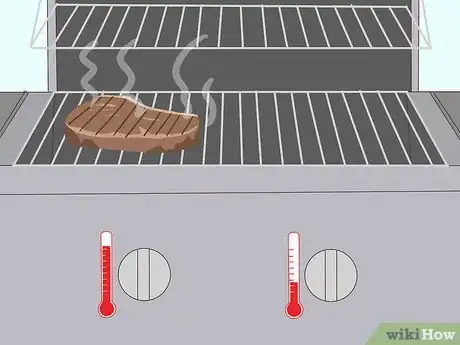
1Heat one side of a 2-temperature grill. Since charcoal grills heat unevenly, it’s best to use a 2-sided gas grill for this method. Turn one side up as high as you can, and leave the other side turned off or very low.[13]
- If you're using a charcoal grill, try to group your coals together in one corner of the grill.
-
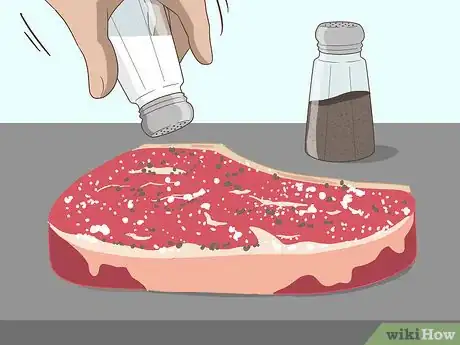
2Season your steak with salt and pepper. You’ll want to keep your seasoning simple to enjoy the flavors of your dry aged steak. Season both sides with salt and pepper or your favorite steak seasoning blend.[14]
-
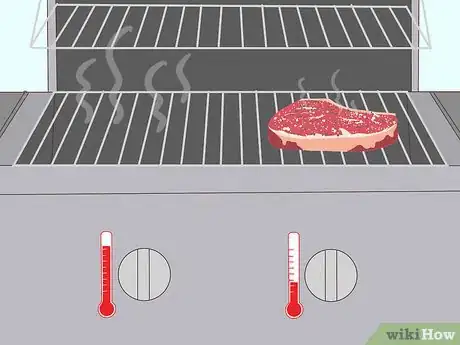
3Place your steak on the low-heat side of your grill. The reason this is called the reverse sear method is because you bring the meat up to temperature slowly, then sear it at the end, unlike traditional cooking methods where you sear the meat first and then cook it slowly. A reverse sear cooks the steak more evenly and results in a more tender, juicy steak.[15]
-
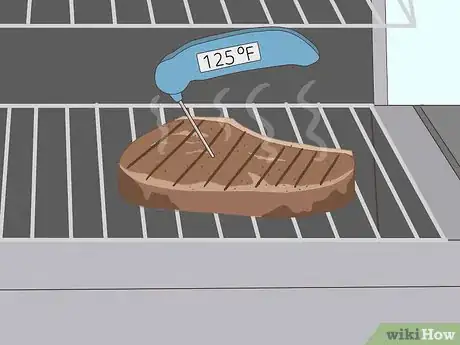
4Use a meat thermometer to determine how long to cook your steak. Let the steak cook slowly, turning it every 3-4 minutes. Use your meat thermometer to keep track of the temperature. You want to know when the meat is about 15 °F (8.3 °C) below your ideal doneness.[16]
- The internal temperature for rare steak is 125 °F (52 °C). For medium rare it’s 130–135 °F (54–57 °C), for medium 135–140 °F (57–60 °C), medium-well 140–150 °F (60–66 °C), and well 155 °F (68 °C). Well done is not recommended for premium steaks.[17]
-
5Move the steak to the hot side of the grill when it reaches your preferred temperature. Cook the steak on the hot side of the grill until you develop that nice crust on both sides. This should only take a few minutes, and you can flip the steak as often as you like. Use the meat thermometer to make sure you don’t overcook your steak.[18]
-
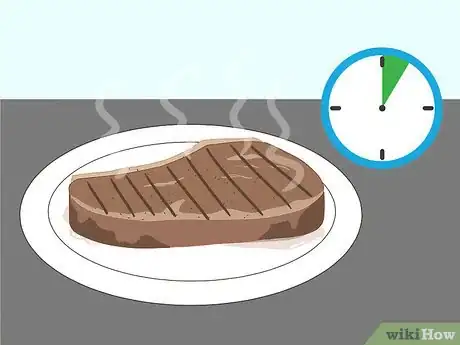
6Allow the steak to rest for 5 minutes before serving. You want to let the juices redistribute after the steak has cooked, so allow the steak to rest at room temperature for 5 minutes before you cut into it. Serve and enjoy your dry aged steak![19]
-
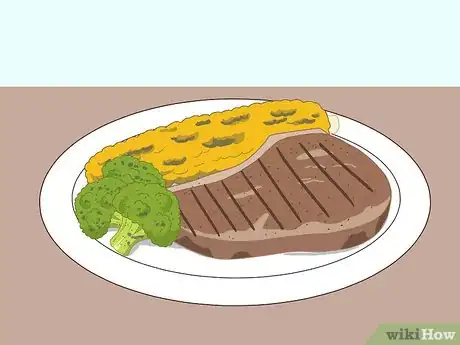
7Serve your steak with a side of steamed or grilled veggies. Having a healthy side made from fresh veggies will help you create a balanced and delicious meal. Try serving steamed broccoli, grilled zucchini, or whole ears of corn that have been roasted on the grill.
Choosing the Perfect Steak
-
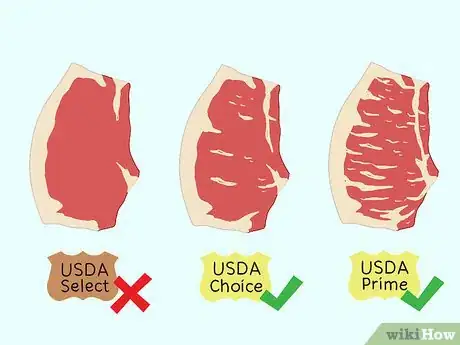
1Look for the “USDA Prime” label. The USDA grades its beef based on tenderness, juiciness, and fat marbling. The ratings are Prime, Choice, and Select, with Prime being the highest quality. When it comes to dry aging, you want to start out with the best, so if you can afford it, choose a USDA Prime steak. If you can't, a Choice cut will be fine, but a Select cut may not have the marbling to support dry aging.[20]
-
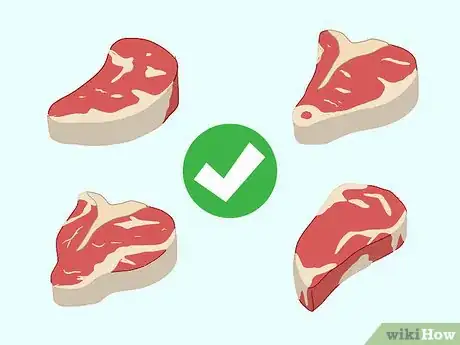
2Choose a high-quality cut of steak. Dry aging creates tenderness and flavor, but it won’t cover up a poor cut of meat. Look for ribeyes, T-bones, porterhouses, or New York strips when you’re shopping for a dry aged steak.[21]
-
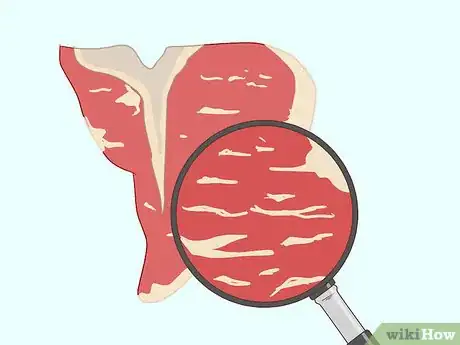
3Check to make sure your steak has abundant marbling. Marbling is the fat that’s located within your steak, rather than along the outside edge. When you cook your steak, this fat will melt and create a rich flavor in the meat.[22]
-
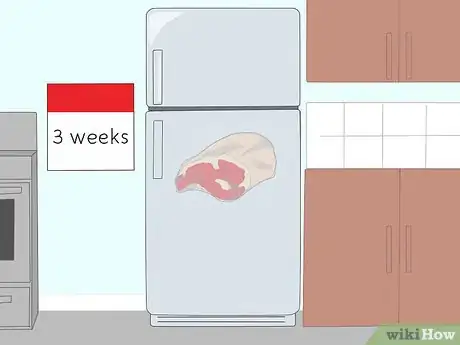
4Choose a steak that has been aged 3-6 weeks. When steaks are dry aged, they take on a unique flavor that has a little bit of funk to it, similar to a good bleu cheese. The longer it ages, the more pronounced this flavor will be. Steaks are dry-aged a minimum of 3 weeks, but they can be aged up to several months. If you’re trying dry aged steak for the first time, aim for one that’s been aged for about 3-6 weeks.[23]
Things You'll Need
Skillet Method
- Oven
- Stovetop
- Cast iron skillet
- Pot holder
- Tongs
- Meat thermometer
- Spoon
- Serving dish for sauce
- Cutting board
- Knife
Grilling Method
- Grill (2-temperature gas grill or charcoal)
- Charcoal if using charcoal grill
- Meat thermometer
- Cutting board
- Knife
References
- ↑ https://www.menshealth.com/nutrition/dry-aged-beef-explained
- ↑ https://ourharvest.com/recipes/pan-roasted-dry-aged-bone-in-rib-steak/
- ↑ https://ourharvest.com/recipes/pan-roasted-dry-aged-bone-in-rib-steak/
- ↑ https://ourharvest.com/recipes/pan-roasted-dry-aged-bone-in-rib-steak/
- ↑ https://www.rodalesorganiclife.com/home/18-mistakes-that-can-ruin-your-cast-iron-pans
- ↑ https://ourharvest.com/recipes/pan-roasted-dry-aged-bone-in-rib-steak/
- ↑ https://ourharvest.com/recipes/pan-roasted-dry-aged-bone-in-rib-steak/
- ↑ https://ourharvest.com/recipes/pan-roasted-dry-aged-bone-in-rib-steak/
- ↑ https://ourharvest.com/recipes/pan-roasted-dry-aged-bone-in-rib-steak/
- ↑ https://ourharvest.com/recipes/pan-roasted-dry-aged-bone-in-rib-steak/
- ↑ https://ourharvest.com/recipes/pan-roasted-dry-aged-bone-in-rib-steak/
- ↑ https://ourharvest.com/recipes/pan-roasted-dry-aged-bone-in-rib-steak/
- ↑ https://barbecuebible.com/2016/03/28/how-to-buy-cook-dry-aged-steak/
- ↑ https://barbecuebible.com/2016/03/28/how-to-buy-cook-dry-aged-steak/
- ↑ https://barbecuebible.com/2016/03/28/how-to-buy-cook-dry-aged-steak/
- ↑ https://barbecuebible.com/2016/03/28/how-to-buy-cook-dry-aged-steak/
- ↑ http://www.foodnetwork.com/grilling/grilling-central-how-tos/articles/meat-and-poultry-temperature-guide
- ↑ http://www.foodnetwork.com/grilling/grilling-central-how-tos/articles/meat-and-poultry-temperature-guide
- ↑ http://www.foodnetwork.com/grilling/grilling-central-how-tos/articles/meat-and-poultry-temperature-guide
- ↑ https://www.usda.gov/media/blog/2013/01/28/whats-your-beef-prime-choice-or-select
- ↑ https://barbecuebible.com/2016/03/28/how-to-buy-cook-dry-aged-steak/
- ↑ https://www.usda.gov/media/blog/2014/05/15/beef-your-knowledge-meat-marbling-101
- ↑ https://barbecuebible.com/2016/03/28/how-to-buy-cook-dry-aged-steak/
About This Article
To cook a dry aged steak in a cast-iron skillet, first preheat your oven to 400 °F and get your skillet as hot as you can. Season the steak with salt and pepper, then sear it in the skillet for 2 minutes on each side. Transfer the steak to the oven and let it cook for 8 minutes. Take the steak out of the oven and let it rest for 10 minutes before you slice it. To learn how to perfectly grill a dry-aged steak, keep reading!
