X
wikiHow is a “wiki,” similar to Wikipedia, which means that many of our articles are co-written by multiple authors. To create this article, 17 people, some anonymous, worked to edit and improve it over time.
This article has been viewed 35,714 times.
Learn more...
This is a craft for all children. It is very simple for even small children to create this happy little tambourine. Great for classroom activity time, it is a craft and music project in one.
Steps
-
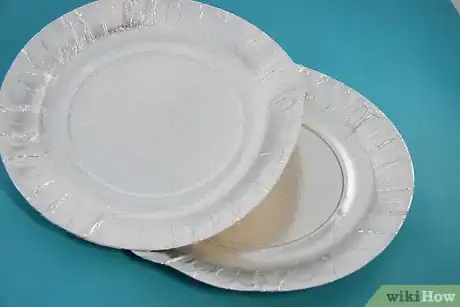
1Start with an ordinary paper plate.It's recommended to use the smaller size plate. A styrofoam or plastic plate will work as well. You also may want to double the plate, if you prefer a stronger or heavier tambourine.
-
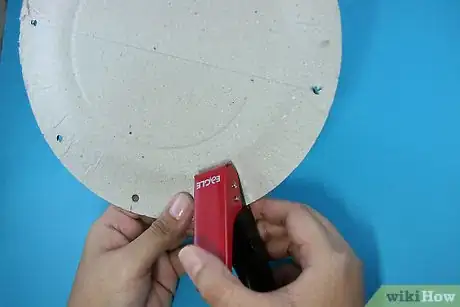
2Use a standard paper puncher to punch holes around the edge of the plate. Holes should be evenly spaced, roughly one inch apart.
- If you do not have paper punchers, you can punch the plates with a needle and widen the hole with a toothpick (if needed).
Advertisement -
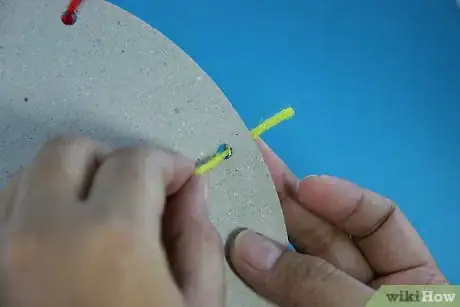
3Take a colorful length of yarn or thread and begin to loop-stitch around the edge of the plate. It is helpful to smudge some glue on the leading tip of the yarn. When the tip dries, it is stiff and is easier to thread through the holes.
-
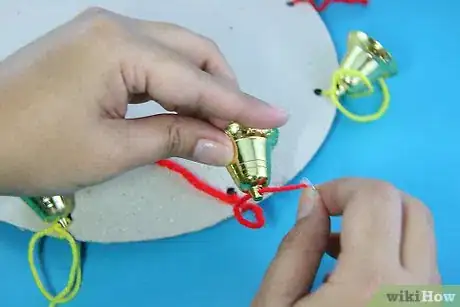
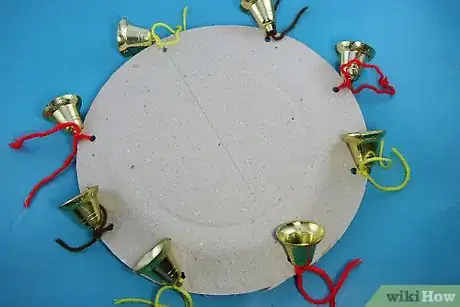
4Add the bells. Between each stitch, insert a jingle bell.
-
5Continue stitching the edge of plate with a bell on each loop. You may skip every other loop if you want to save on the amount of jingle bells used.
-
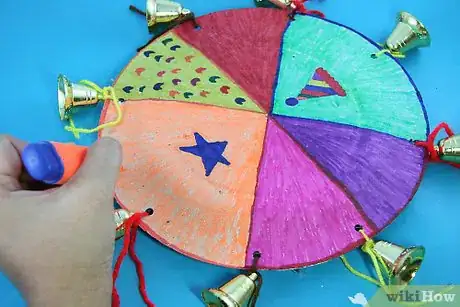
6Finish plate by decorating with glue, glitter, sequins, colored paper, crayons, markers and paint. Add extra strands of yarn or ribbon to create a fringe.
-
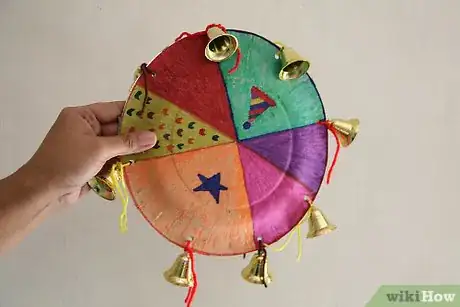
7Finished.
Advertisement
Things You'll Need
- Paper plate
- Hole punch
- Yarn or ribbon
- Glue
- Optional: paint, markers, crayons, glitter, sequins
- Jingle Bells
About This Article
Advertisement
