This article was co-authored by wikiHow Staff. Our trained team of editors and researchers validate articles for accuracy and comprehensiveness. wikiHow's Content Management Team carefully monitors the work from our editorial staff to ensure that each article is backed by trusted research and meets our high quality standards.
There are 13 references cited in this article, which can be found at the bottom of the page.
This article has been viewed 18,280 times.
Learn more...
Mini kegs are great for parties, but what about when they’re empty? You could just recycle them, but that’s no fun! Empty kegs can make great flower pots, garbage bins, and a slew of other DIY decorations. Whether you want to try one of these projects or are just curious about what’s inside a keg, cutting one open is pretty easy. With either a hammer and chisel or saw, you can get this done in no time!
Steps
Hardware Removal
-
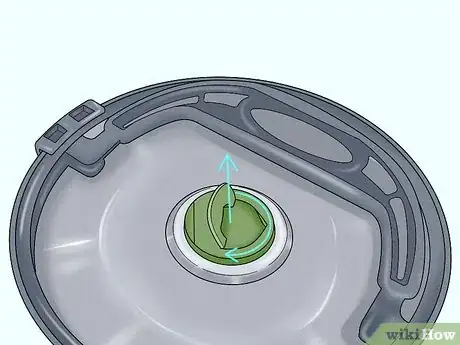
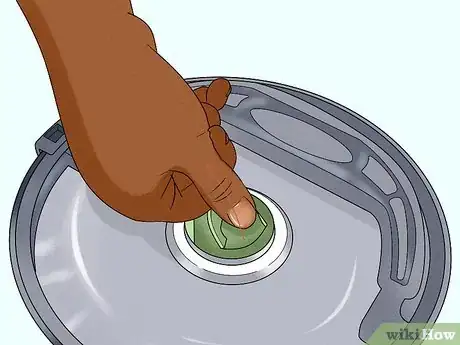
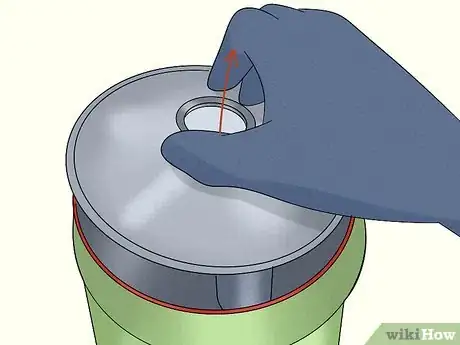
1Open the port on top of the keg to let the pressure out. Find the port or tap on top of the mini keg, which should be right in the center. Turn it about 90 degrees, then pull it up. This releases any pressure that was left in the keg.[1]
- Some mini kegs have a slightly different process for de-pressurizing. The instructions are usually printed on the side, so check the directions before trying.
- Never try to cut the keg without letting the pressure out first. This could make beer or metal fly around as the keg de-pressurizes.
- You could still cut the keg if it isn’t fully empty. However, don’t drink any of the beer after cutting the keg because it’ll be dirty and could have metal pieces in it.
-
2Pull the top handle off of the keg. Most mini kegs have a plastic handle on the top to make carrying easier. This usually just pops off, so grab the handle and give it a firm pull to get it off.[2]
- If the handle is stuck and you don’t care about breaking it, then you can use pliers to pull it off. This might break the plastic, but it doesn’t matter if you aren’t planning on using the handle.
- Not all mini kegs have handles like this, so it’s also normal if yours doesn’t.
Advertisement -
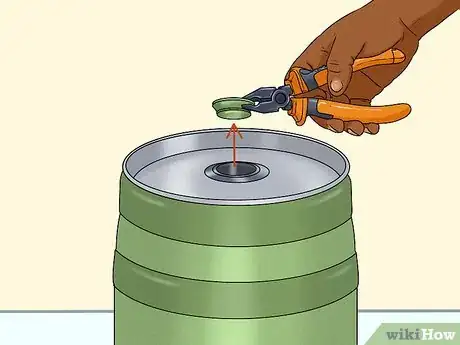
3Pry the top washer out of the keg. This washer is on top of the keg in the center. Grab it with pliers. Pull it straight up and rock it a little bit to get it out of position.[3]
- Some kegs have a handle attached to the washer. This might pop off easily, or you could just pull the washer out with the handle attached.[4]
- You could also tuck a screwdriver under the washer and pry it up that way.
- Some kegs have a rubber washer that pops out very easily. On other kegs, this is plastic and is a little tougher to get off. If you don’t care about breaking it, then don’t be gentle.
Hammer and Chisel
-
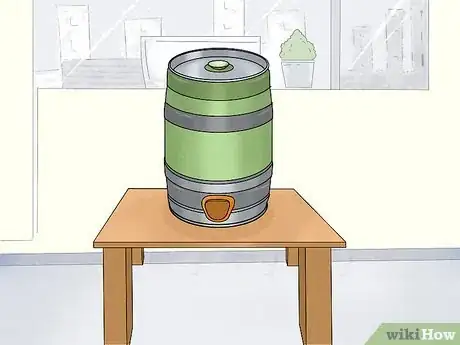
1Place the keg upright on a sturdy surface. A workbench, strong table, or the ground will work. Just make sure the surface isn’t lopsided or wobbly, and will stay still while you’re hammering.[5]
- You could also use this method to cut the keg from the bottom if you prefer. Just flip it upside down.
-
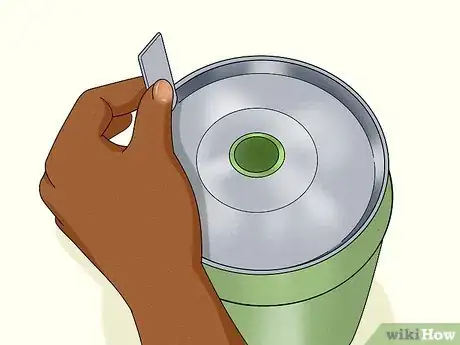
2Press a metal chisel against the top rim of the keg. Angle the chisel right up against the perimeter around the top of the keg. Press it into the metal in the spot you want to start cutting.[6]
- You could also use a flathead screwdriver for this, as long as it has a metal handle. If you hit a plastic handle with a hammer, it could break.
-
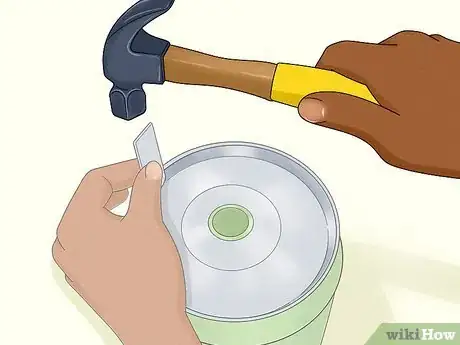
3Tap the chisel with a hammer until you make a hole. Hold the chisel against the keg firmly. Tap it with a hammer using increasing force until you break through the metal. The metal on a mini keg is pretty thin, so you won’t have to hit too hard.[7]
- There might be a little hiss when you break through if there’s still a bit of pressure in the keg.
- Be careful! Watch where you’re hitting so you don’t catch your finger.
-
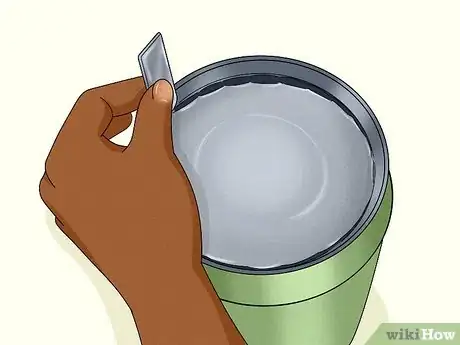
4Work along the rim with the chisel and hammer to cut the top off entirely. Pull the chisel out and place it right next to the hole you made. Tap it in that new spot until you make a hole. Continue in this pattern along the perimeter of the keg until you’ve made a full circle.[8]
- If the surface you’re working on is unstable at any point, stop hammering. You could miss and hit your finger.
-
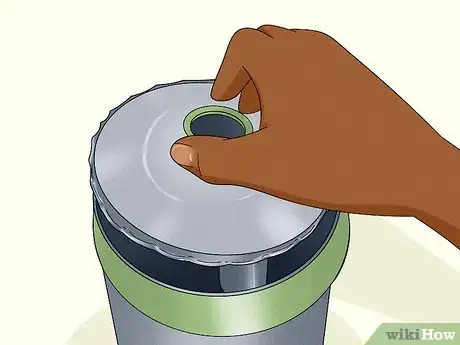
5Pull the top of the keg off. One you make a full circle, the top of the keg will be loose. Simply grab the top and pull it out. Then you can examine the inside of the keg all you want.[9]
- Be careful handling the top, since the edges will be sharp.
Saw
-
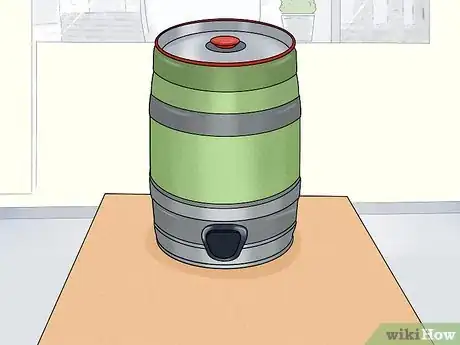
1Place the keg upright on a sturdy surface. A workbench, steady table, or even the floor will work fine. As long as the surface is steady, stable, and won’t wobble while you’re working, then it's fine.[10]
- If you’re using a saw, it’s easier to cut the keg in all kinds of different spots. Just make sure the keg is stable before you start.
-
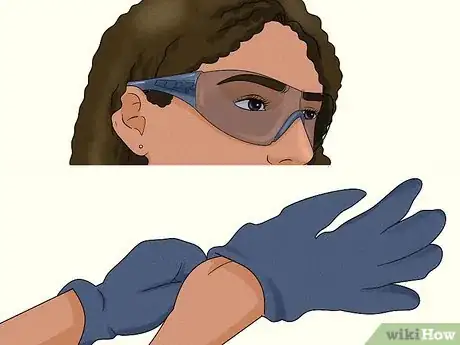
2Put on goggles and gloves. You’ll be sending a lot of metal shards into the air while you’re cutting into metal, so be sure to protect yourself. A pair of thick work gloves and goggles should keep you safe.[11]
-
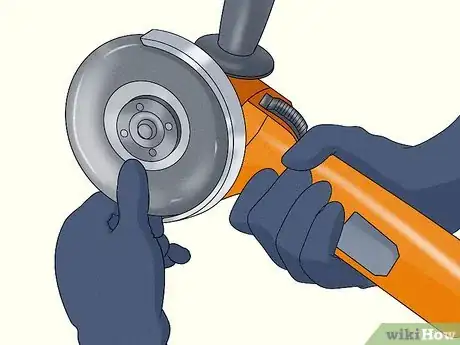
3Attach a metal-cutting blade to an angle grinder. While mini kegs are pretty thin, you’ll still need a blade designed for cutting metal. Get the right blade from any hardware store, then clip it onto the angle grinder.[12]
- An angle grinder is a small, handheld cutting tool that’s perfect for cutting into a mini keg. You can get one online or from any hardware store. Read and follow all the instructions that come with the tool.
-
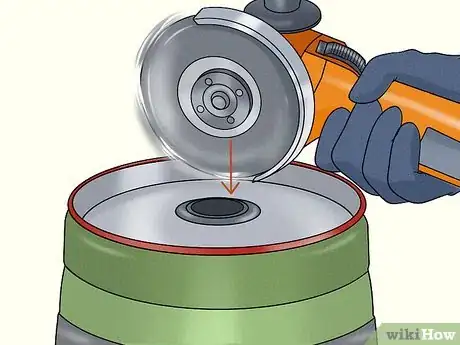
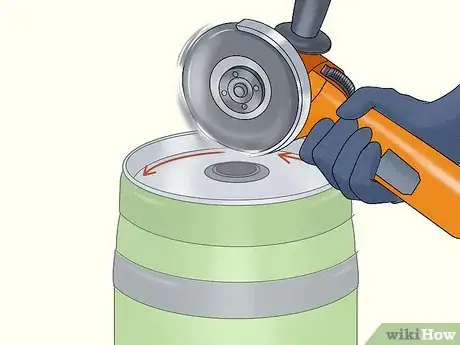
4Press the grinder into the top of the keg along the rim and turn it on. Hold the grinder firmly and press the blade into the metal along the top rim of the keg. When you have a steady grip, turn it on and press down to cut through the metal.[13]
- Hold the grinder with one hand on the body and one on the support handle. This helps you maintain your grip.
- Press down onto the keg to apply some pressure and hold it in place while you're working.
- Keep your fingers far away from the blade so you don’t hurt yourself.
-
5Work around the rim of the keg to cut it off. Keep the blade on and continue cutting. Try to trace the rim of the keg to get a clean cut. Cut until you make a complete circle and reach your starting point again.[14]
- It might be tough to get a perfectly circular cut. Don’t worry about that, you’ll still get the keg open.
- Make sure you turn off and unplug the grinder when you’re finished.
-
6Pull the top of the keg out. Once you’ve cut around the keg, simply grab the top and pull it out. Now you can examine the interior all you want![15]
- The keg and top will be sharp in the spots you cut it, so be careful when you’re handling it so you don’t get cut.
Things You’ll Need
Hardware Removal
- Pliers
- Screwdriver
Hammer and Chisel
- Hammer
- Chisel
Saw
- Gloves
- Goggles
- Angle grinder
- Metal blade
Warnings
- Be cautious whenever you’re using tools. Wear protective equipment and pay attention to what you’re doing so you don’t get hurt.⧼thumbs_response⧽
- The cut parts of the keg will be very sharp, so be careful if you pick them up.⧼thumbs_response⧽
References
- ↑ https://youtu.be/Fk3utkFexaU?t=22
- ↑ https://youtu.be/P3gTM6ndbJ4?t=7
- ↑ https://youtu.be/tA9ZLNQhrgg?t=133
- ↑ https://youtu.be/P3gTM6ndbJ4?t=4
- ↑ https://www.beersyndicate.com/app/Tutorial/Details/19
- ↑ https://youtu.be/P3gTM6ndbJ4?t=15
- ↑ https://youtu.be/P3gTM6ndbJ4?t=19
- ↑ https://youtu.be/P3gTM6ndbJ4?t=26
- ↑ https://youtu.be/P3gTM6ndbJ4?t=45
- ↑ https://www.beersyndicate.com/app/Tutorial/Details/19
- ↑ https://www.beersyndicate.com/app/Tutorial/Details/19
- ↑ https://youtu.be/gkZGJOTcfyU?t=263
- ↑ https://youtu.be/gkZGJOTcfyU?t=410
- ↑ https://youtu.be/gkZGJOTcfyU?t=418
- ↑ https://www.beersyndicate.com/app/Tutorial/Details/19
- ↑ https://youtu.be/pe8oeqhLc-A?t=36
